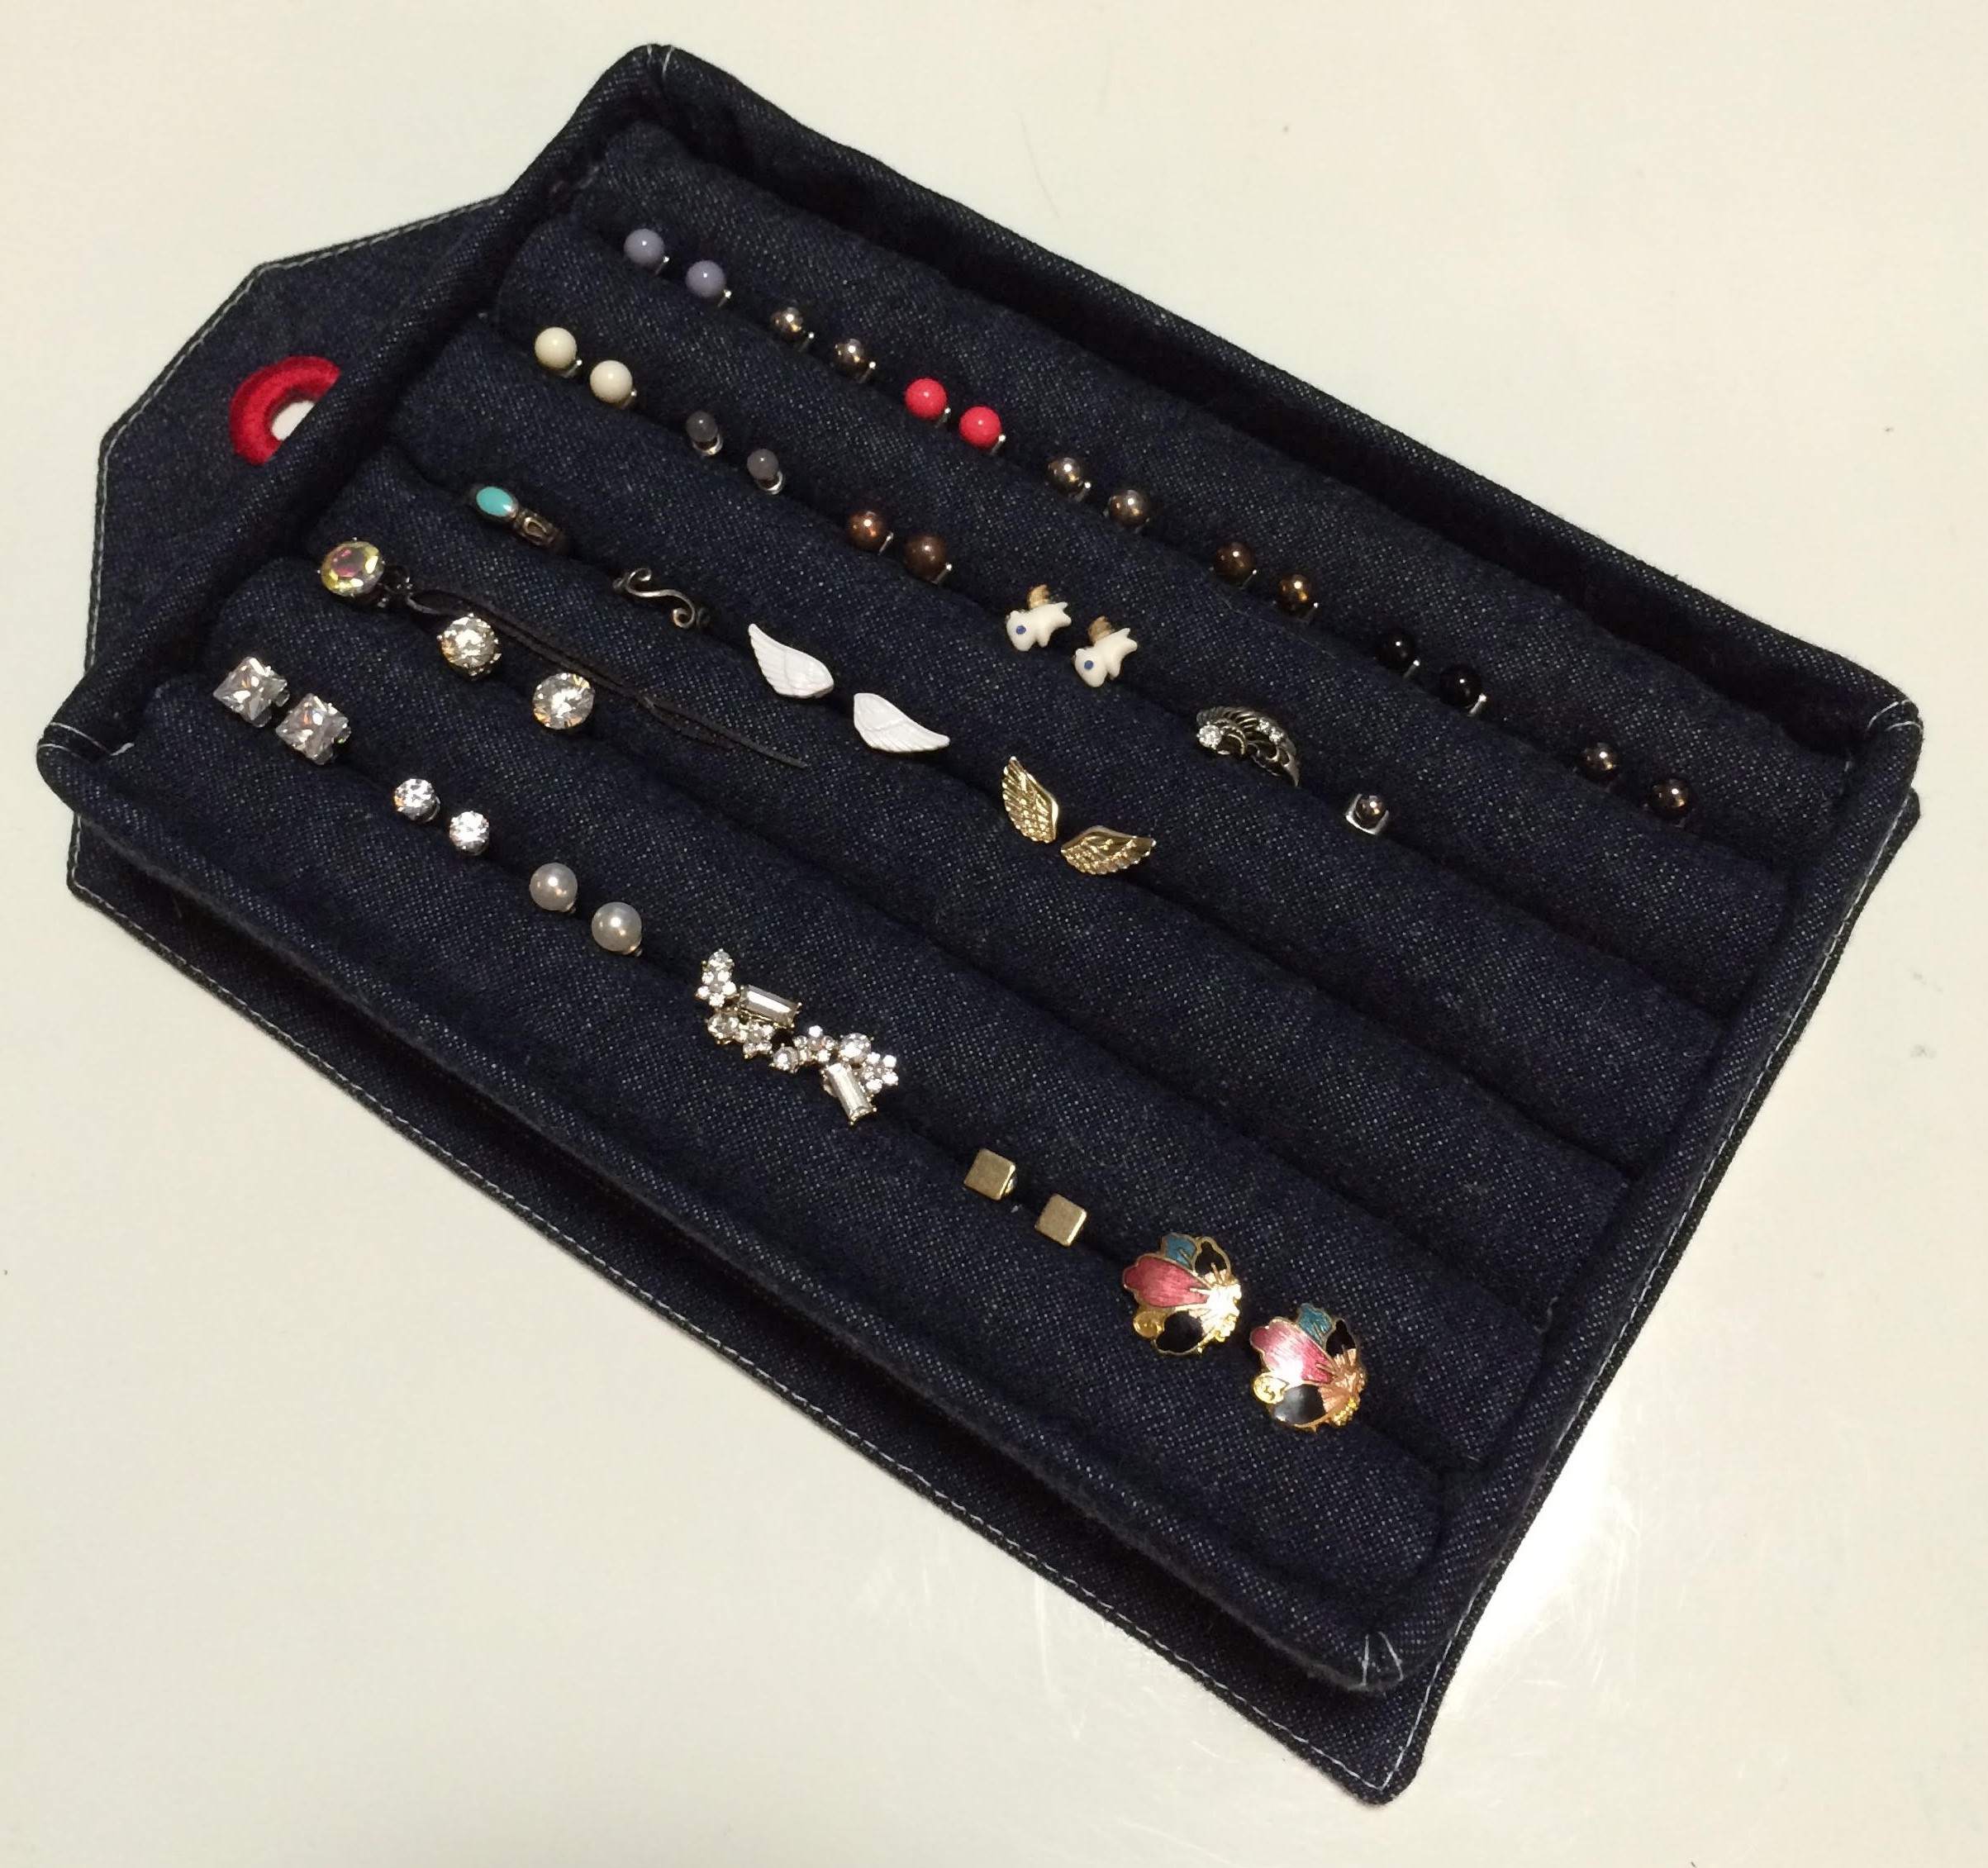
[d.i.y.] ring and stud earring holder
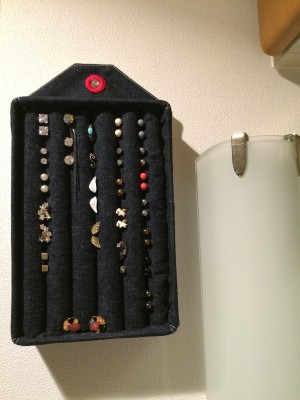
one day as i was rushing to get ready, i spilled a bunch of my post/stud earrings that didn’t have an organized place to rest but a scattered jewelry tray. i had spent quite a while looking for the perfect earring holder and one that i could hang on a wall to save counter space around my sink. finally, i came across delightfully diy‘s wonderful post on earring storage. based on that, i thought of attaching mine to a wall-hanging base. i apologize that this post isn’t as thorough and complete with measurements, but i hope this can at least help guide you through a d.i.y. project of your own!
ある日、出かける支度をしていたら、ごちゃごちゃのアクセサリートレイの中からスタッズピアスを探そうとして、バラバラに散らかしてしまいました。それからしばらくピアスの整理方法を色々探していました。特にポイントは洗面所のカウンターの場所をとらない壁掛けタイプの物でした。そこで見つけたのは、delightfully diyのd.i.y.ピアスホルダー。これを元に壁掛け土台つきの物を考えました。今回のd.i.y.は、寸法がないのですが、少しでも皆さまのオリジナルd.i.y.アイデアにつながれば嬉しいです。
LET’S START! / 始めよう!
what you need / 材料:
denim fabric (for base, tray covering, and “cushion” rows) / デニム生地 (土台用、トレーカバー、クッション用)
acrylic tray / アクリルトレイ
cardboard (adjust measurements according to tray) / ダンボール (寸法はトレイに合わせて)
pencils or wooden dowels (adjust number and measurements according to tray) / 鉛筆、細めの木の棒(数と長さはアクリルトレイに合わせて)
quilt batting / キルト用の綿(薄め)
ruler / 定規
scissors / ハサミ
sewing machine / ミシン
glue gun / グルーガン
grommet / ハトメ
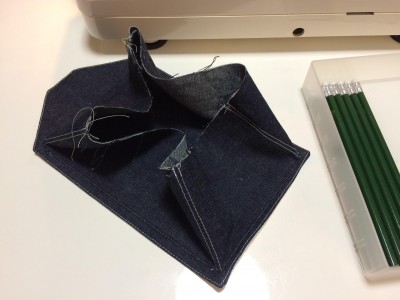
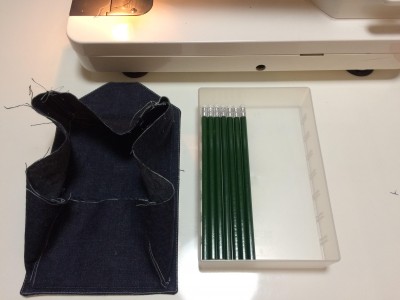
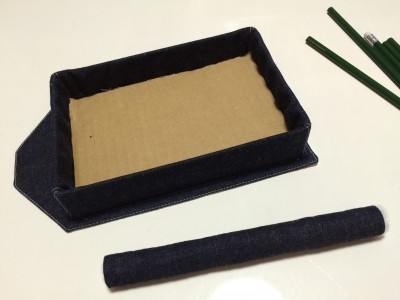
1. i started off by making a denim covering for the tray (this one from MUJI was the perfect size to fit the pencils i could find) and attached it to a denim backing that i could eventually punch a hole in. / 鉛筆の長さにちょうどあった無印良品のトレイを使っています。まずは、デニムの土台とトレイのカバーを作り、合体させました。土台は最後に壁掛け用の穴を開けられるようにトレイカバーを配置しました。
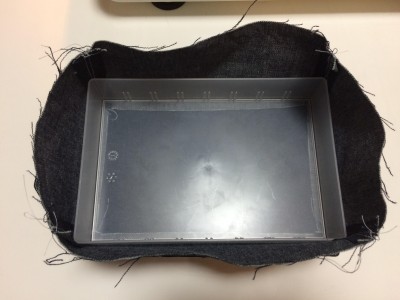
2. insert the tray into covering and fold sides in. / トレイを入れ、デニムのカバーを中に折り込む。
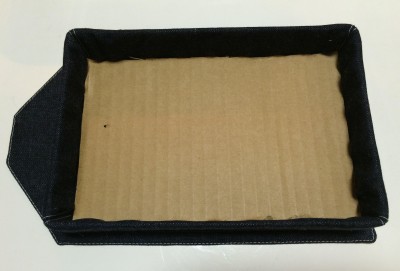
3. cut cardboard to fit snugly in the tray. i first put hot glue on the denim in the base before inserting the cardboard. without the cardboard, i was afraid the glue may not permanently attach to the acrylic tray and thus the “cushion” rows could possibly detach easily. / ダンボールをトレイの中にぴったり入るようにカットし、デニムにグルーガンで糊をつけてからはめ込む。ダンボールに糊がしっかりくっつく為、クッションも固定されます。
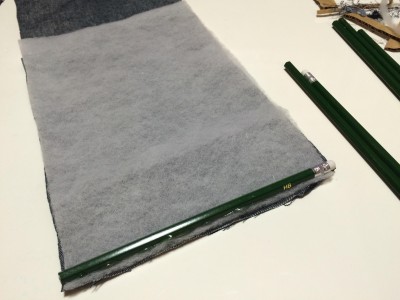
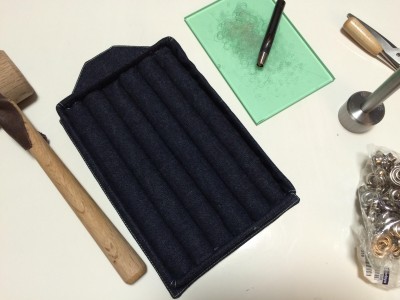
4. layer the batting on top of the denim (the batting is about 2/3 the length of the denim), place hot glue about a quarter inch/0.5 cm from the edge of the batting and denim. place the pencil on the glue and roll. finish the roll with another line of hot glue at the end edge of the denim. repeat to make 6 rows (or as many as needed to fill tray). / デニムの上にキルト綿を手前の端に合わせてのせる。(綿はデニムの2/3の長さです。)端から0.5cmの位置に平行してグルーガンで糊をのせる。糊の上に鉛筆をのせて、生地を巻く。糊で端を止める。他の6本(本数はトレイが隙間なく埋まるまで)も同じように作る。
5. use glue gun to attach the 6 rows onto the cardboard base. / グルーガンで6本のクッションをダンボールに止める。
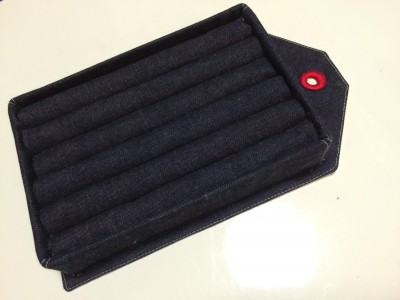
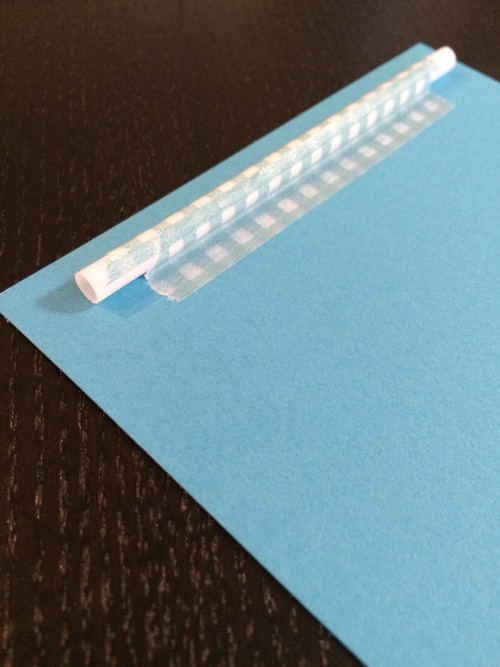
6. open hole and finish! / 土台のデニムにハトメで穴を開けて完成!
FINISHED! / 出来上がり!
afternote / 注意点
※ when using denim, please beware that dark colored denim will most likely stain light colored walls. for this reason, i personally used a white-based fabric on the back. / 濃いめのデニムを使用する際は、壁に色移りする可能性が高いです。その為、私は、壁側にあたる裏面を白地の物にしました。
※※ ideally i would have liked horizontal rows on this holder, but i had a limited amount of space on the wall and didn’t have access to the right pencils/dowels. the best supplies i could find at the time were these pencils that fit this tray vertically. / 理想的には縦型のクッションではなく、横型の物が良かったです。が、ちょうど良いトレイ+ちょうど良い鉛筆の組み合わせはこちらしか見つからなかったので、今回は縦型にしました。
![[D.I.Y.] HALLOWEEN GARLAND](http://www.peacelovetokyo.com/home/wp-content/uploads/2015/10/unnamed-18-300x400.jpg)
![[D.I.Y.] HALLOWEEN GARLAND](http://www.peacelovetokyo.com/home/wp-content/uploads/2015/10/unnamed-13-400x300.jpg)
![[D.I.Y.] HALLOWEEN GARLAND](http://www.peacelovetokyo.com/home/wp-content/uploads/2015/10/unnamed-101-400x300.jpg)
![[D.I.Y.] HALLOWEEN GARLAND](http://www.peacelovetokyo.com/home/wp-content/uploads/2015/10/unnamed-400x300.jpg)
![[D.I.Y.] HALLOWEEN GARLAND](http://www.peacelovetokyo.com/home/wp-content/uploads/2015/10/IMG_7351-400x300.jpg)
![[D.I.Y.] HALLOWEEN GARLAND](http://www.peacelovetokyo.com/home/wp-content/uploads/2015/10/unnamed-3-400x300.jpg)
![[D.I.Y.] HALLOWEEN GARLAND](http://www.peacelovetokyo.com/home/wp-content/uploads/2015/10/IMG_7350-400x300.jpg)
![[D.I.Y.] HALLOWEEN GARLAND](http://www.peacelovetokyo.com/home/wp-content/uploads/2015/10/IMG_7358-400x300.jpg)
![[D.I.Y.] HALLOWEEN GARLAND](http://www.peacelovetokyo.com/home/wp-content/uploads/2015/10/IMG_7359-400x300.jpg)
![[D.I.Y.] HALLOWEEN GARLAND](http://www.peacelovetokyo.com/home/wp-content/uploads/2015/10/IMG_7360-400x315.jpg)
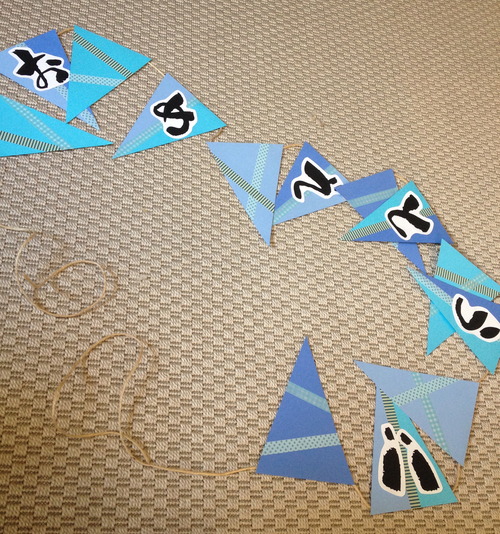
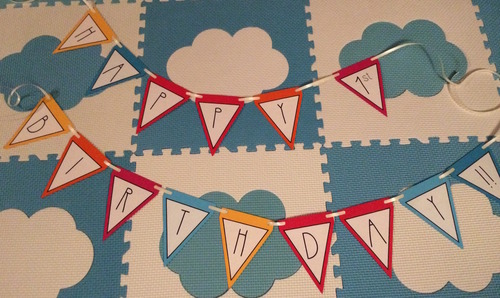
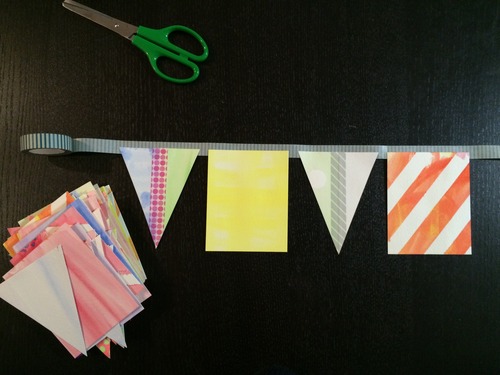
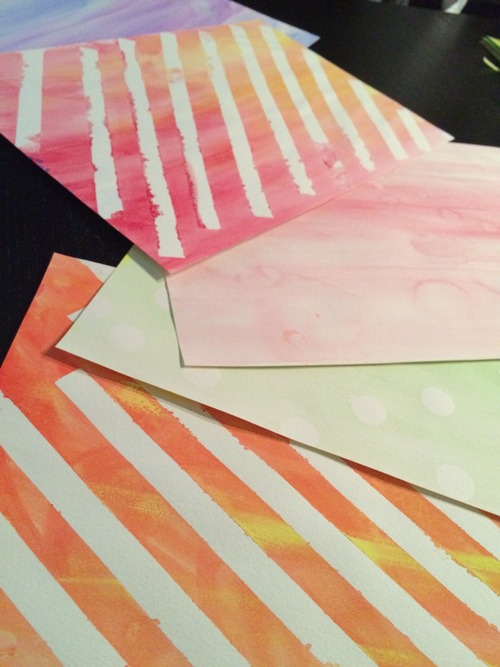
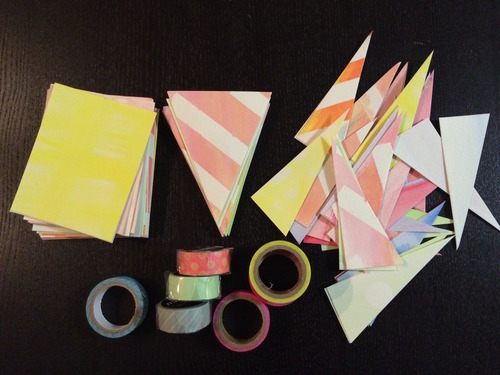
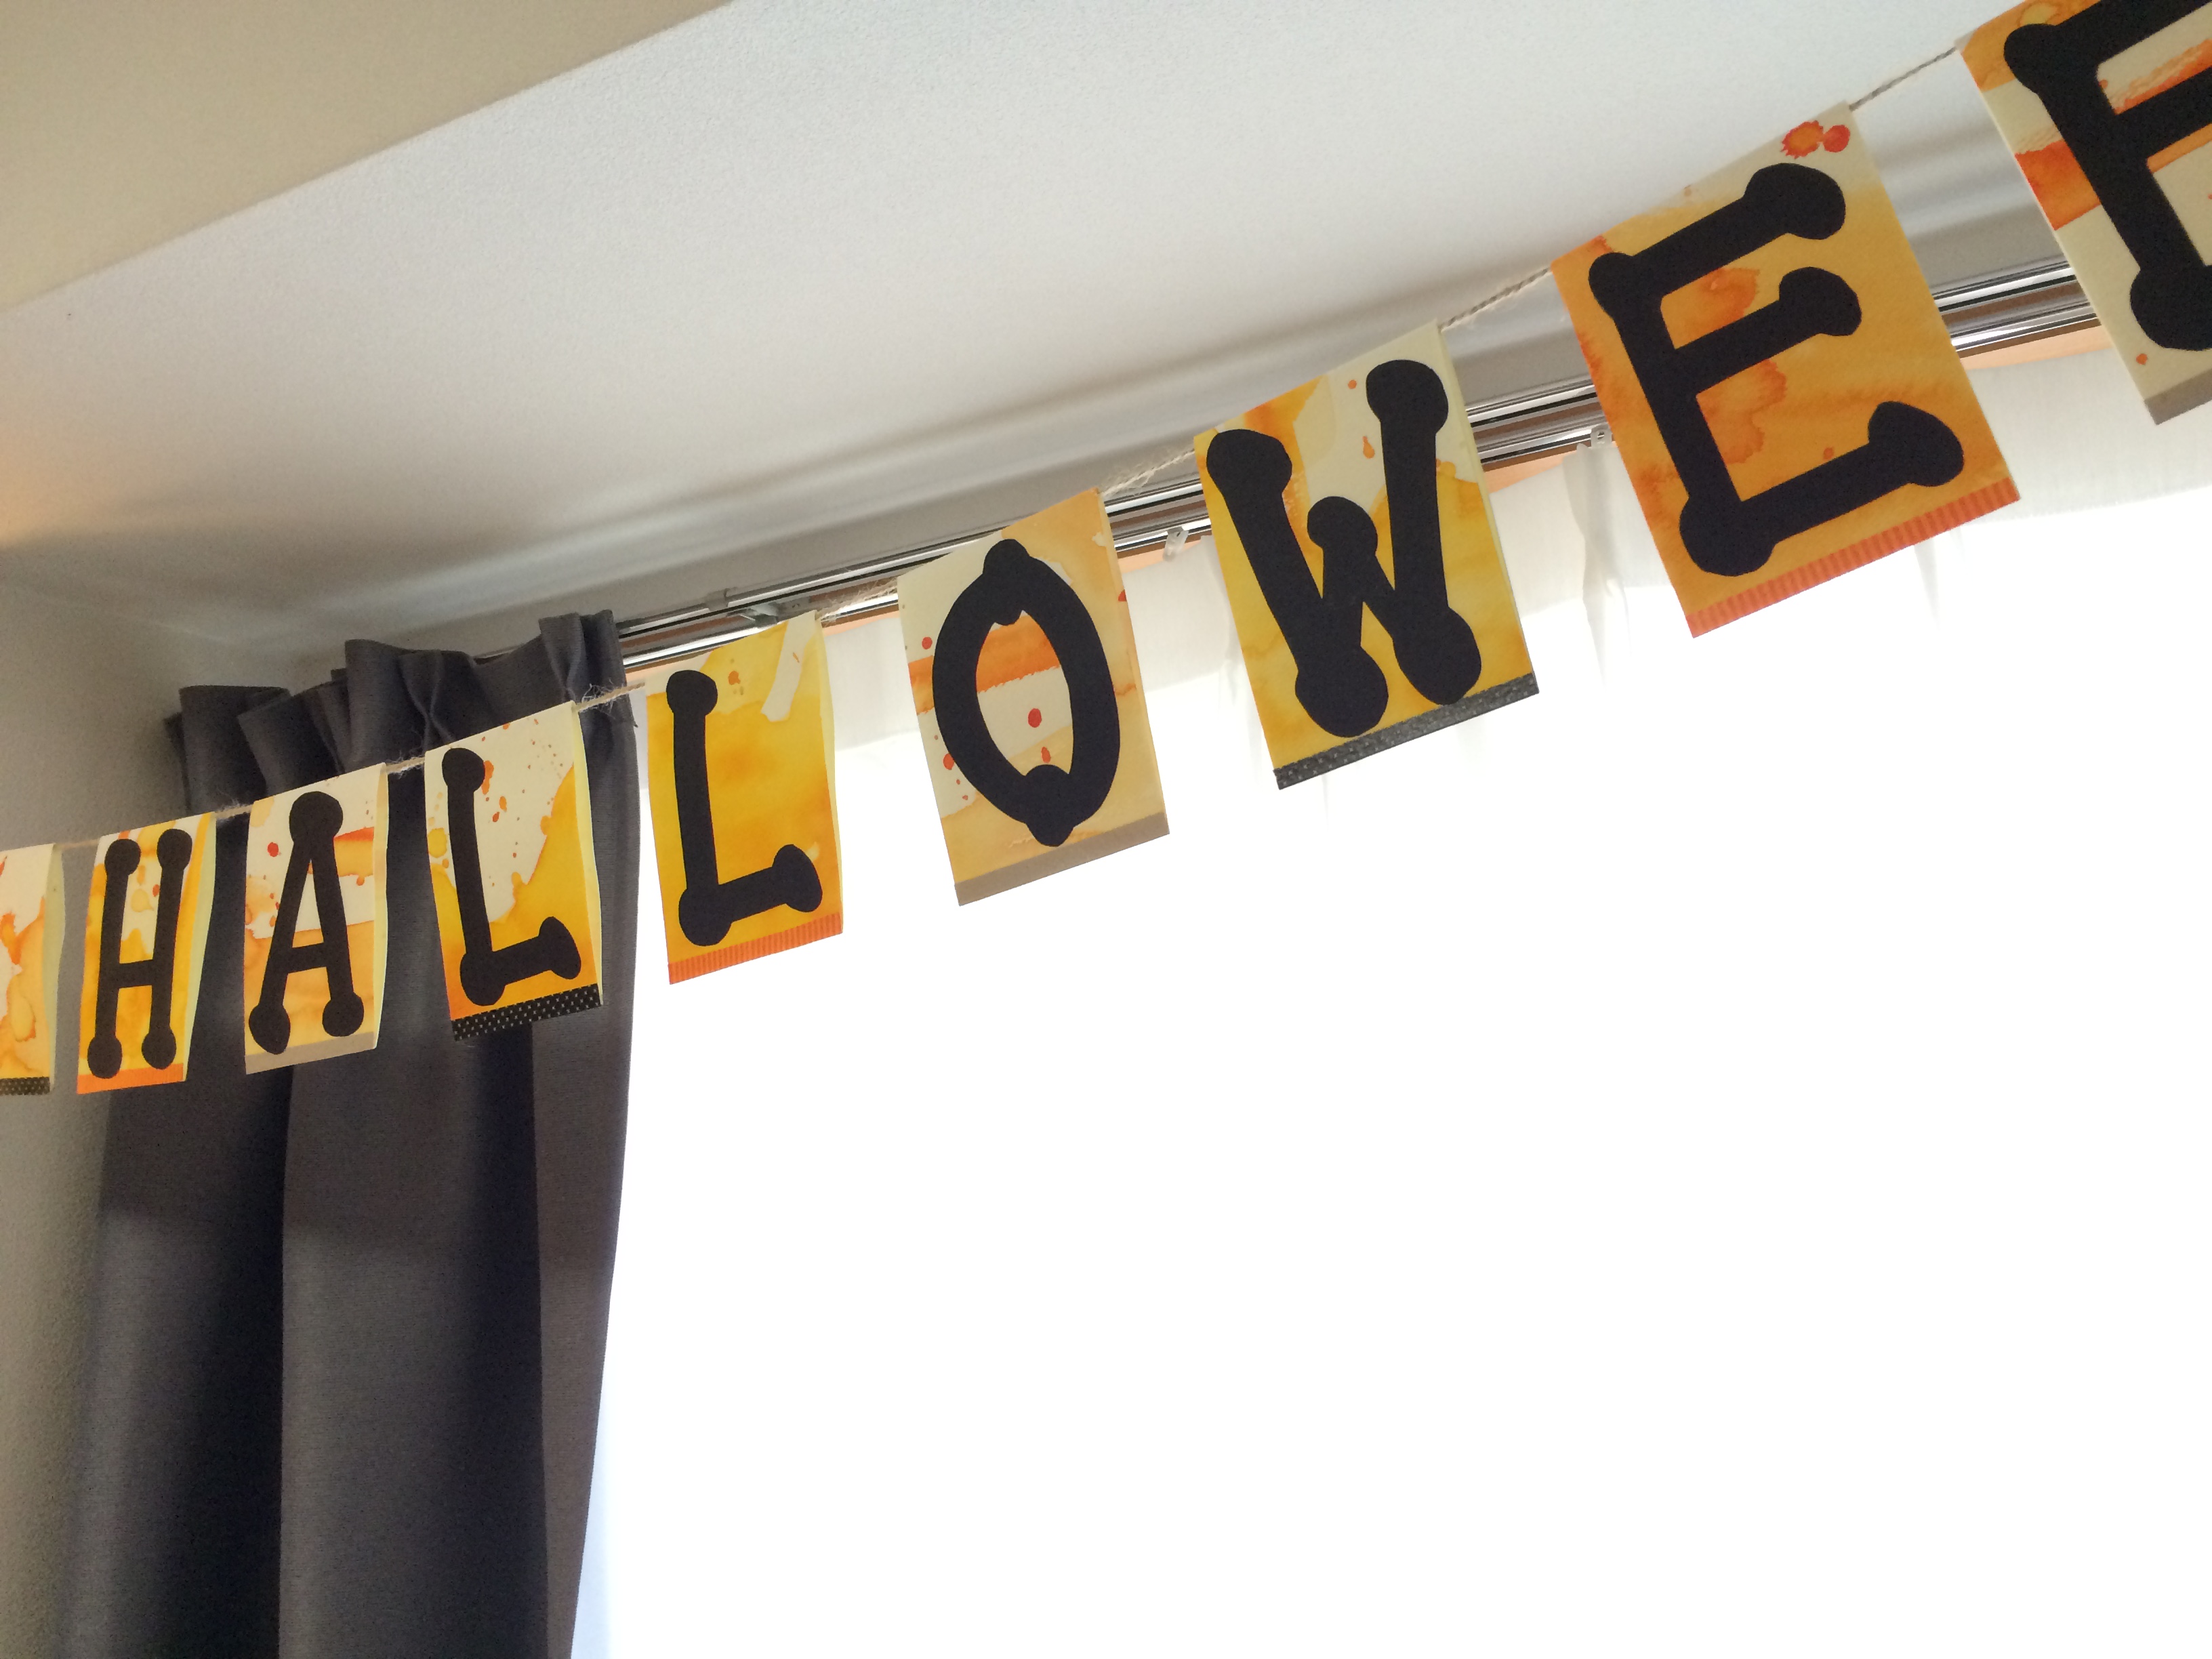
![[d.i.y.] halloween flag garland // ハロウィンフラグガーランド](http://www.peacelovetokyo.com/home/wp-content/uploads/2015/10/unnamed-のコピー-400x188.jpg)