in december alone, i’ve had 3 friends and a cousin in law that had babies. with all the newborns, i was running out of baby gifts to send! last month, i was asked to make a diaper pouch/sheet with a detachable diaper wipe case. this is where i came up with the idea of giving diaper wipe cases! they’re quite useful and can be used for pets, hand wipes, and even around the house.
there were a couple of points that i based the design on. / デザインポイントは2点ありました。
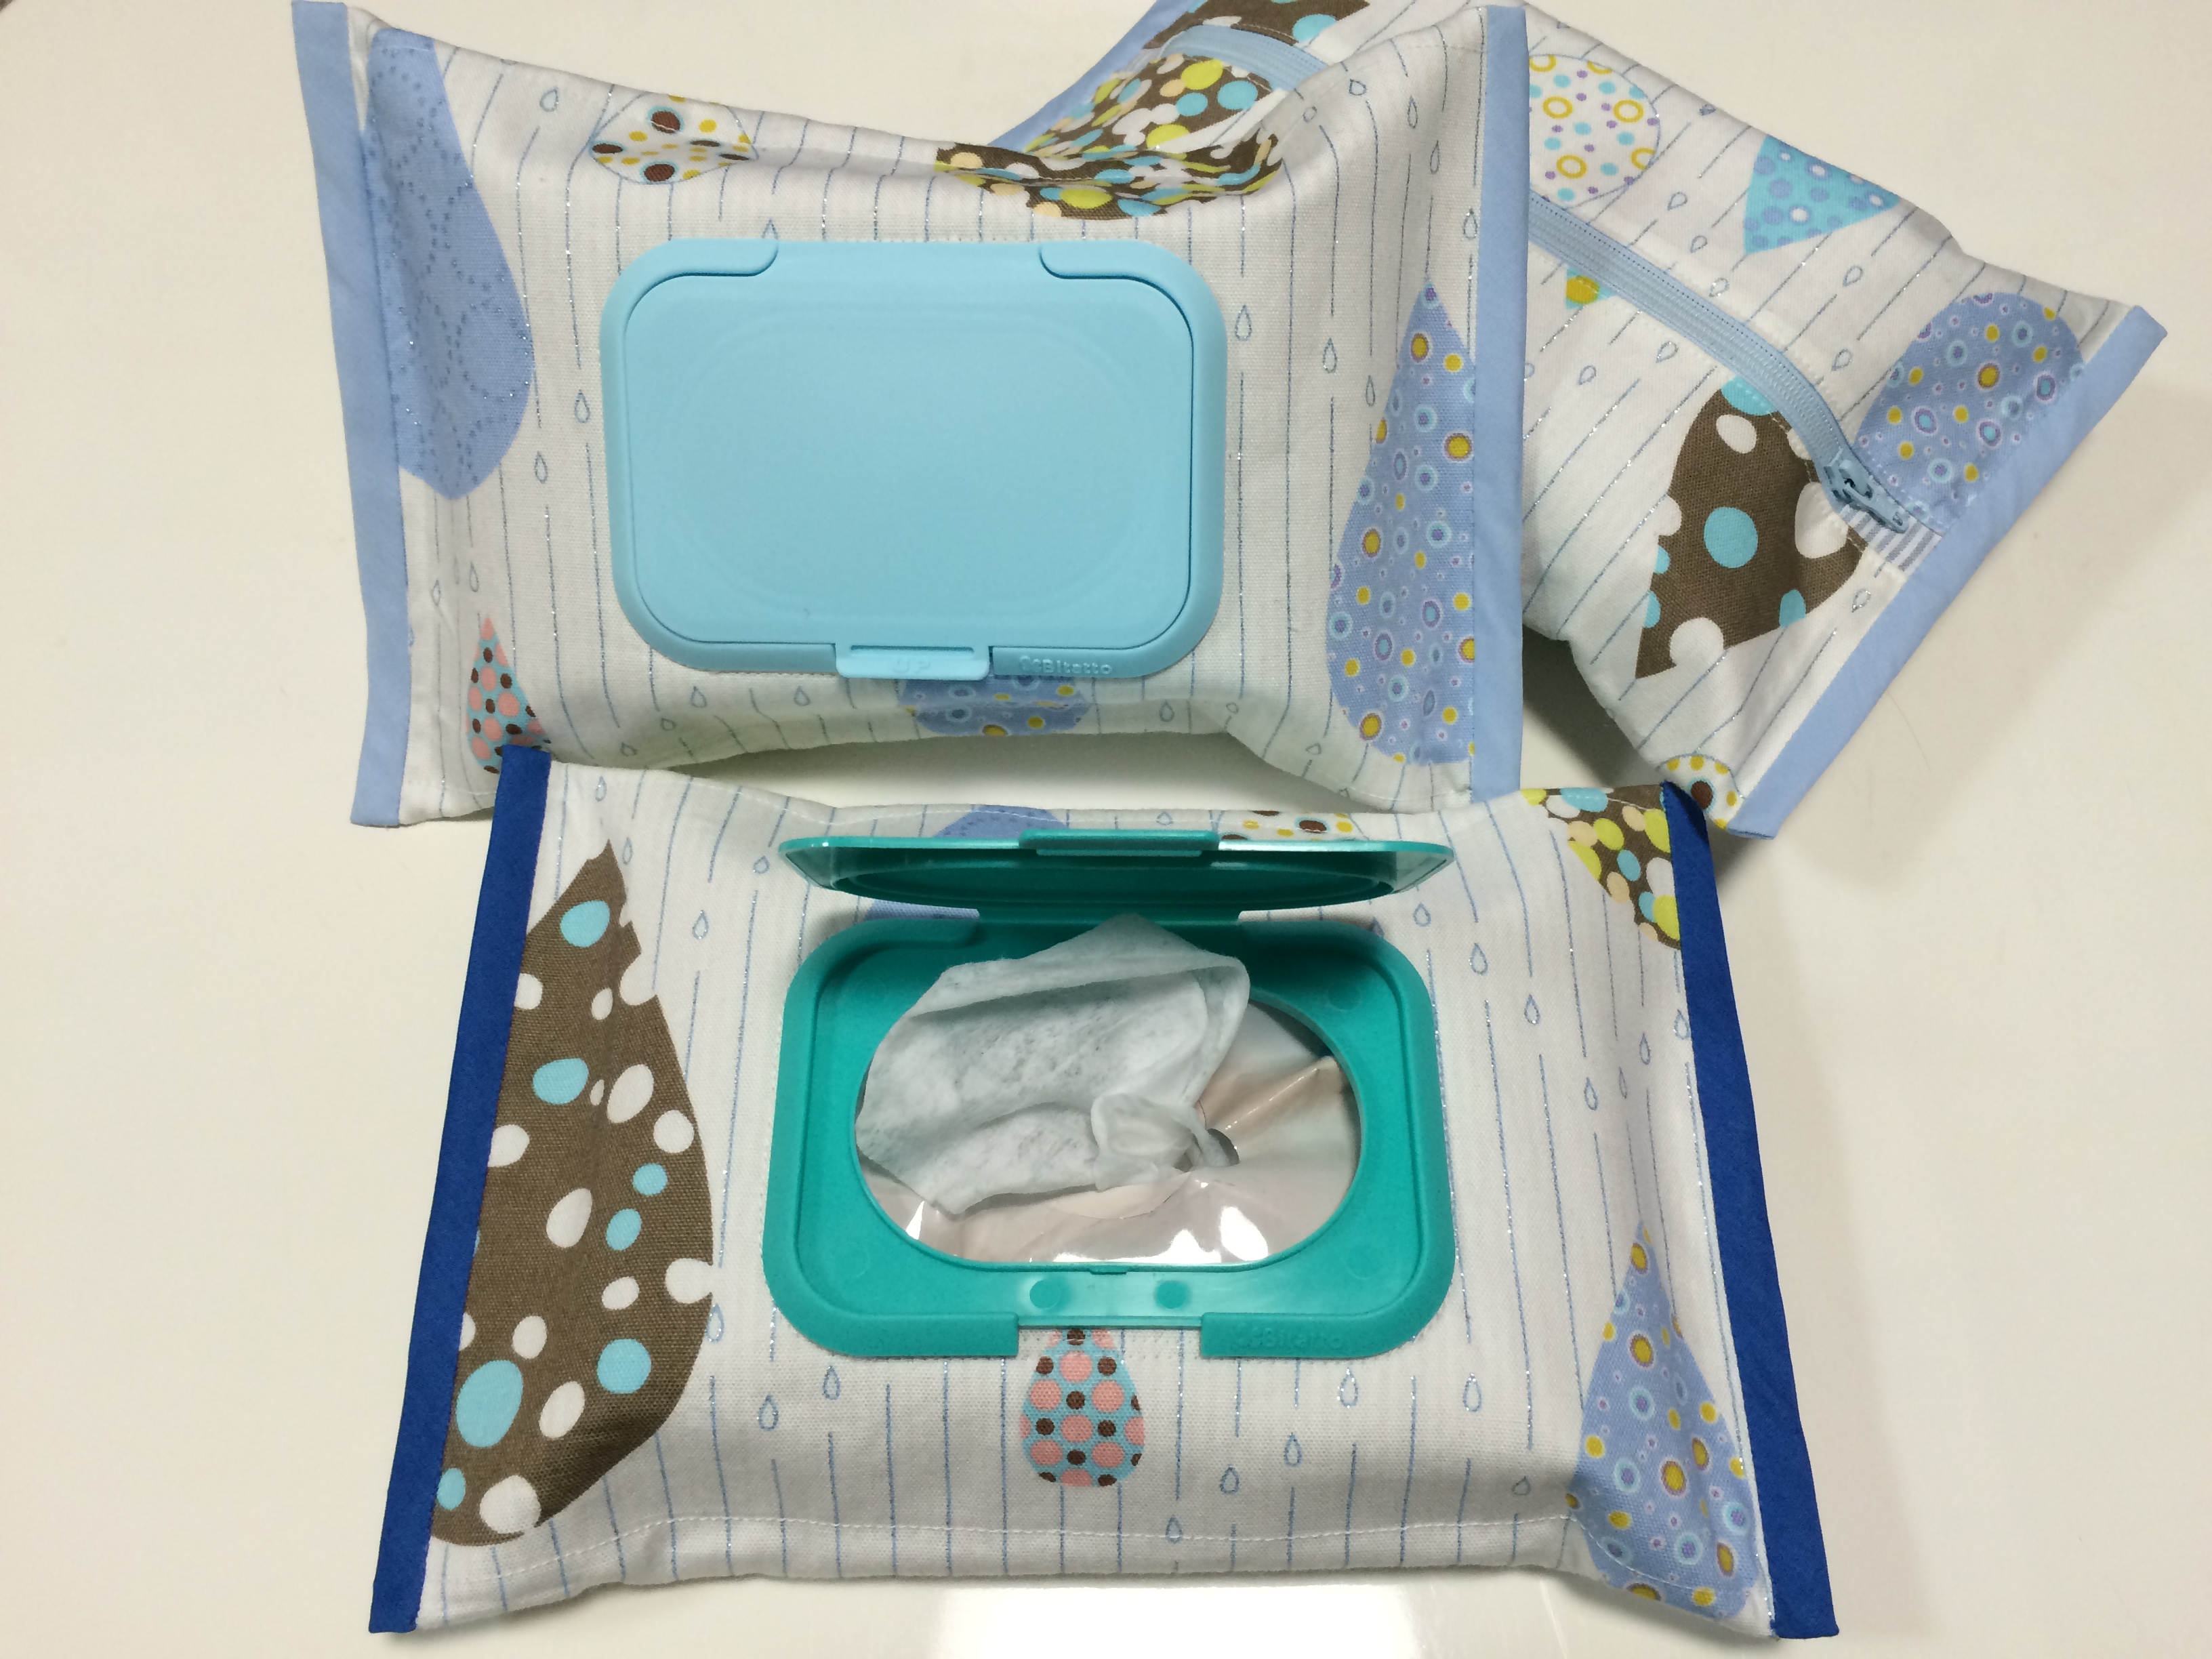
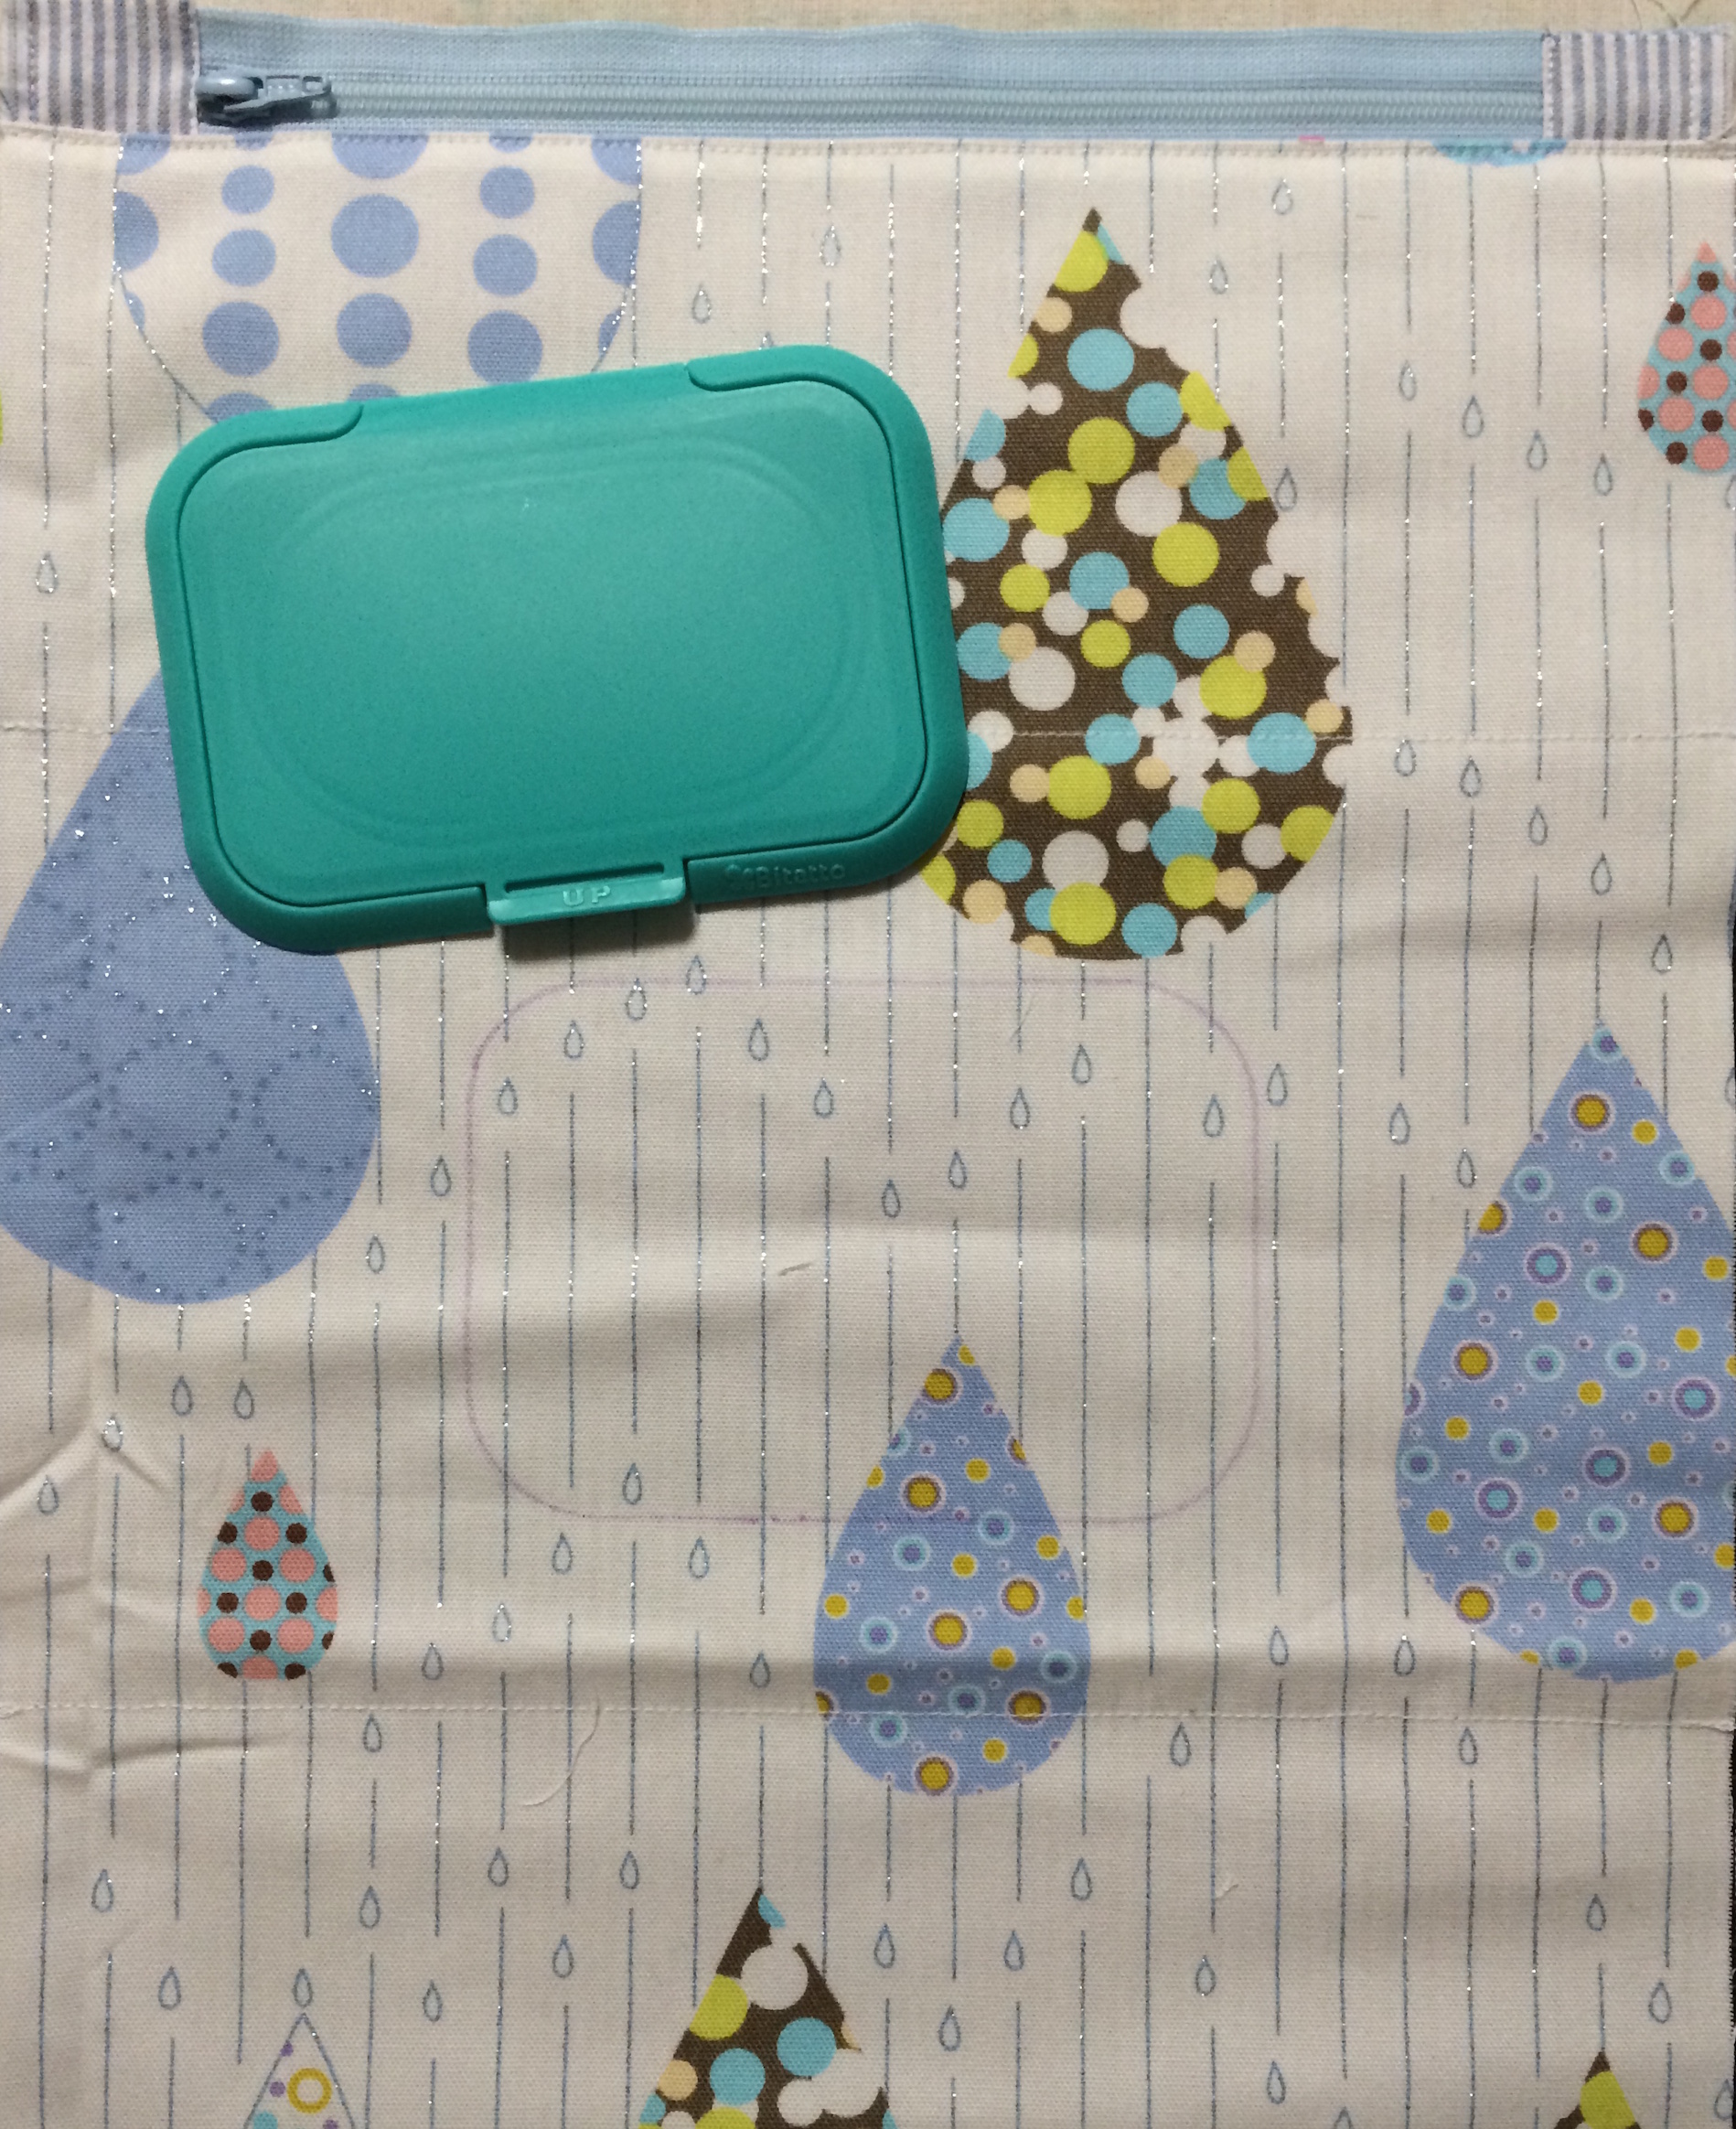
1. this bitatto removable, reusable plastic lid that keep wipes moist. bitatto attaches to smooth surfaces, like vinyl or the plastic bags that wipes come in. incorporating this type of surface became the main point. ビタットという、直接ウェットティッシュの袋などに取り付けられて、繰り返し使えるプラスチックの蓋を使用したいと思いました。ビニールやプラスチックの袋などのツルツルした表面に一番くっつくので、デザインにこのような表面を取り入れる事が必要でした。
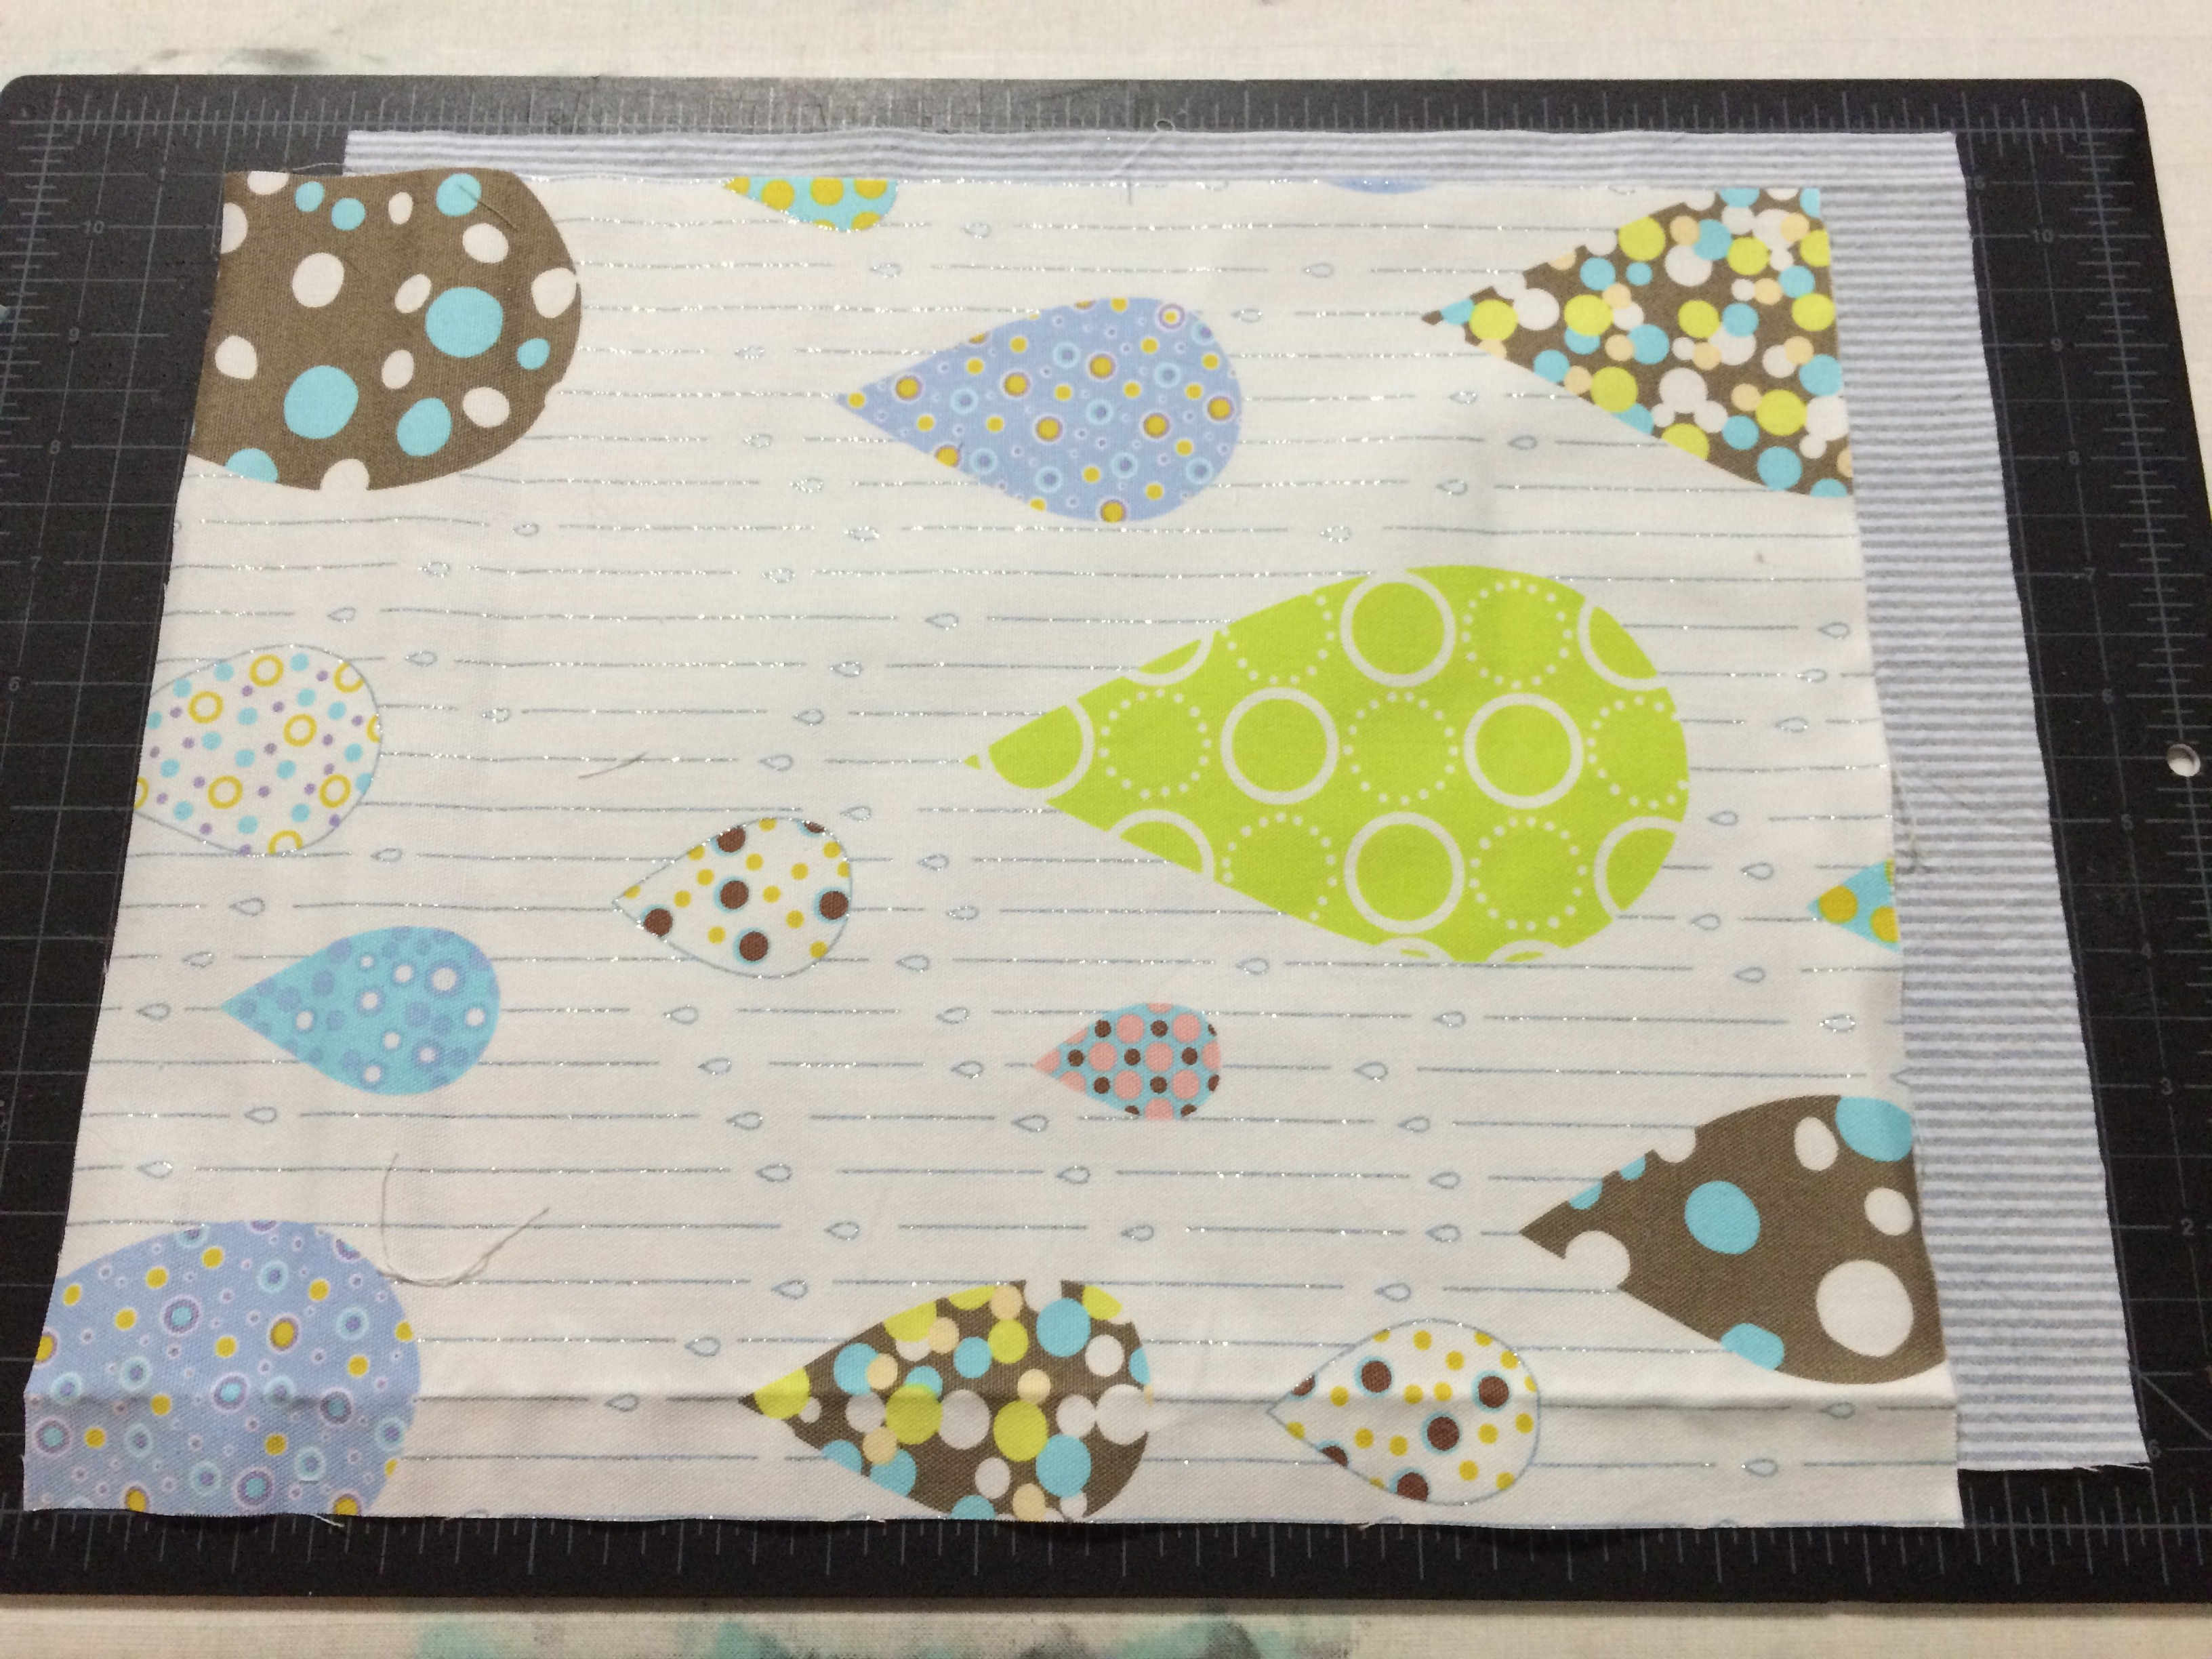
2. this fabric!! well i had saved this fabric for a rainy day, but color coordinating was fun!!
この生地!以前に一目惚れした生地を使う最高の機会でした!カラーコーディネートを考えるのも楽しかったです。
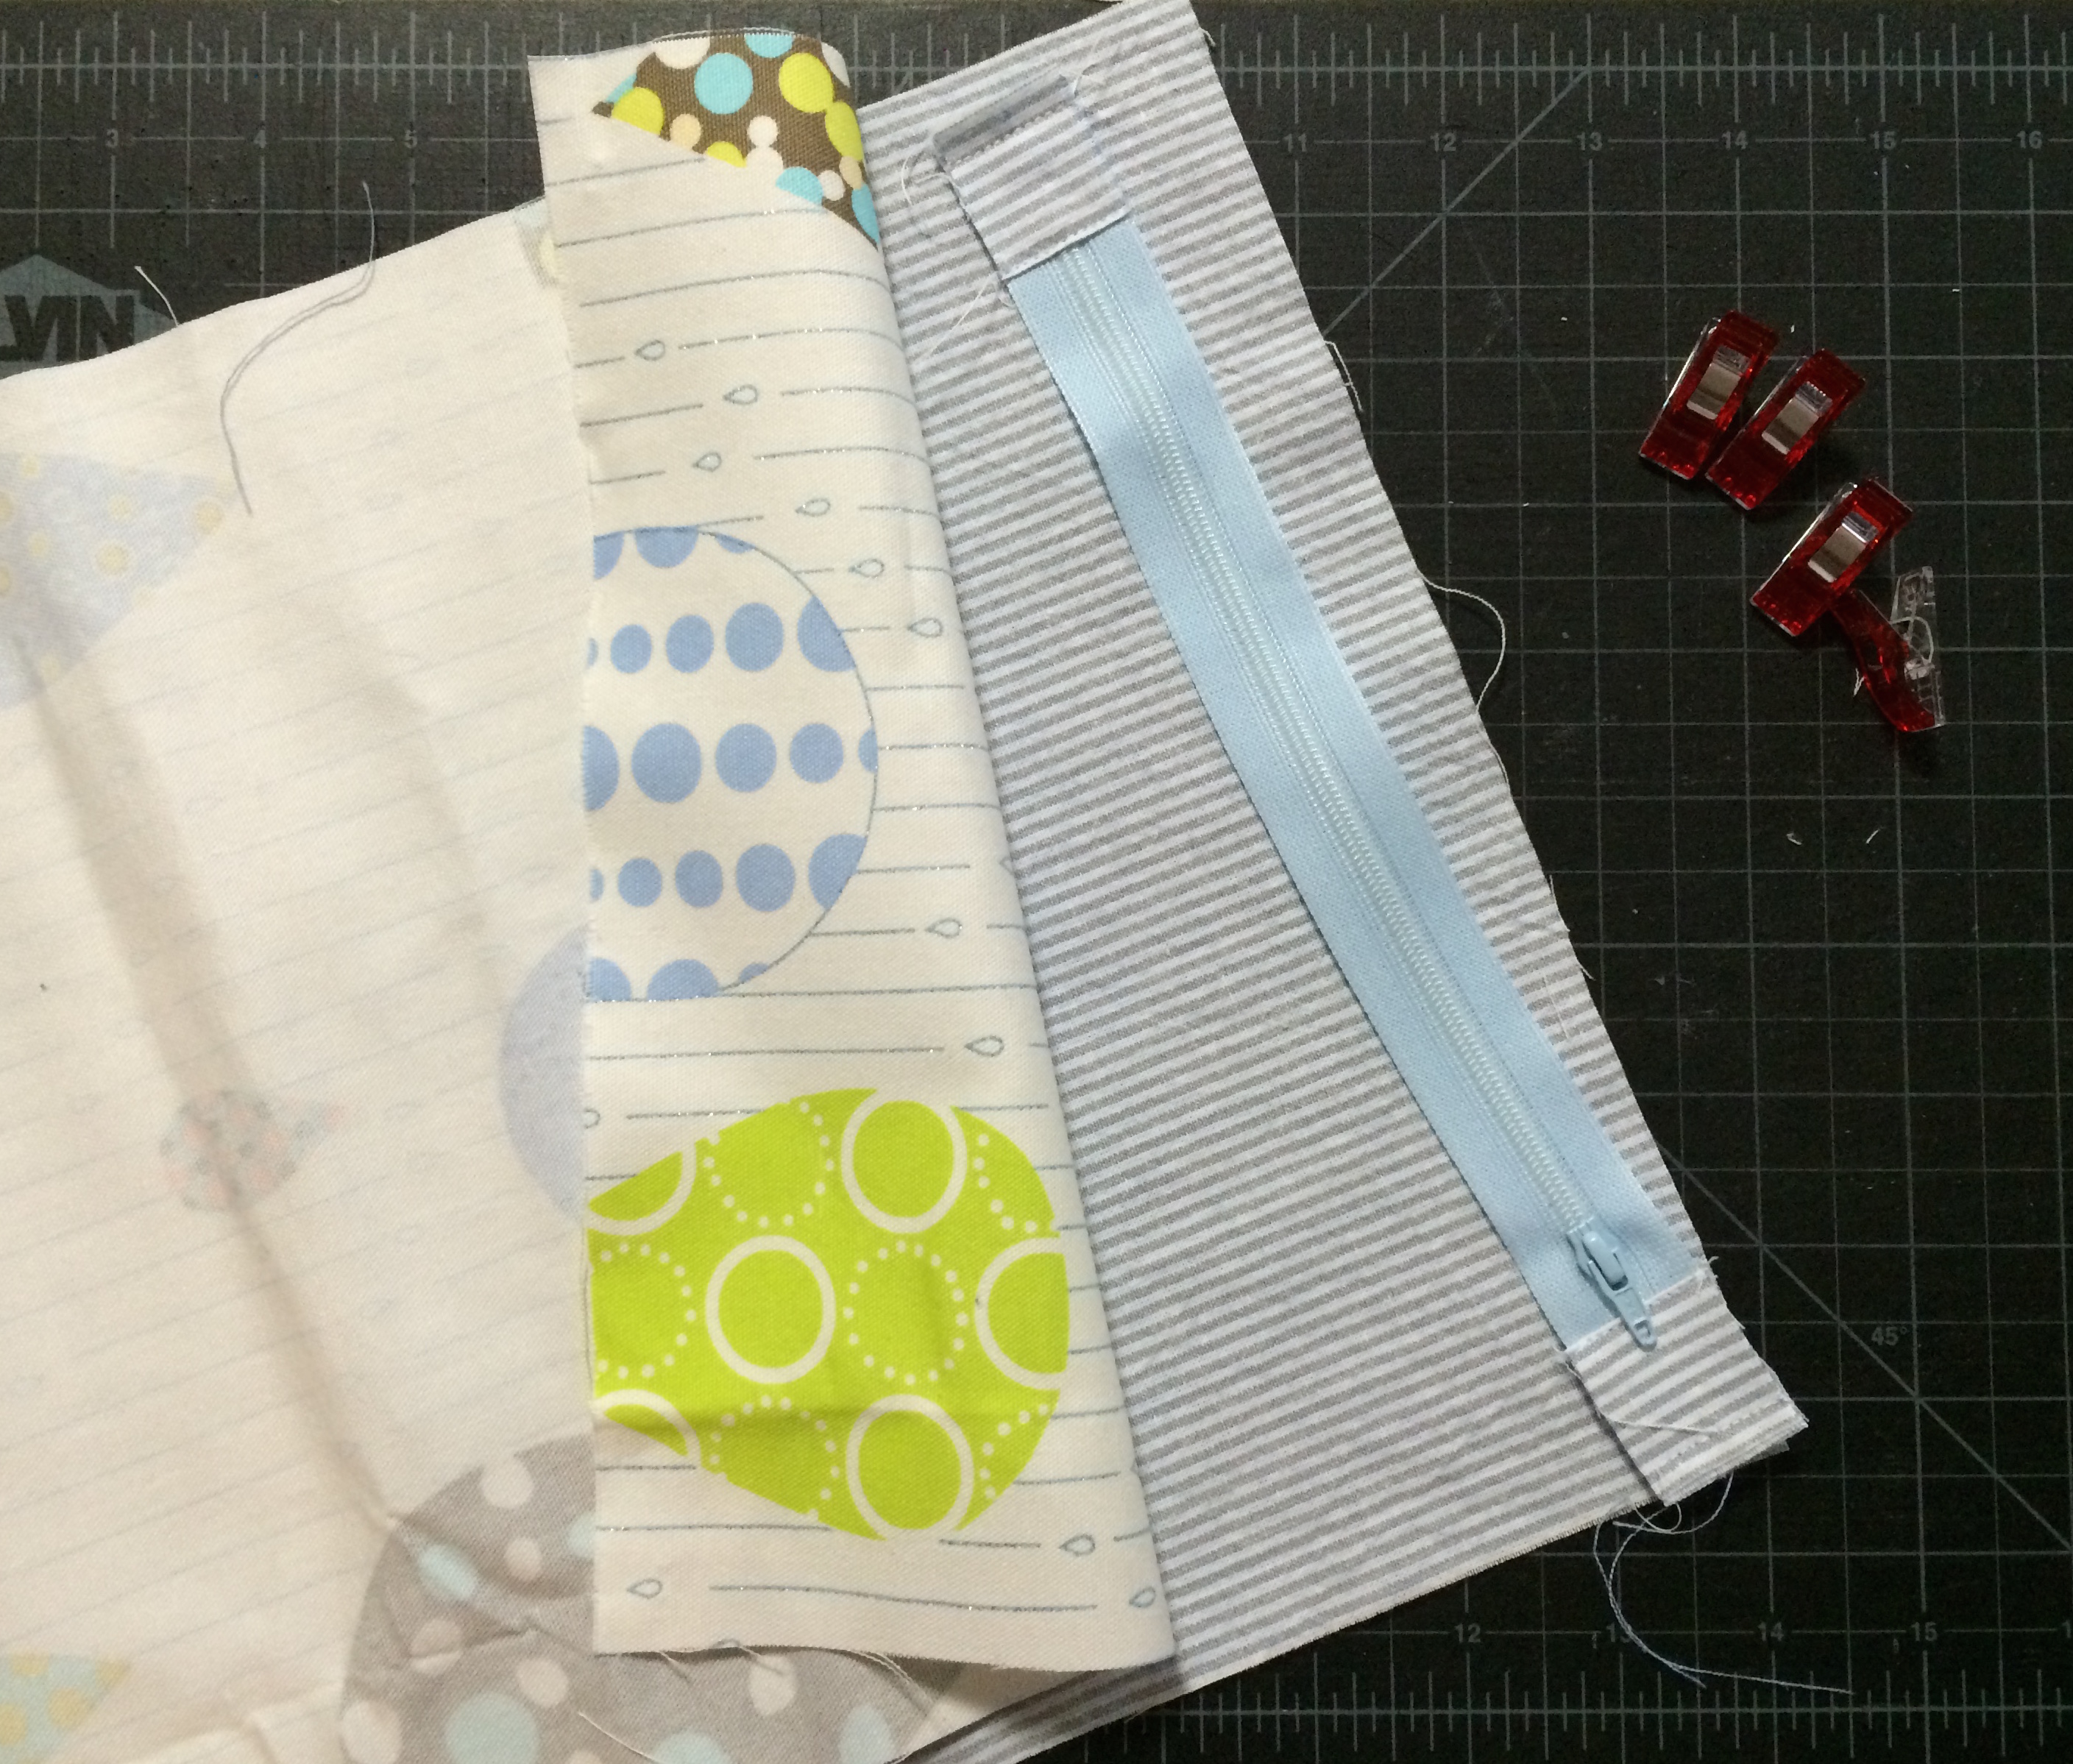
to add some contrast to the outer fabric, i chose a simple striped pattern for the inner layer. / 表の生地と変化をつけるため、シンプルなストライプの裏地を使用しました。
the zipper in the back makes for a clean and sturdy closure. / ファスナーで取り出しが楽でありながら、しっかり閉まります。
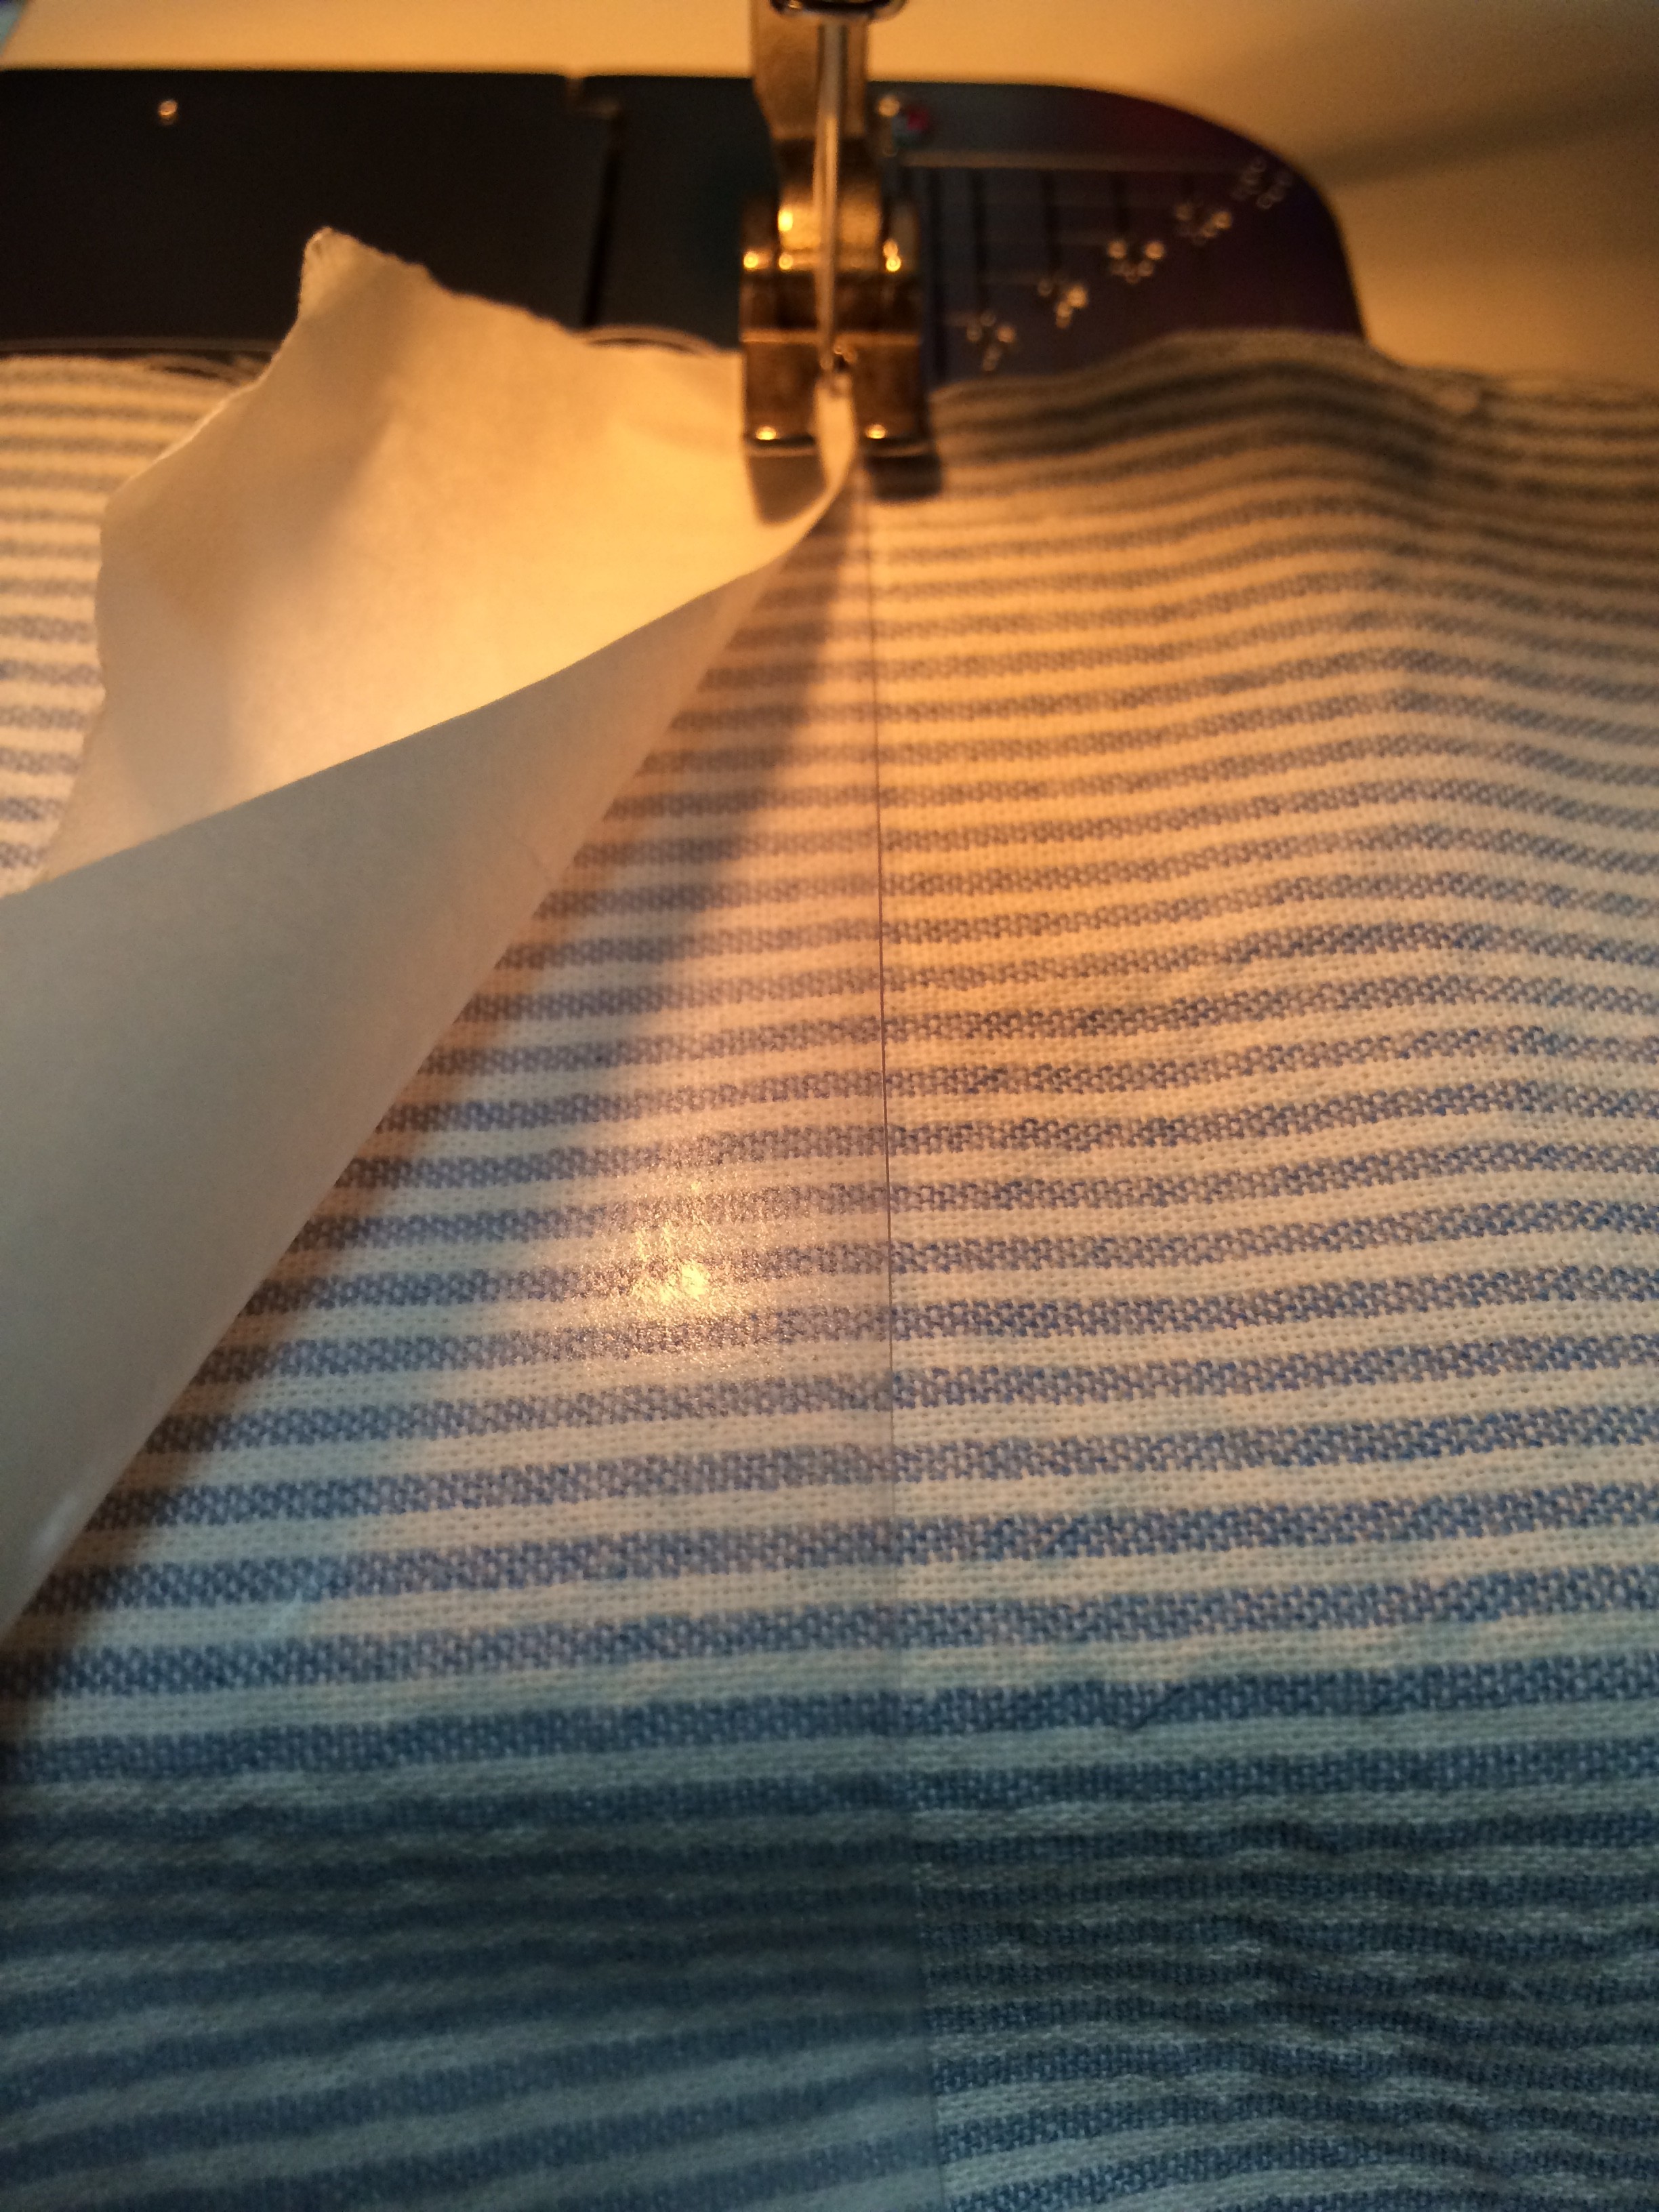
the main point. sewing on vinyl!! / メインのビニールを縫いつけました。
tracing the bitatto window. / ビタットの窓口をトレーシング。
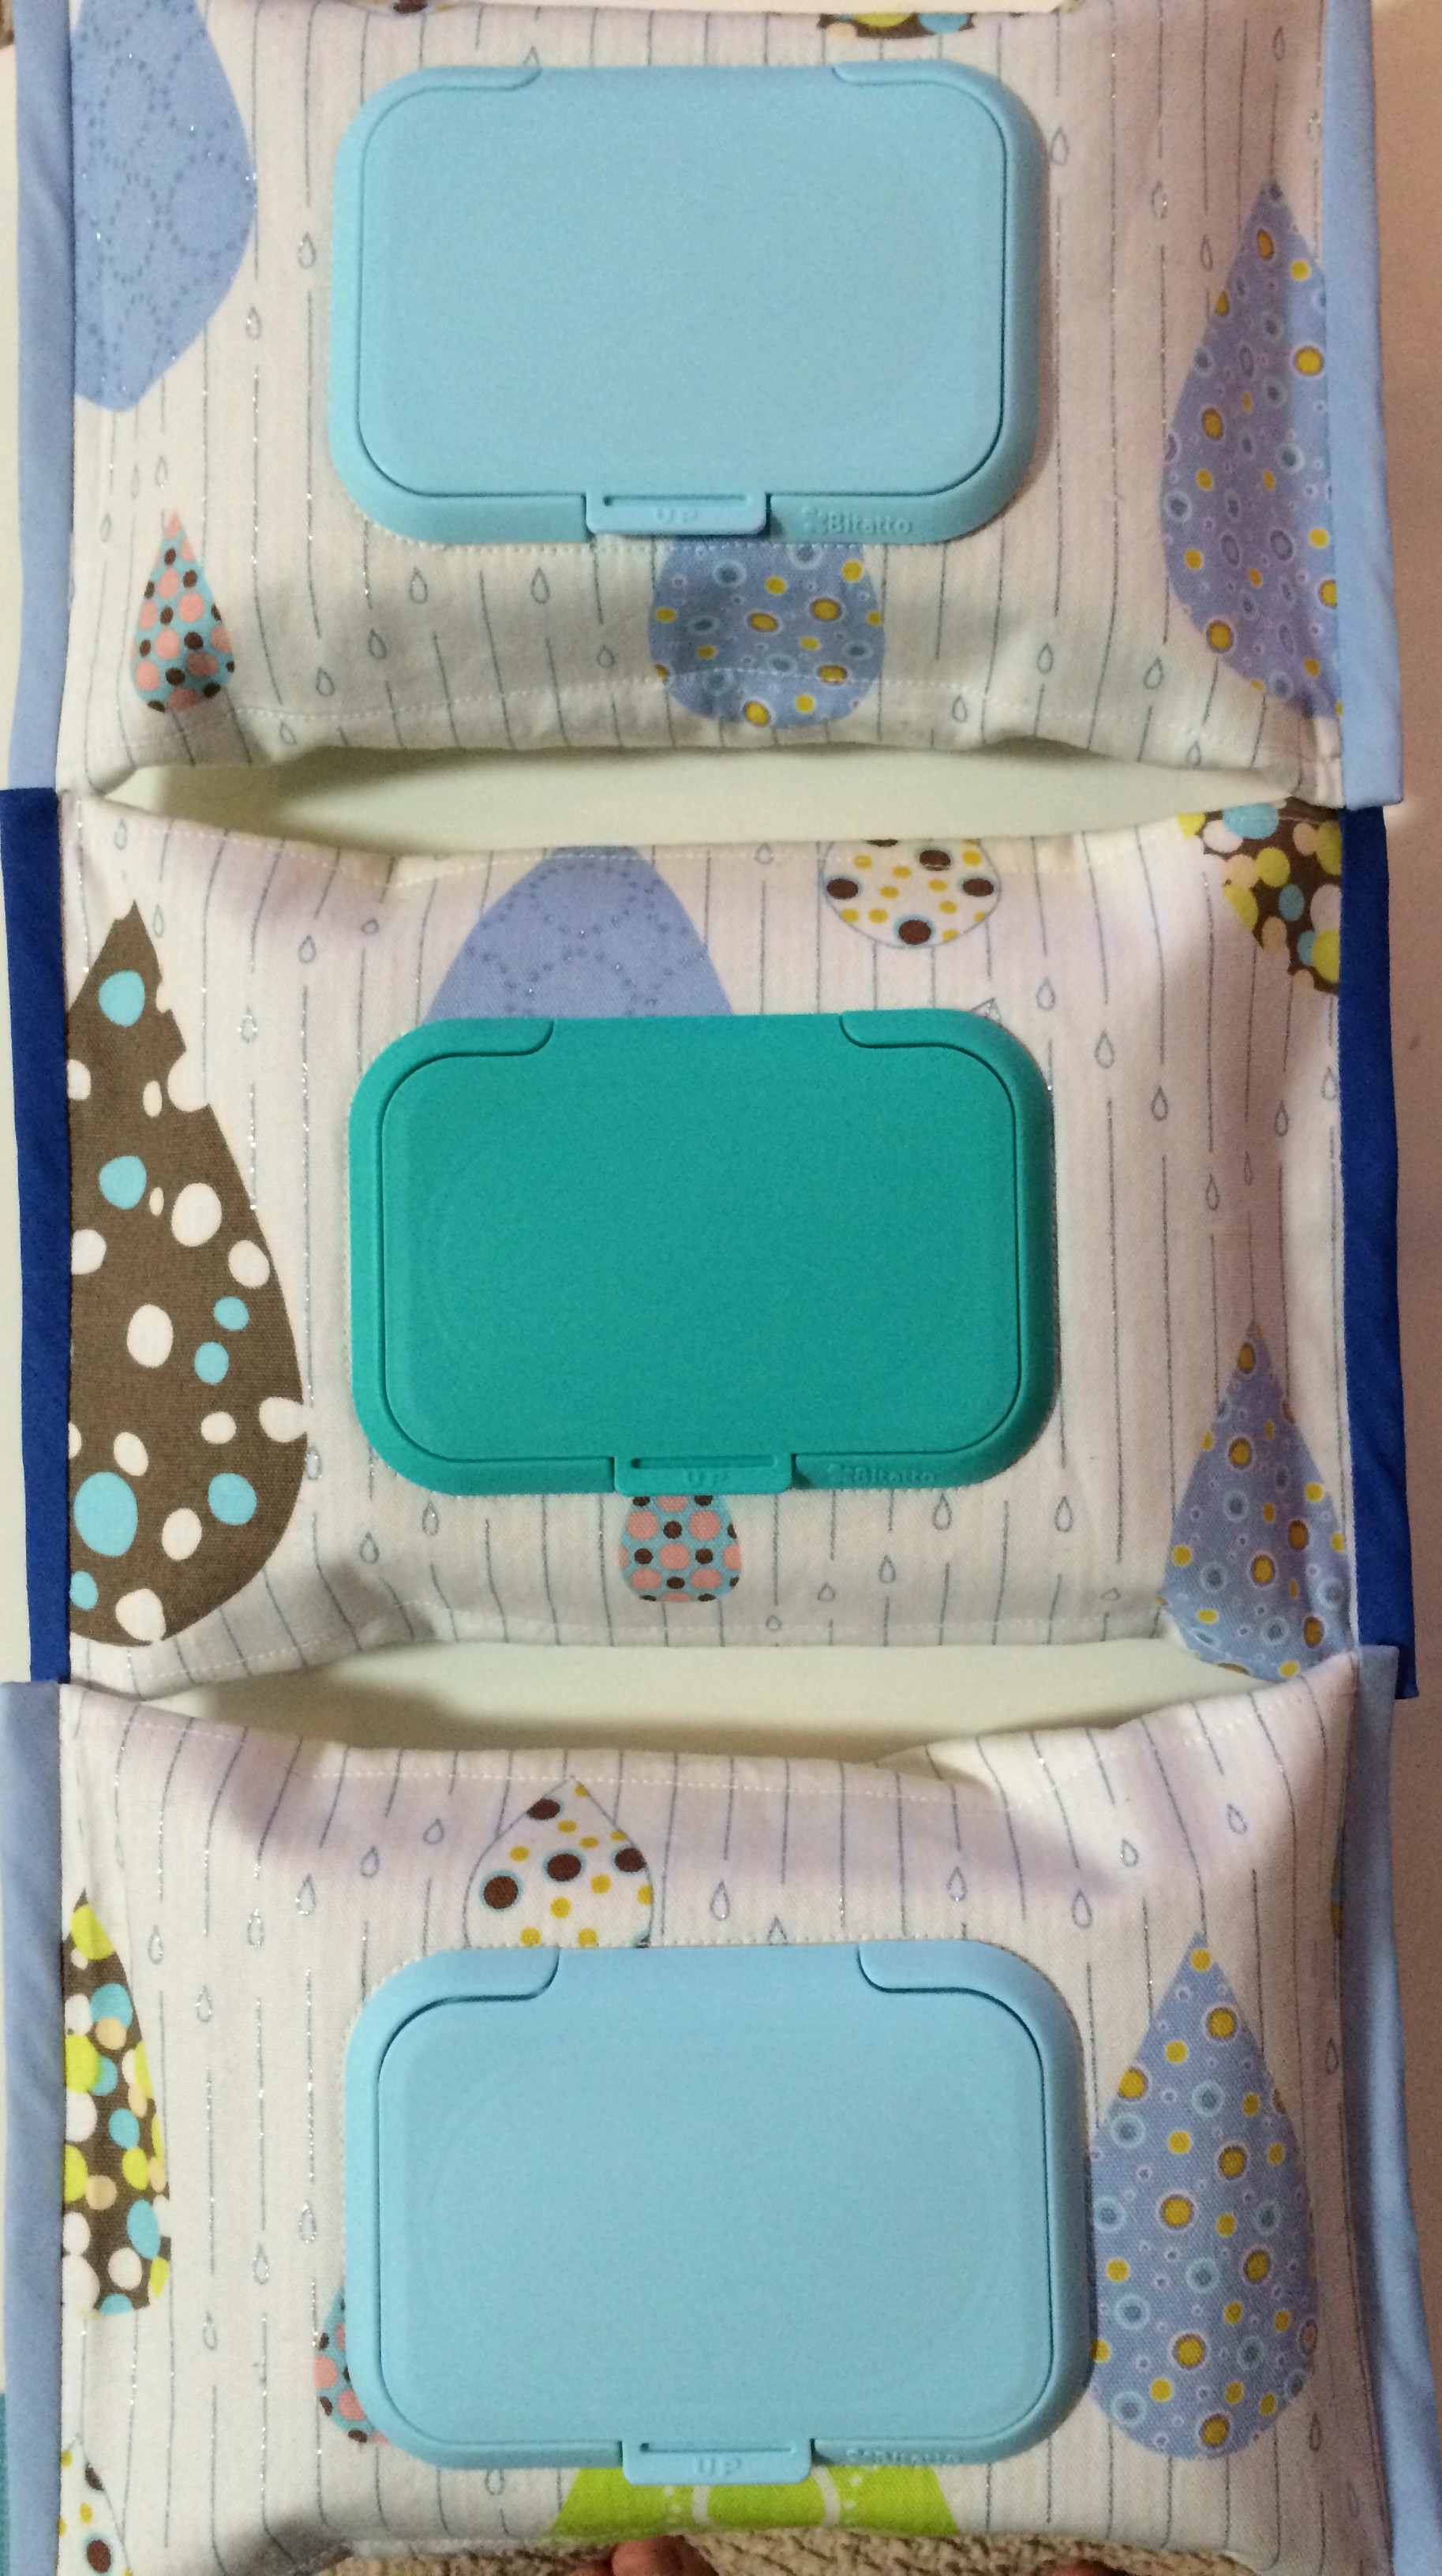
FINISHED! / 出来上がり!
*i am planning to sell these on one of my shops soon! / 近日中にショップにあげようと思います〜!
*after much thought, i won’t be selling these… i am happy to take commissioned orders, so please do not hesitate to contact me. / いろいろ検討しましたところ、販売はいたしません。オーダーは承っておりますので、お気軽にご連絡くださいませ。
**since the bitatto lid is attached to the case itself, unless to switch colors, the bitatto never needs to come off! / ビタットは、ケースに直接つけているので、特に取り外す必要がない為、より長く使い続けられます。
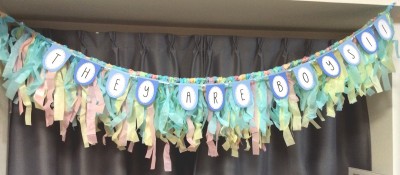
last month, i hosted a dual baby shower for two of my expecting friends. both of them are due around the same time, and both are boys! i was limited with set up time and decorations, so i made a volumy tassel garland that’s easy to put up and instantly brightens up any party space. i didn’t have time to take many photos but here’s what the garlands looked like.
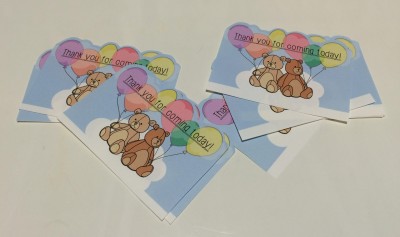
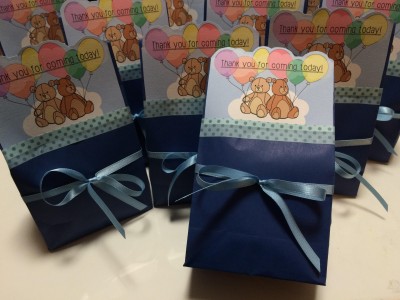
now onto the MAIN subject of this post. a simple and easy baby shower favor d.i.y.! i know i do a lot of “simple and easy”, but seriously not many of us have all the time in the world, and efficiency is key. as long as your heart goes into making these favors, your guests will truly appreciate the gesture!
what you need / 材料:
small paper gift bags / ギフト用紙袋
chocolates, candies, or other small wrapped snacks / 個別包装されたチョコレート、キャンディー、お菓子
washi tape / 和紙テープ
printed (or written) thank you message / 手描き、もしくは印刷されたサンキューメッセージ
scissors / ハサミ
ribbon / リボン
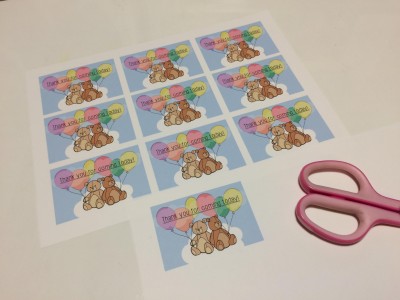
1. print and/or handwrite/draw a thank you message to match the width of gift bag. / 印刷もしくは手書き/描きのサンキューメッセージタグを作る。幅はギフトバッグに合わせて。
2. cut out thank you message tag. i left some white space at the bottom where the tape will go, but this is optional. for some extra fun details, cut top edges in a curved, scalloped, or zig-zag pattern! /
メッセージタグを切り抜く。下端の白紙部分はテープを貼るのり代として残しました。面白みを出すのに、タグの上端は、カーブやスカラップ、ジグザグで切り抜くと良いです⭐︎
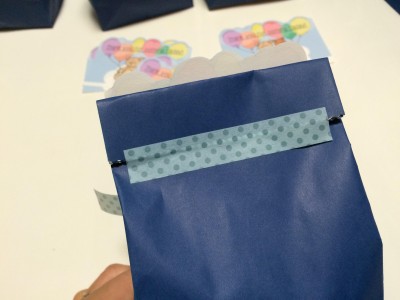
3. fill gift bag with candies and snacks and tape closed. / ギフトバッグにお菓子を詰めて、テープで閉じる。
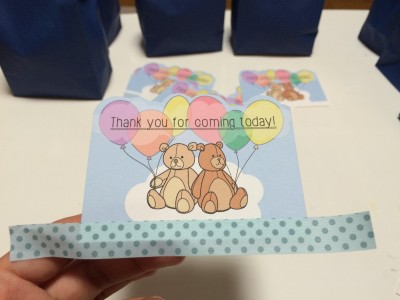
4. tape washi-tape to the bottom edge of tag. make sure to leave about 1/3 inch of the tape from the bottom edge of the tag to attach to the gift bag. / メッセージタグの下端に和紙テープを貼る。ギフトバッグに貼り付ける分量を半分残す。
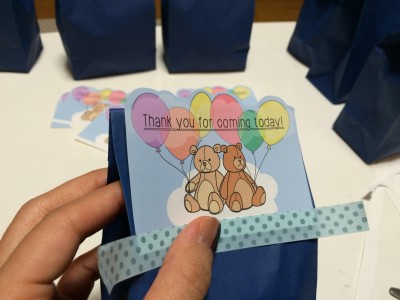
5. tape tag to gift bag. let the detailed top edge stick above the gift bag. / メッセージタグをギフトバッグに貼り付ける。先ほど不規則に切った上端は、紙袋の上から出るように配置してね♥
right smack dab in the middle of the holiday season, bustling around for presents, preparing the house for the freezing winter months and the streams of expected guests, i of course had to think up another diy decoration project (well it was more because i had come across these dreamy fairy lights that i’ve been looking for all year) and thanks to my overly ambitious creative mind, i always lose a lot of sleep … but the results are worth it.
クリスマスシーズン真っ只中の今、家族のプレゼント探しから、大掃除、クリスマスパーティの準備などなど、やる事が途絶えない師走のこの時期に、新しいDIYを思いついてしまいました。実を言うと、インスピレーション源は一年中探していたフェアリーライトを niko and… で見つけた事です。睡眠時間削ってでもどうしても作りたかったスターガーランドが完成しました。
what you need / 材料:
1 A4 size card stock (for 6 stars) / A4サイズ厚紙や画用紙1枚(星6枚)
white acrylic paint / 白いアクリル絵の具
sponge for painting / スポンジ
gold spray paint / ゴールドスプレーカラー
printed template (1 sheet=6 stars) / 型紙のプリント(1枚=星6個) CLICK HERE FOR FREE TEMPLATE / 無料型紙は、こちらをクリック
all purpose glue / 糊
scissors / ハサミ
needle or pointed tool / 目打ち
ruler / 定規
cutter / カッター
cord / 紙紐
tape / テープ
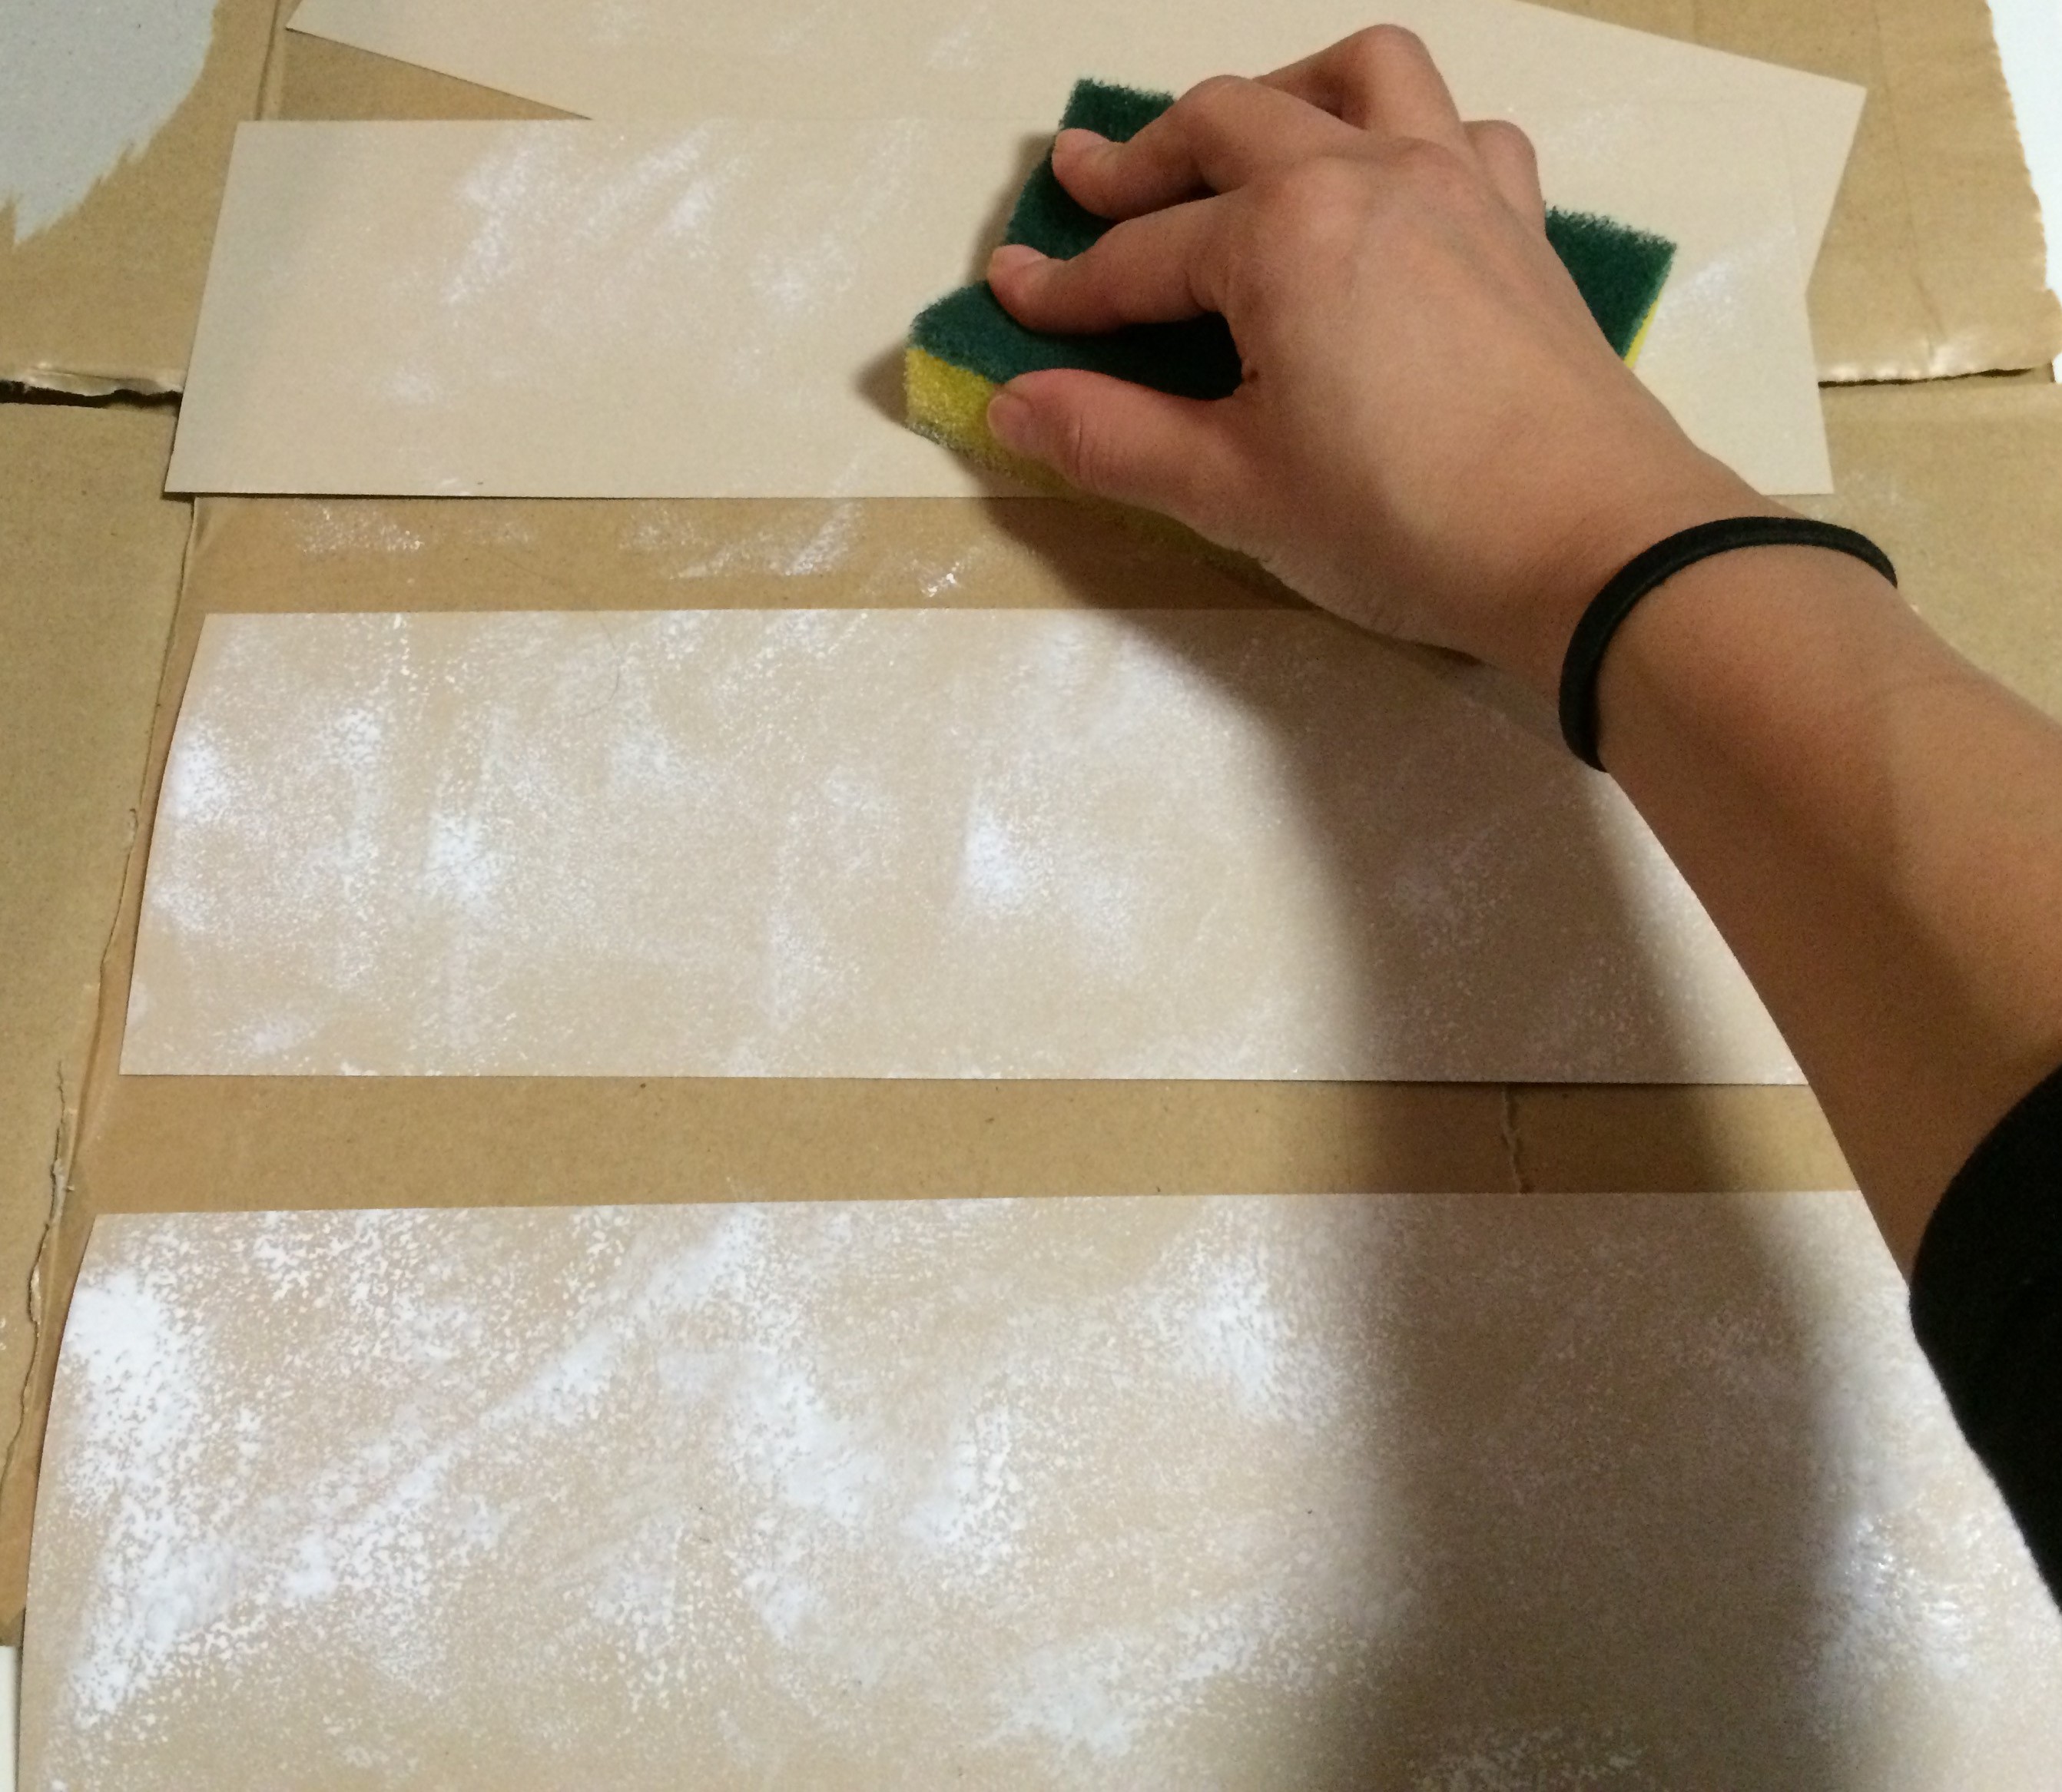
1. use a sponge to paint card stock. this adds a marble-type of effect for the first layer! then spray a thin layer of gold paint. (i used strips of leftover cardstock.) / スポンジでアクリルペイントを厚紙に叩くように塗る。マーブル調になります。次にゴールドのスプレーカラーを薄く塗る。(私は余り物の厚紙を使用しているので紙サイズが異なります。)
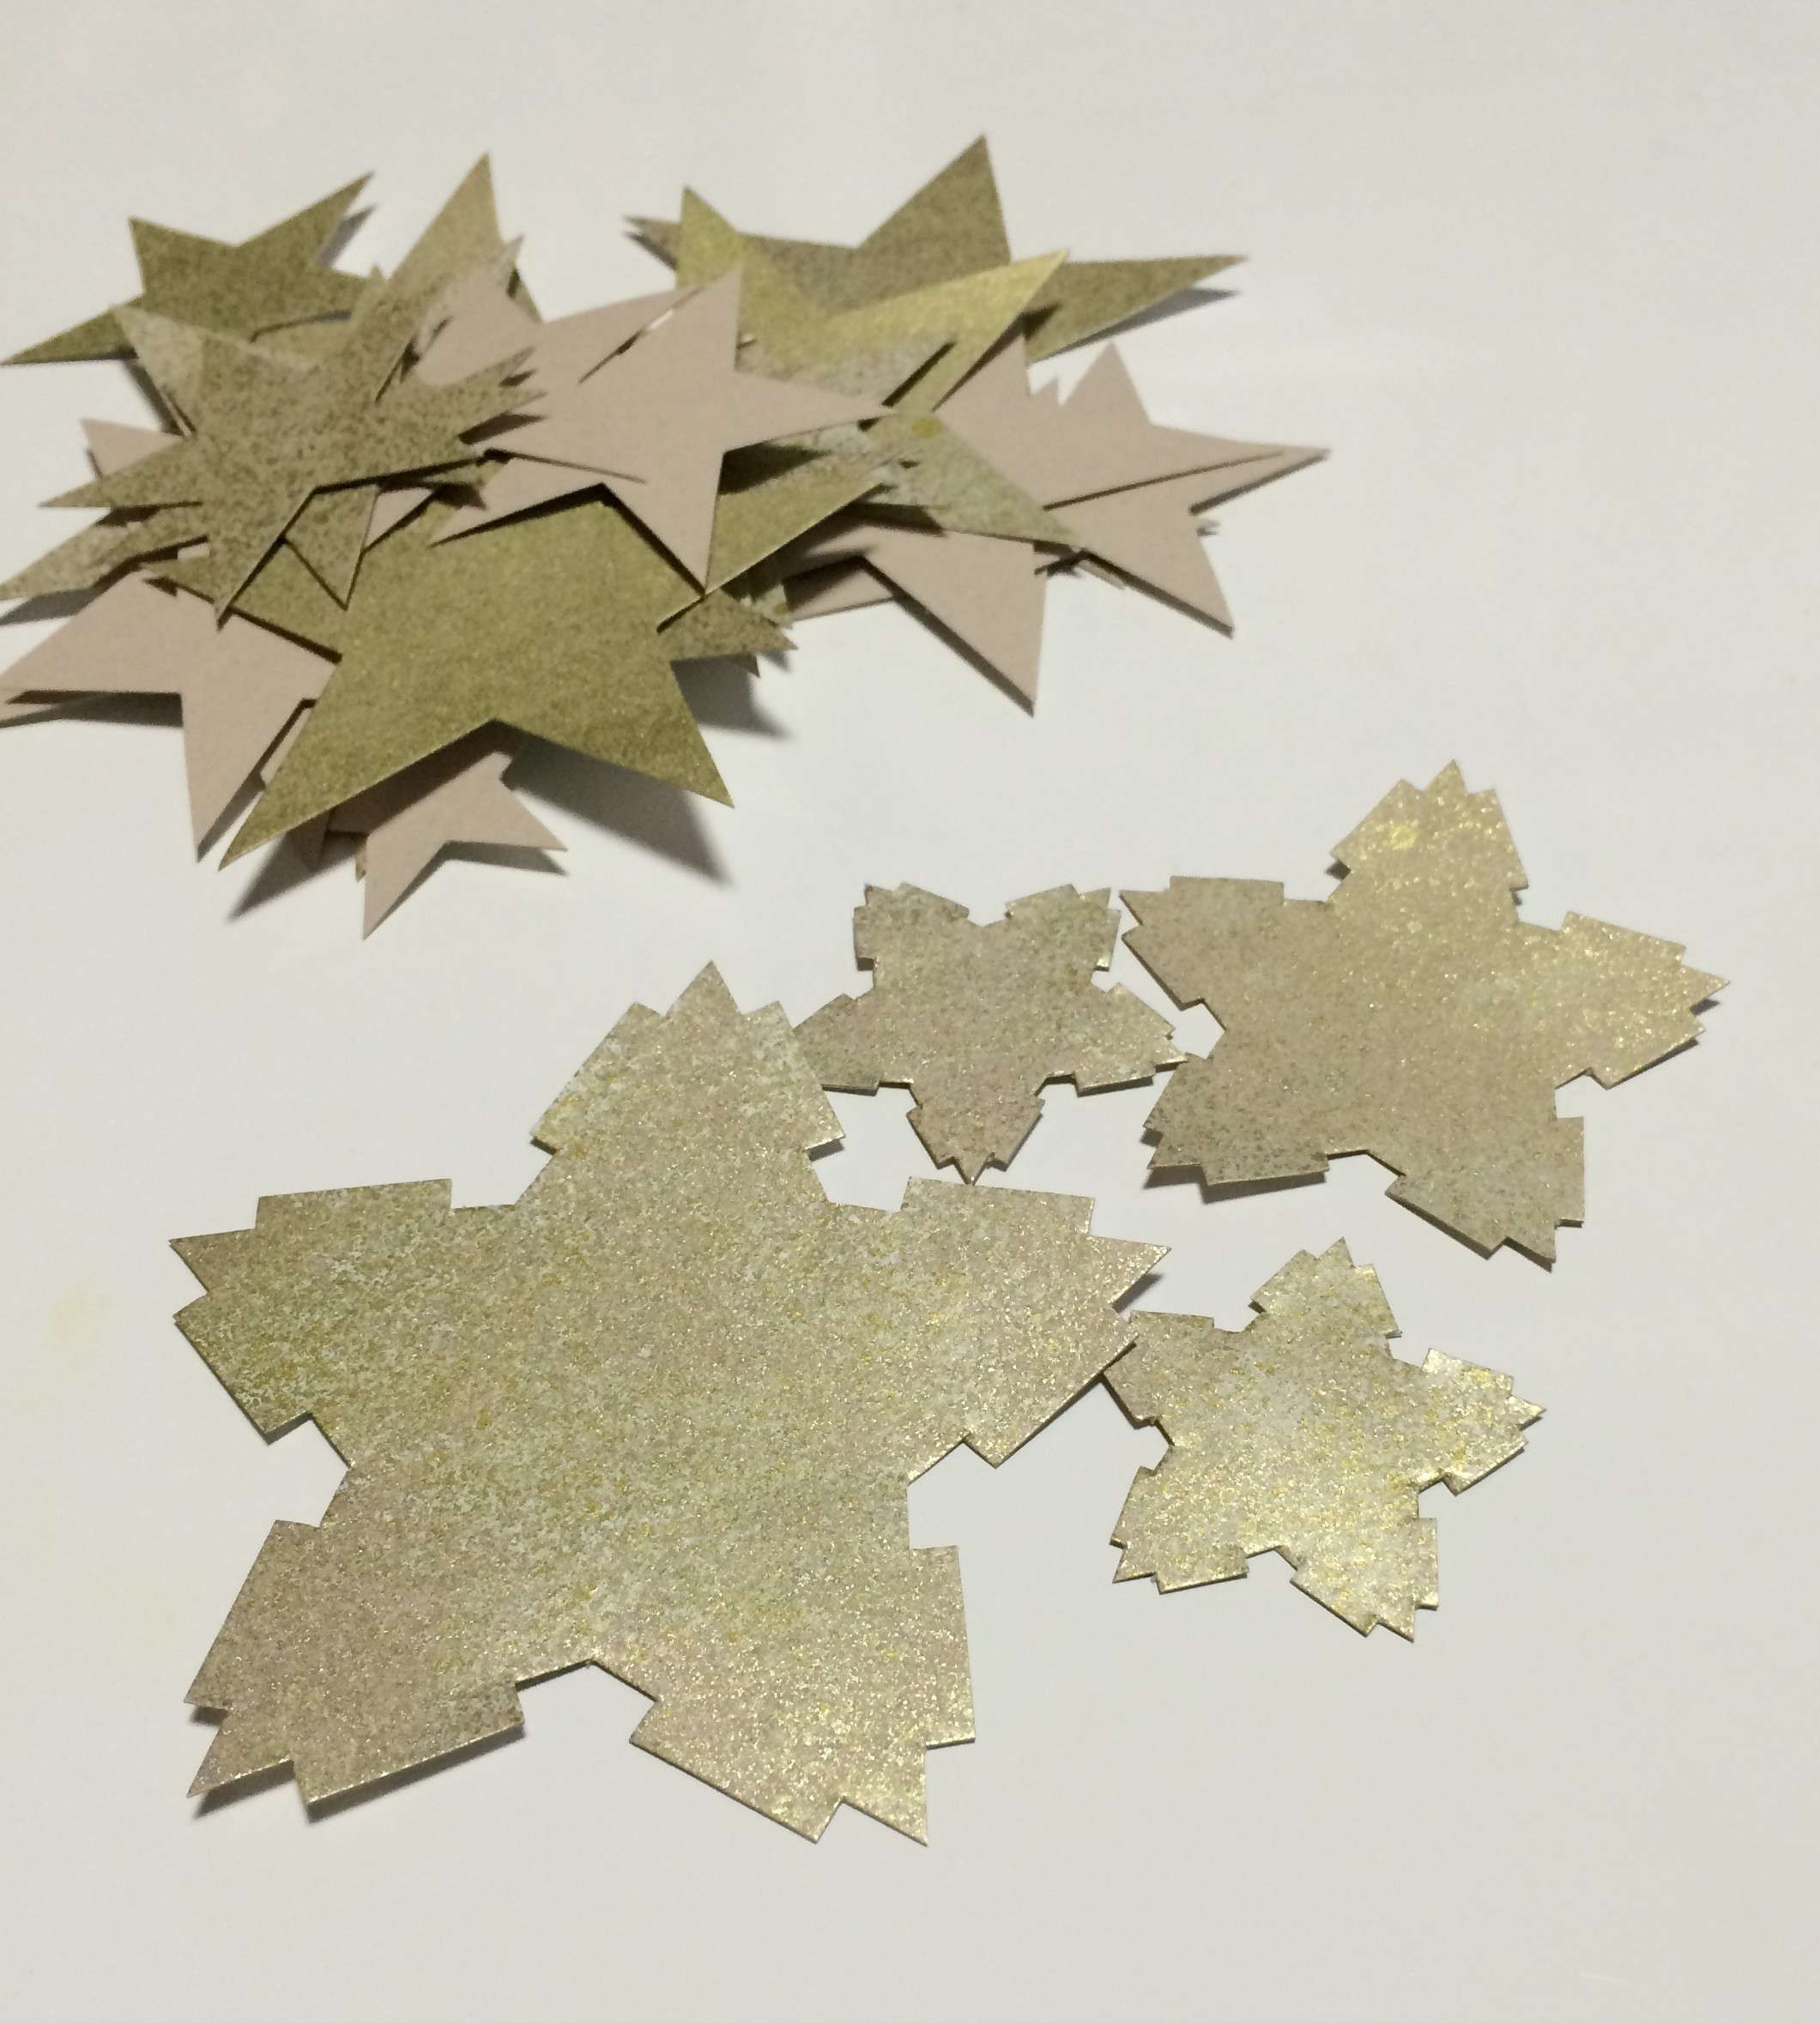
2. after at least 24 hours of drying the paints, the sheets are ready! i purposely left a couple of sheets uncolored. / 24時間ほどペイントを乾かしたら、紙の準備が終わります!あえて数枚ペイントをしないでいます。
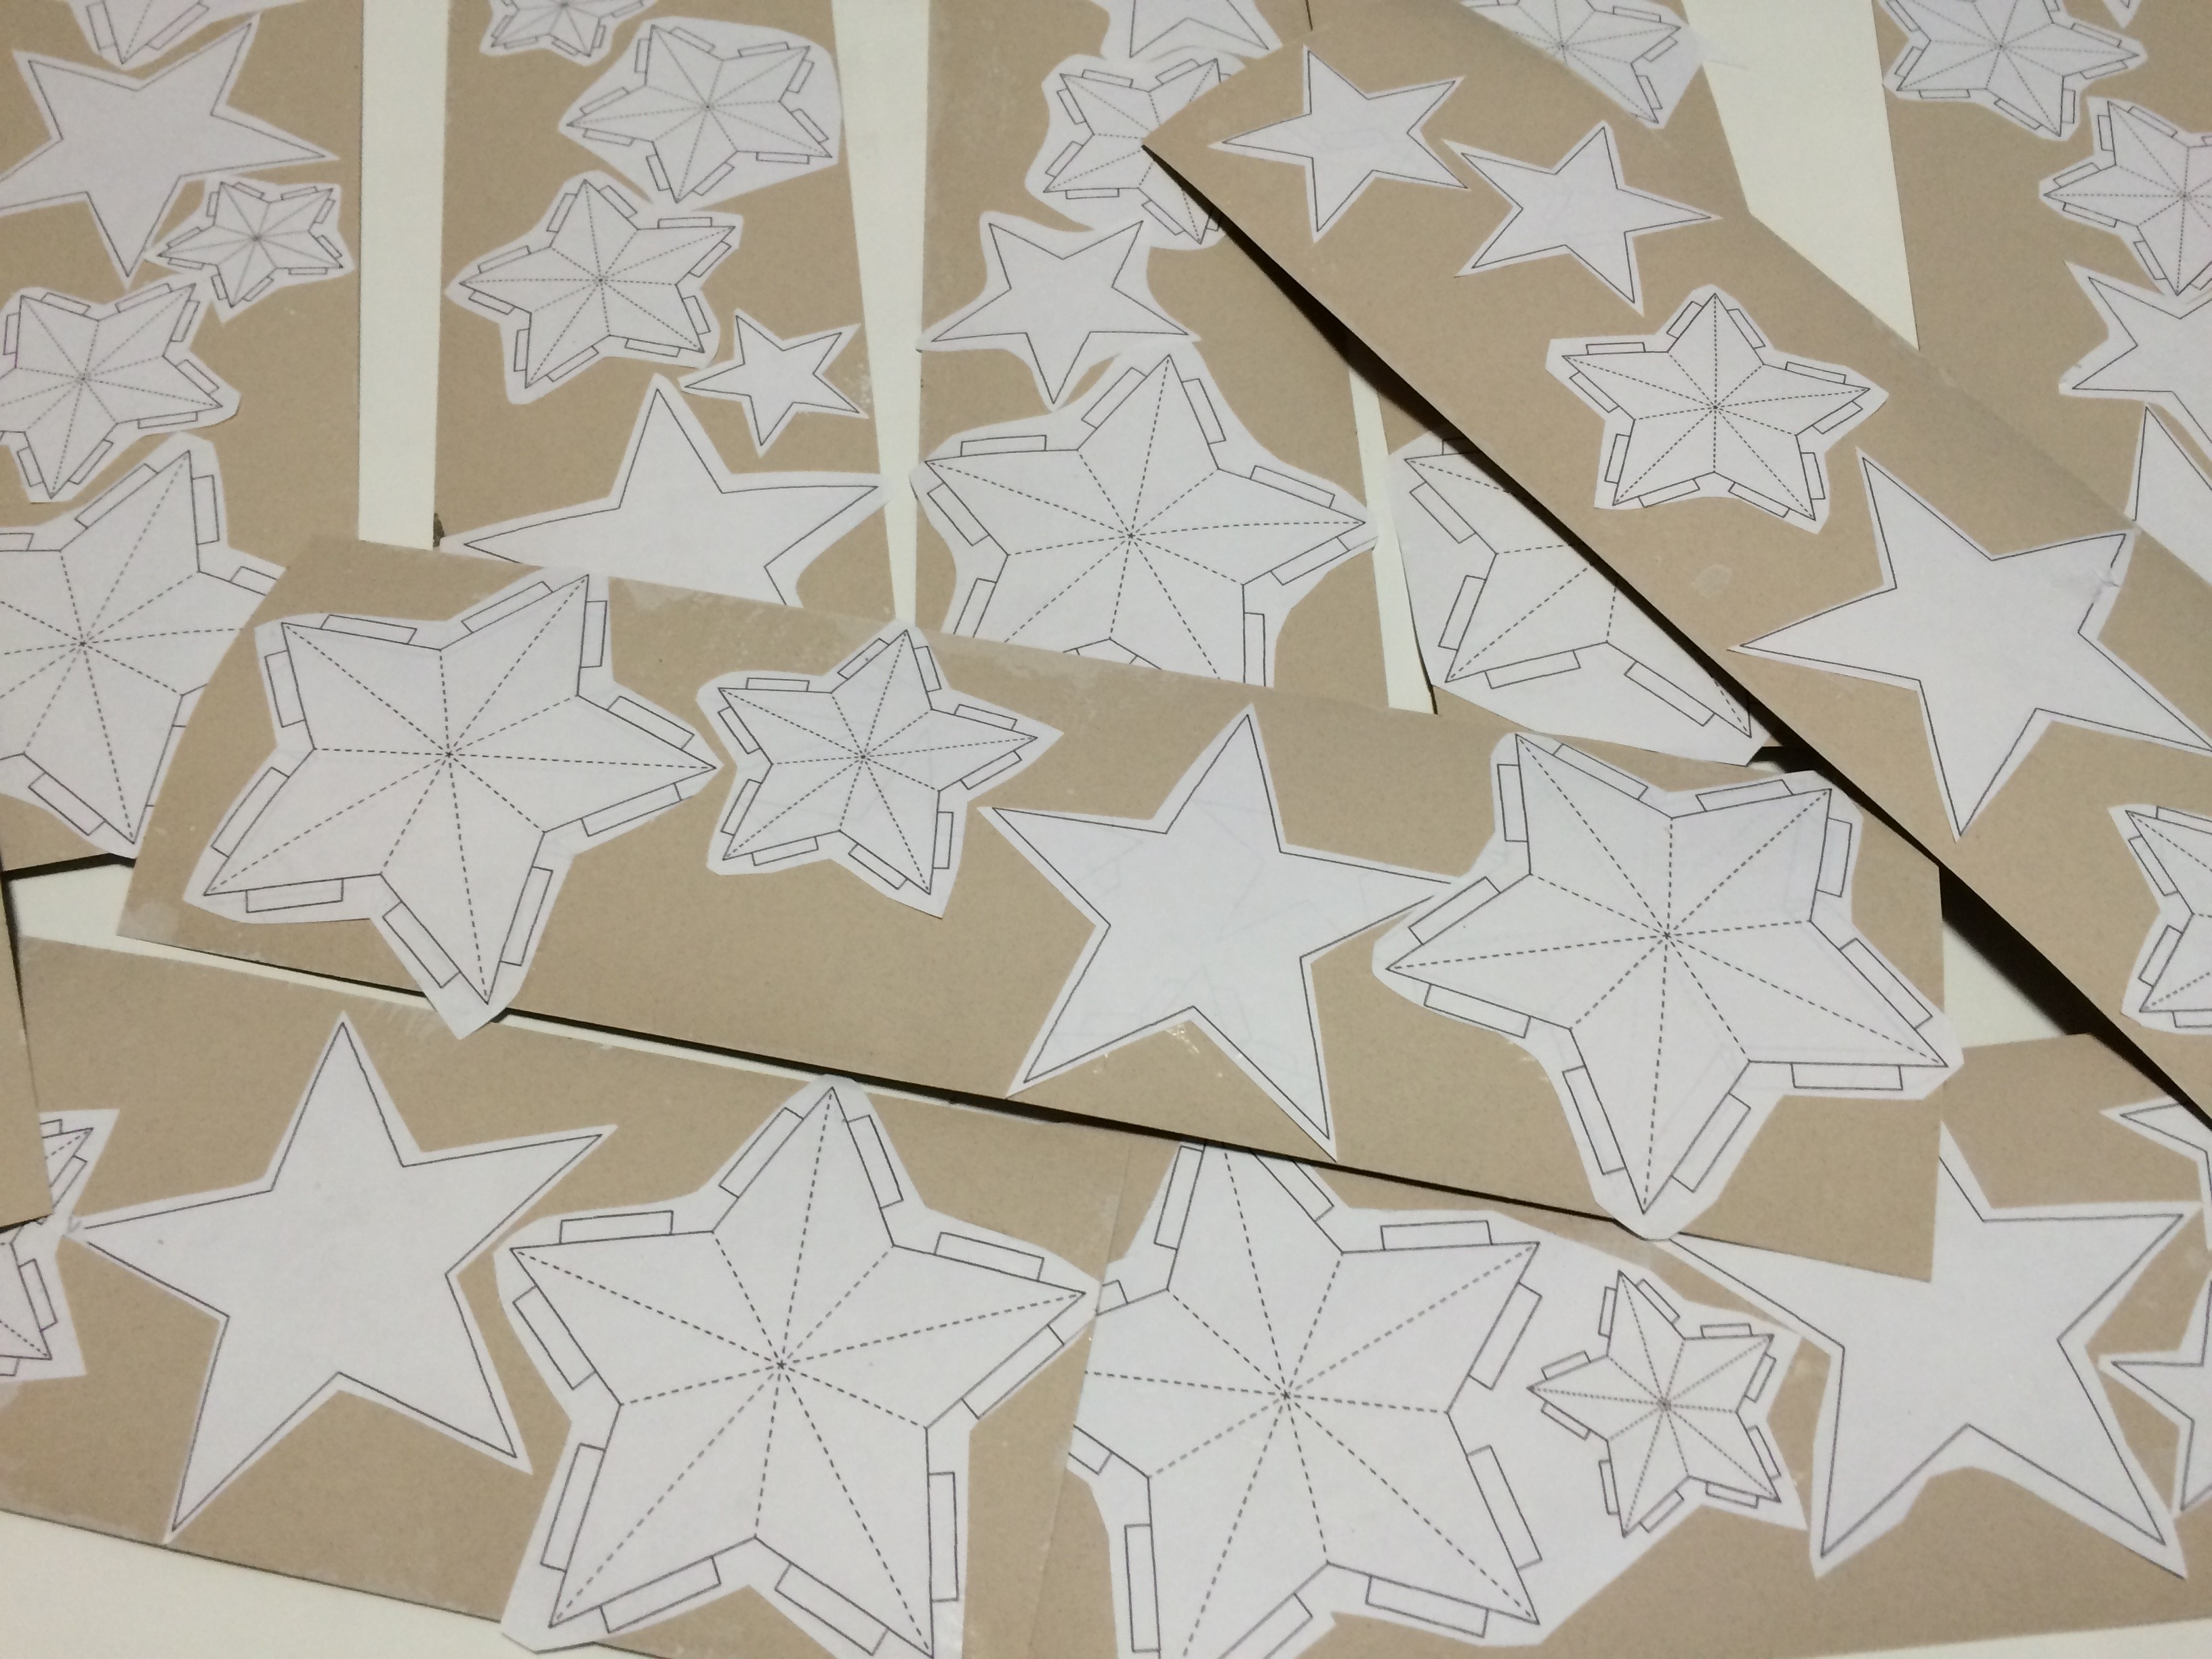
3. glue the template to the back of the prepared card stock. make sure to glue the entire surface of each star. since i had irregular sized strips i roughly cut the individual stars out. / 型紙のプリントを厚紙の裏に糊で貼る。しっかり星の中全体を糊付けする事がポイントです。私は余り物の紙を使っていたので、先に型紙を荒く切り分けてから貼りました。
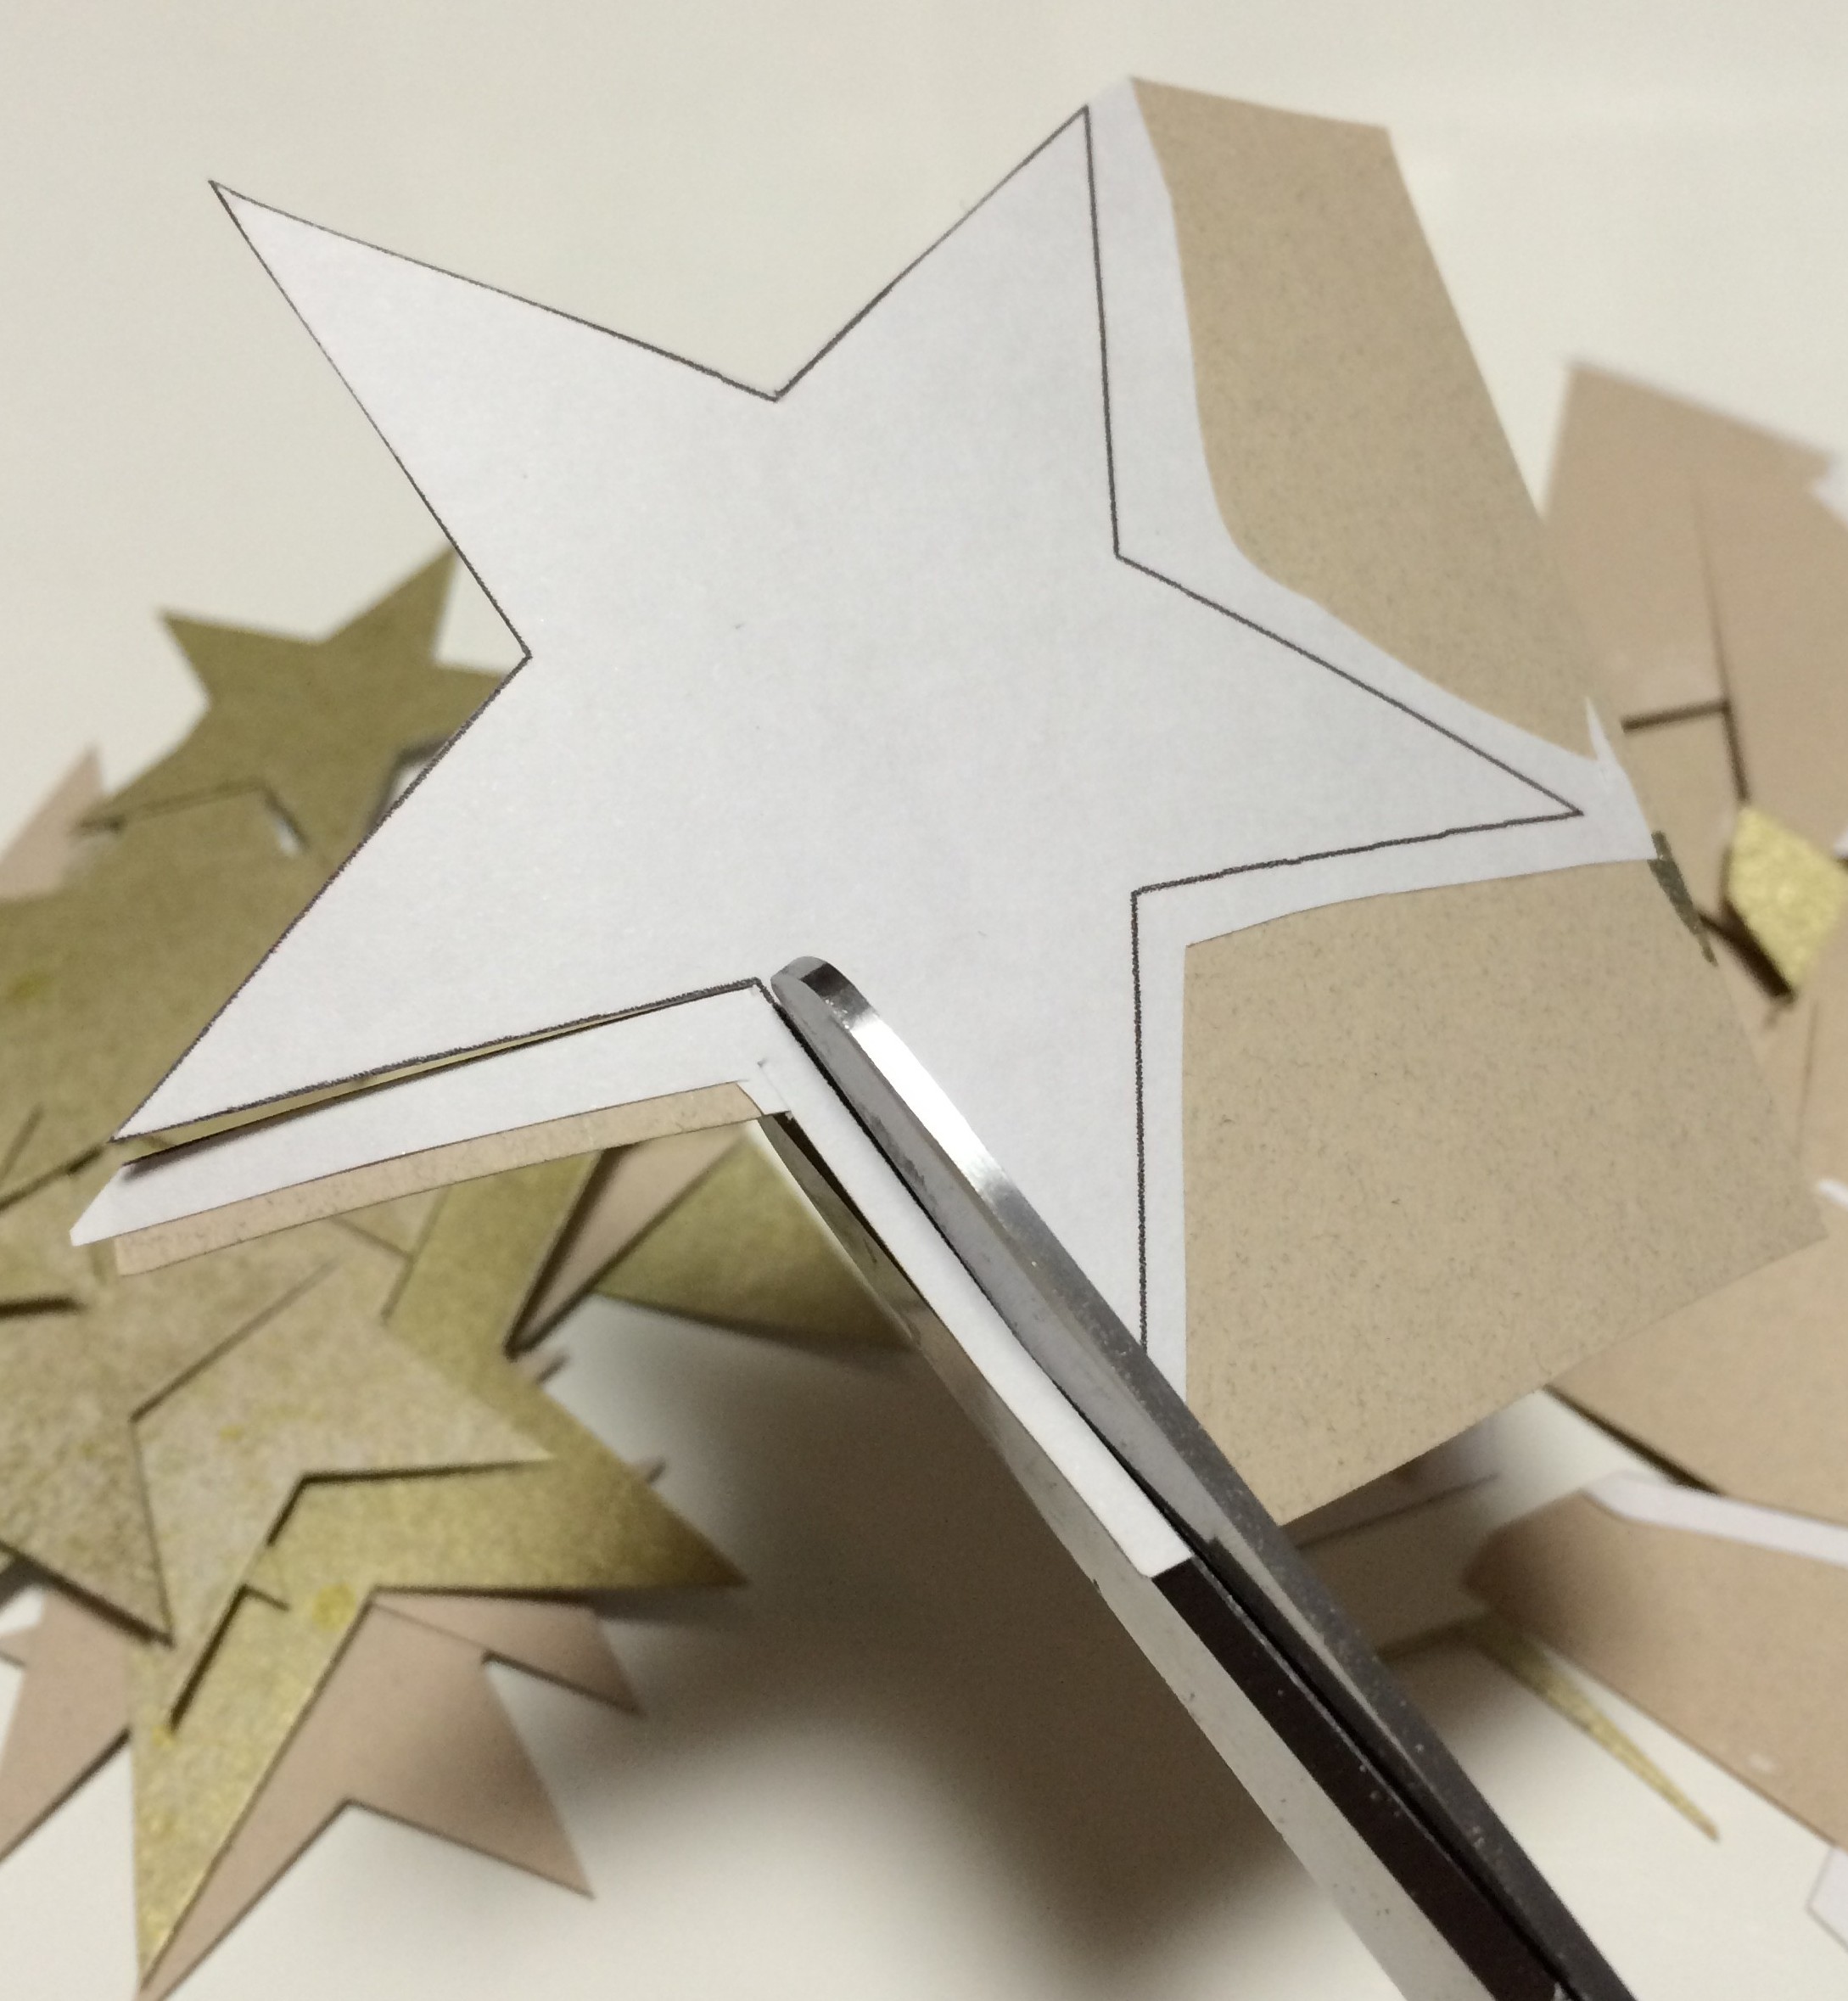
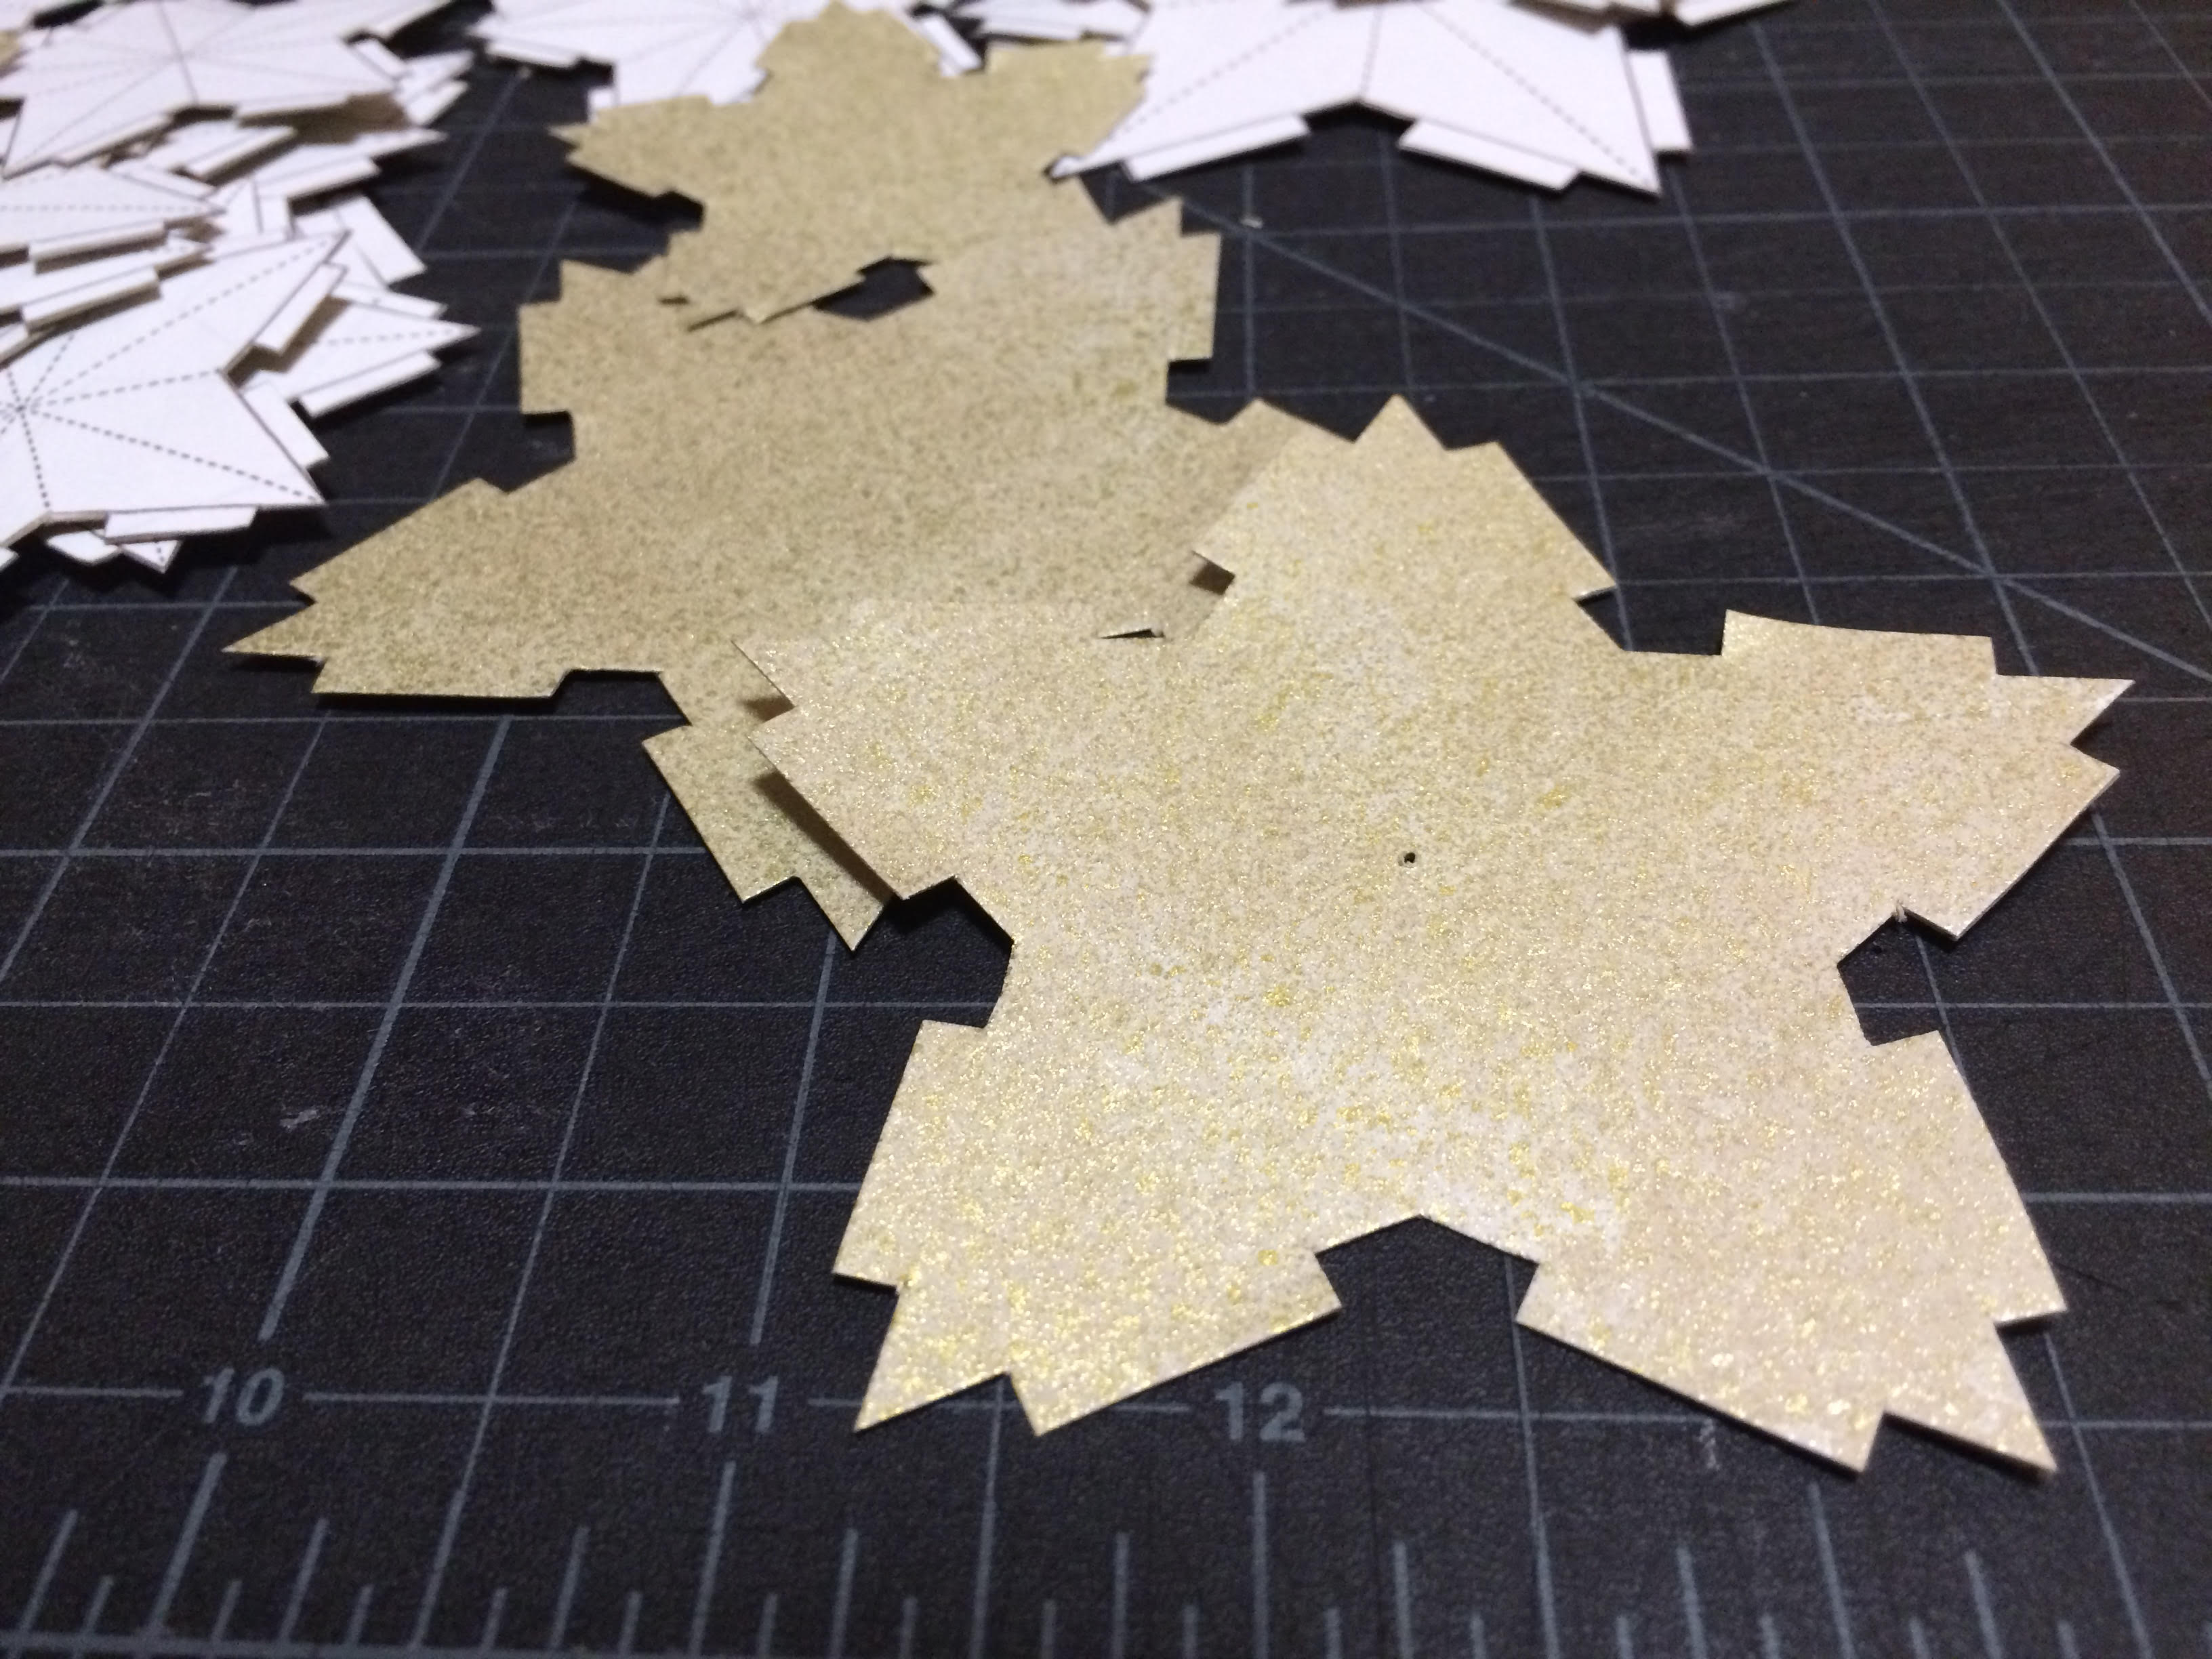
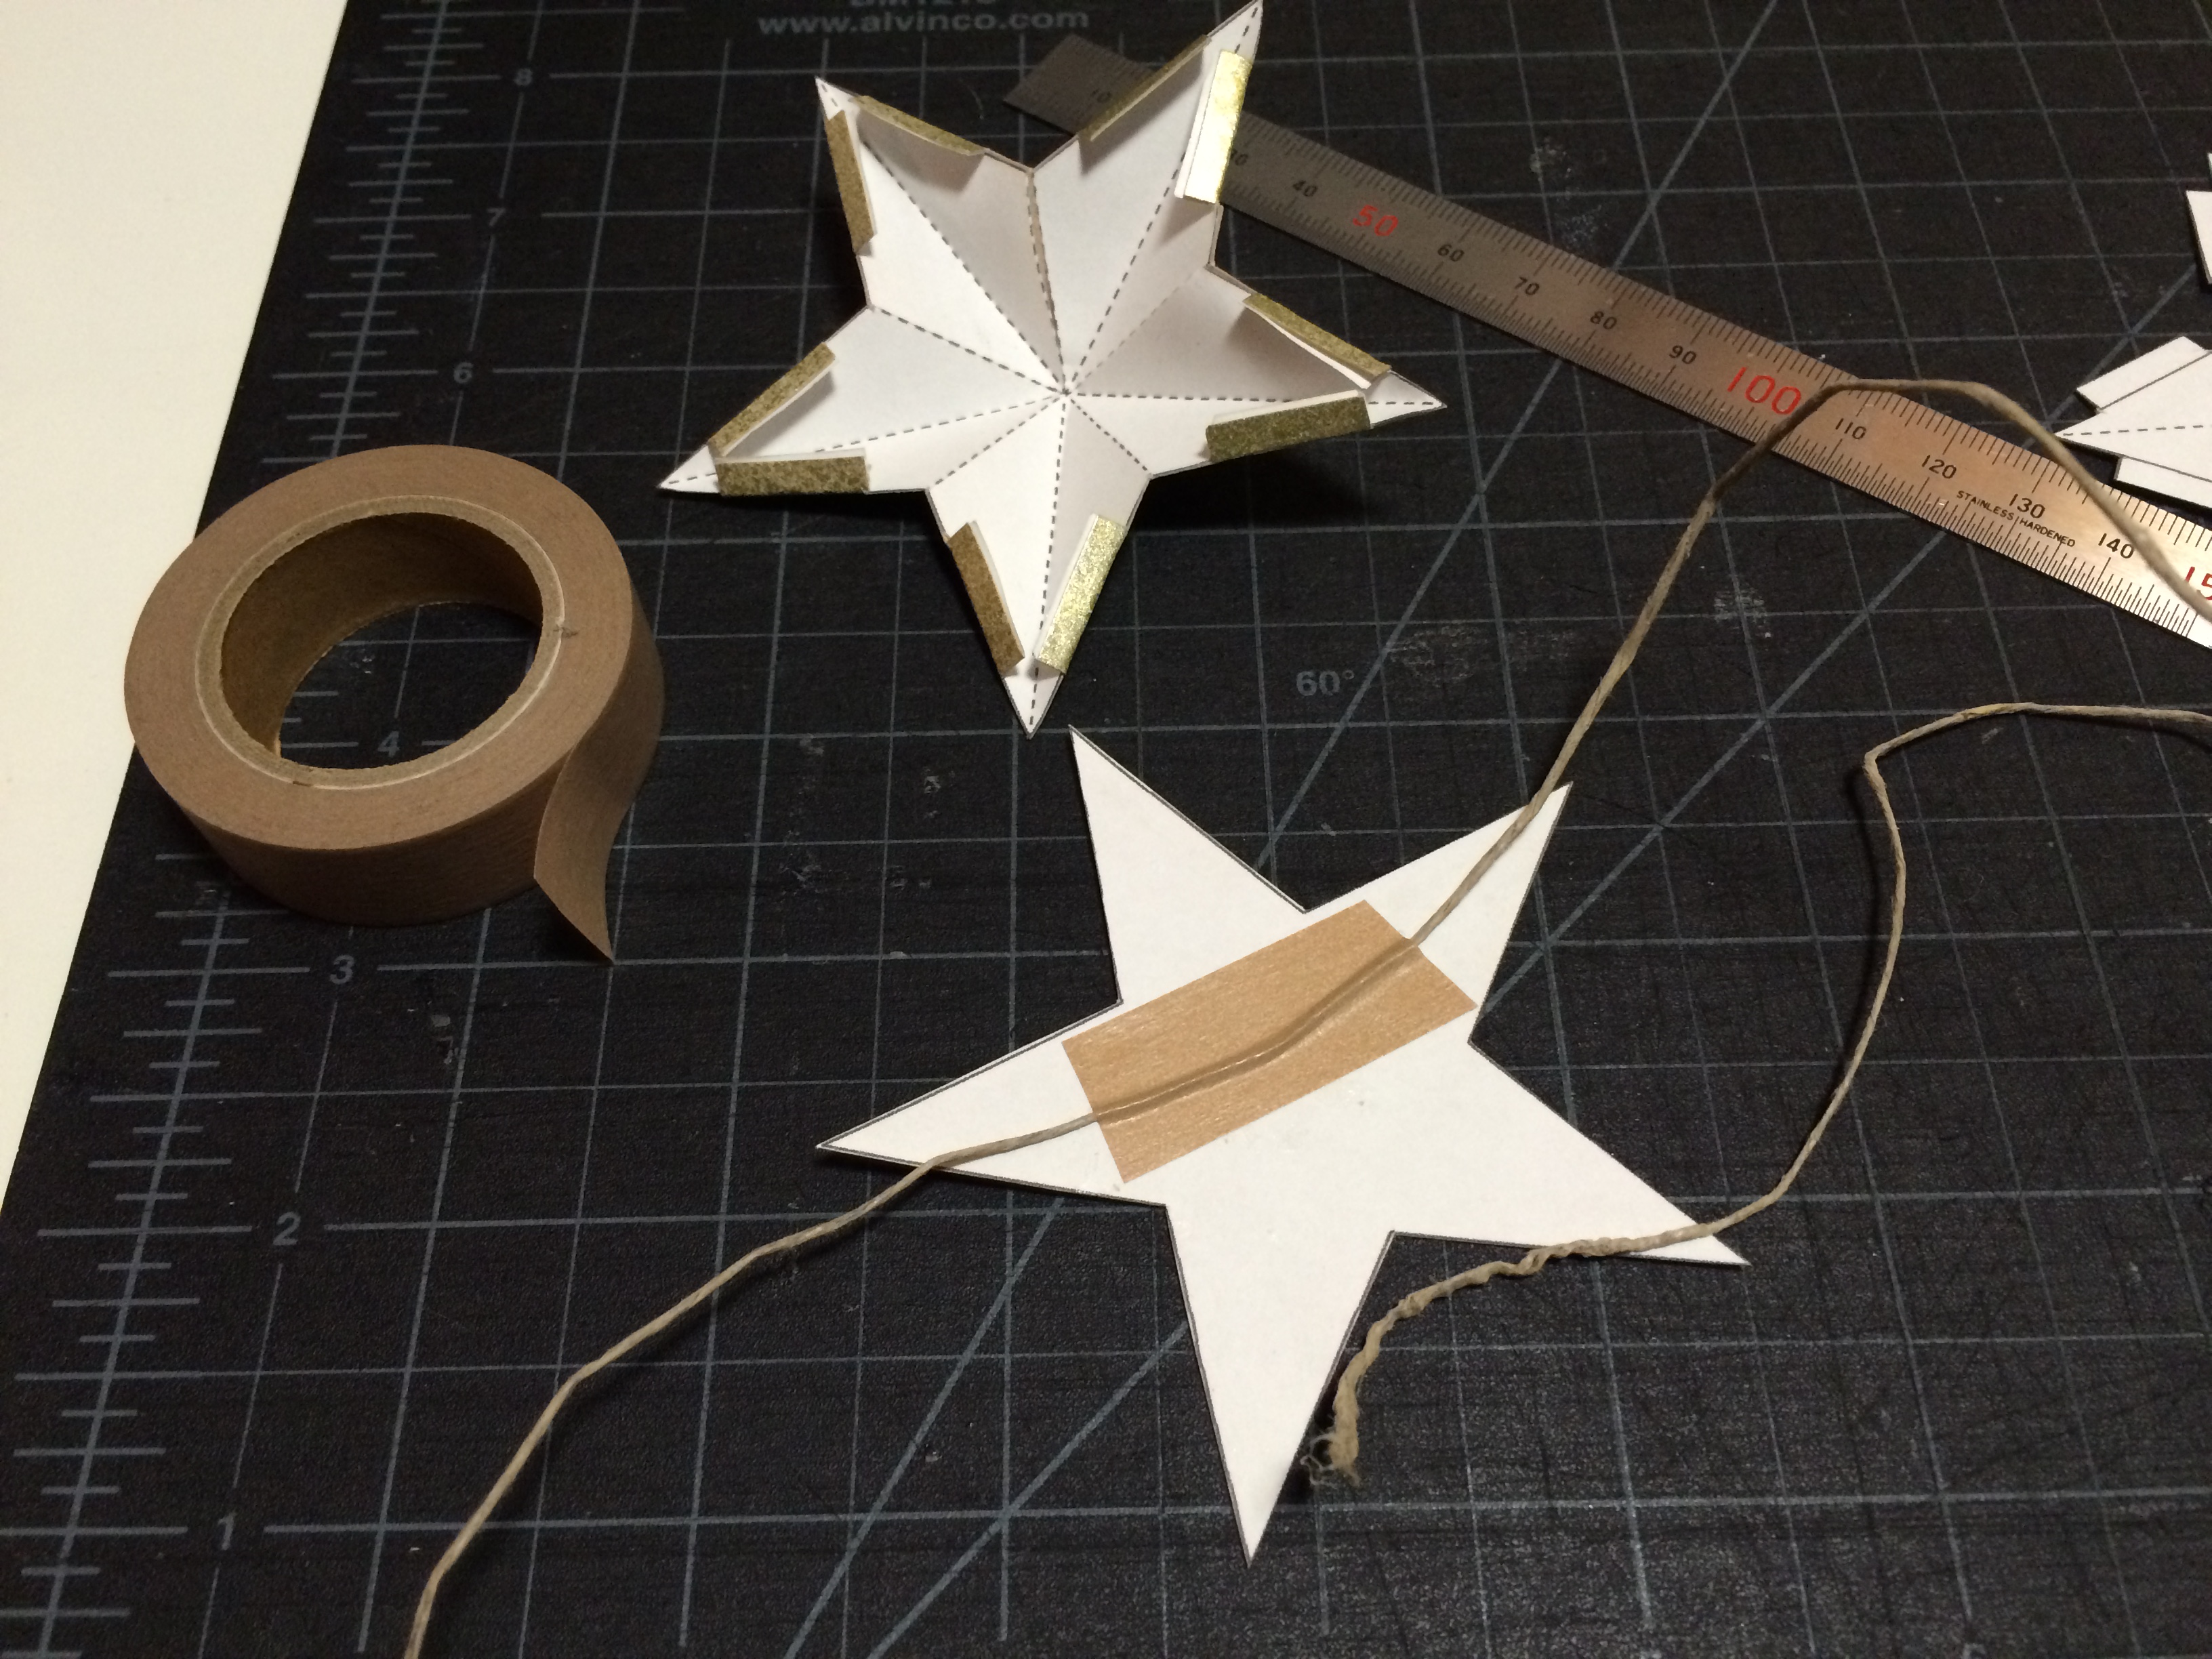
4. cut the individual stars along the outside lines. / 外側の線に沿って星を一つずつ切り抜く。
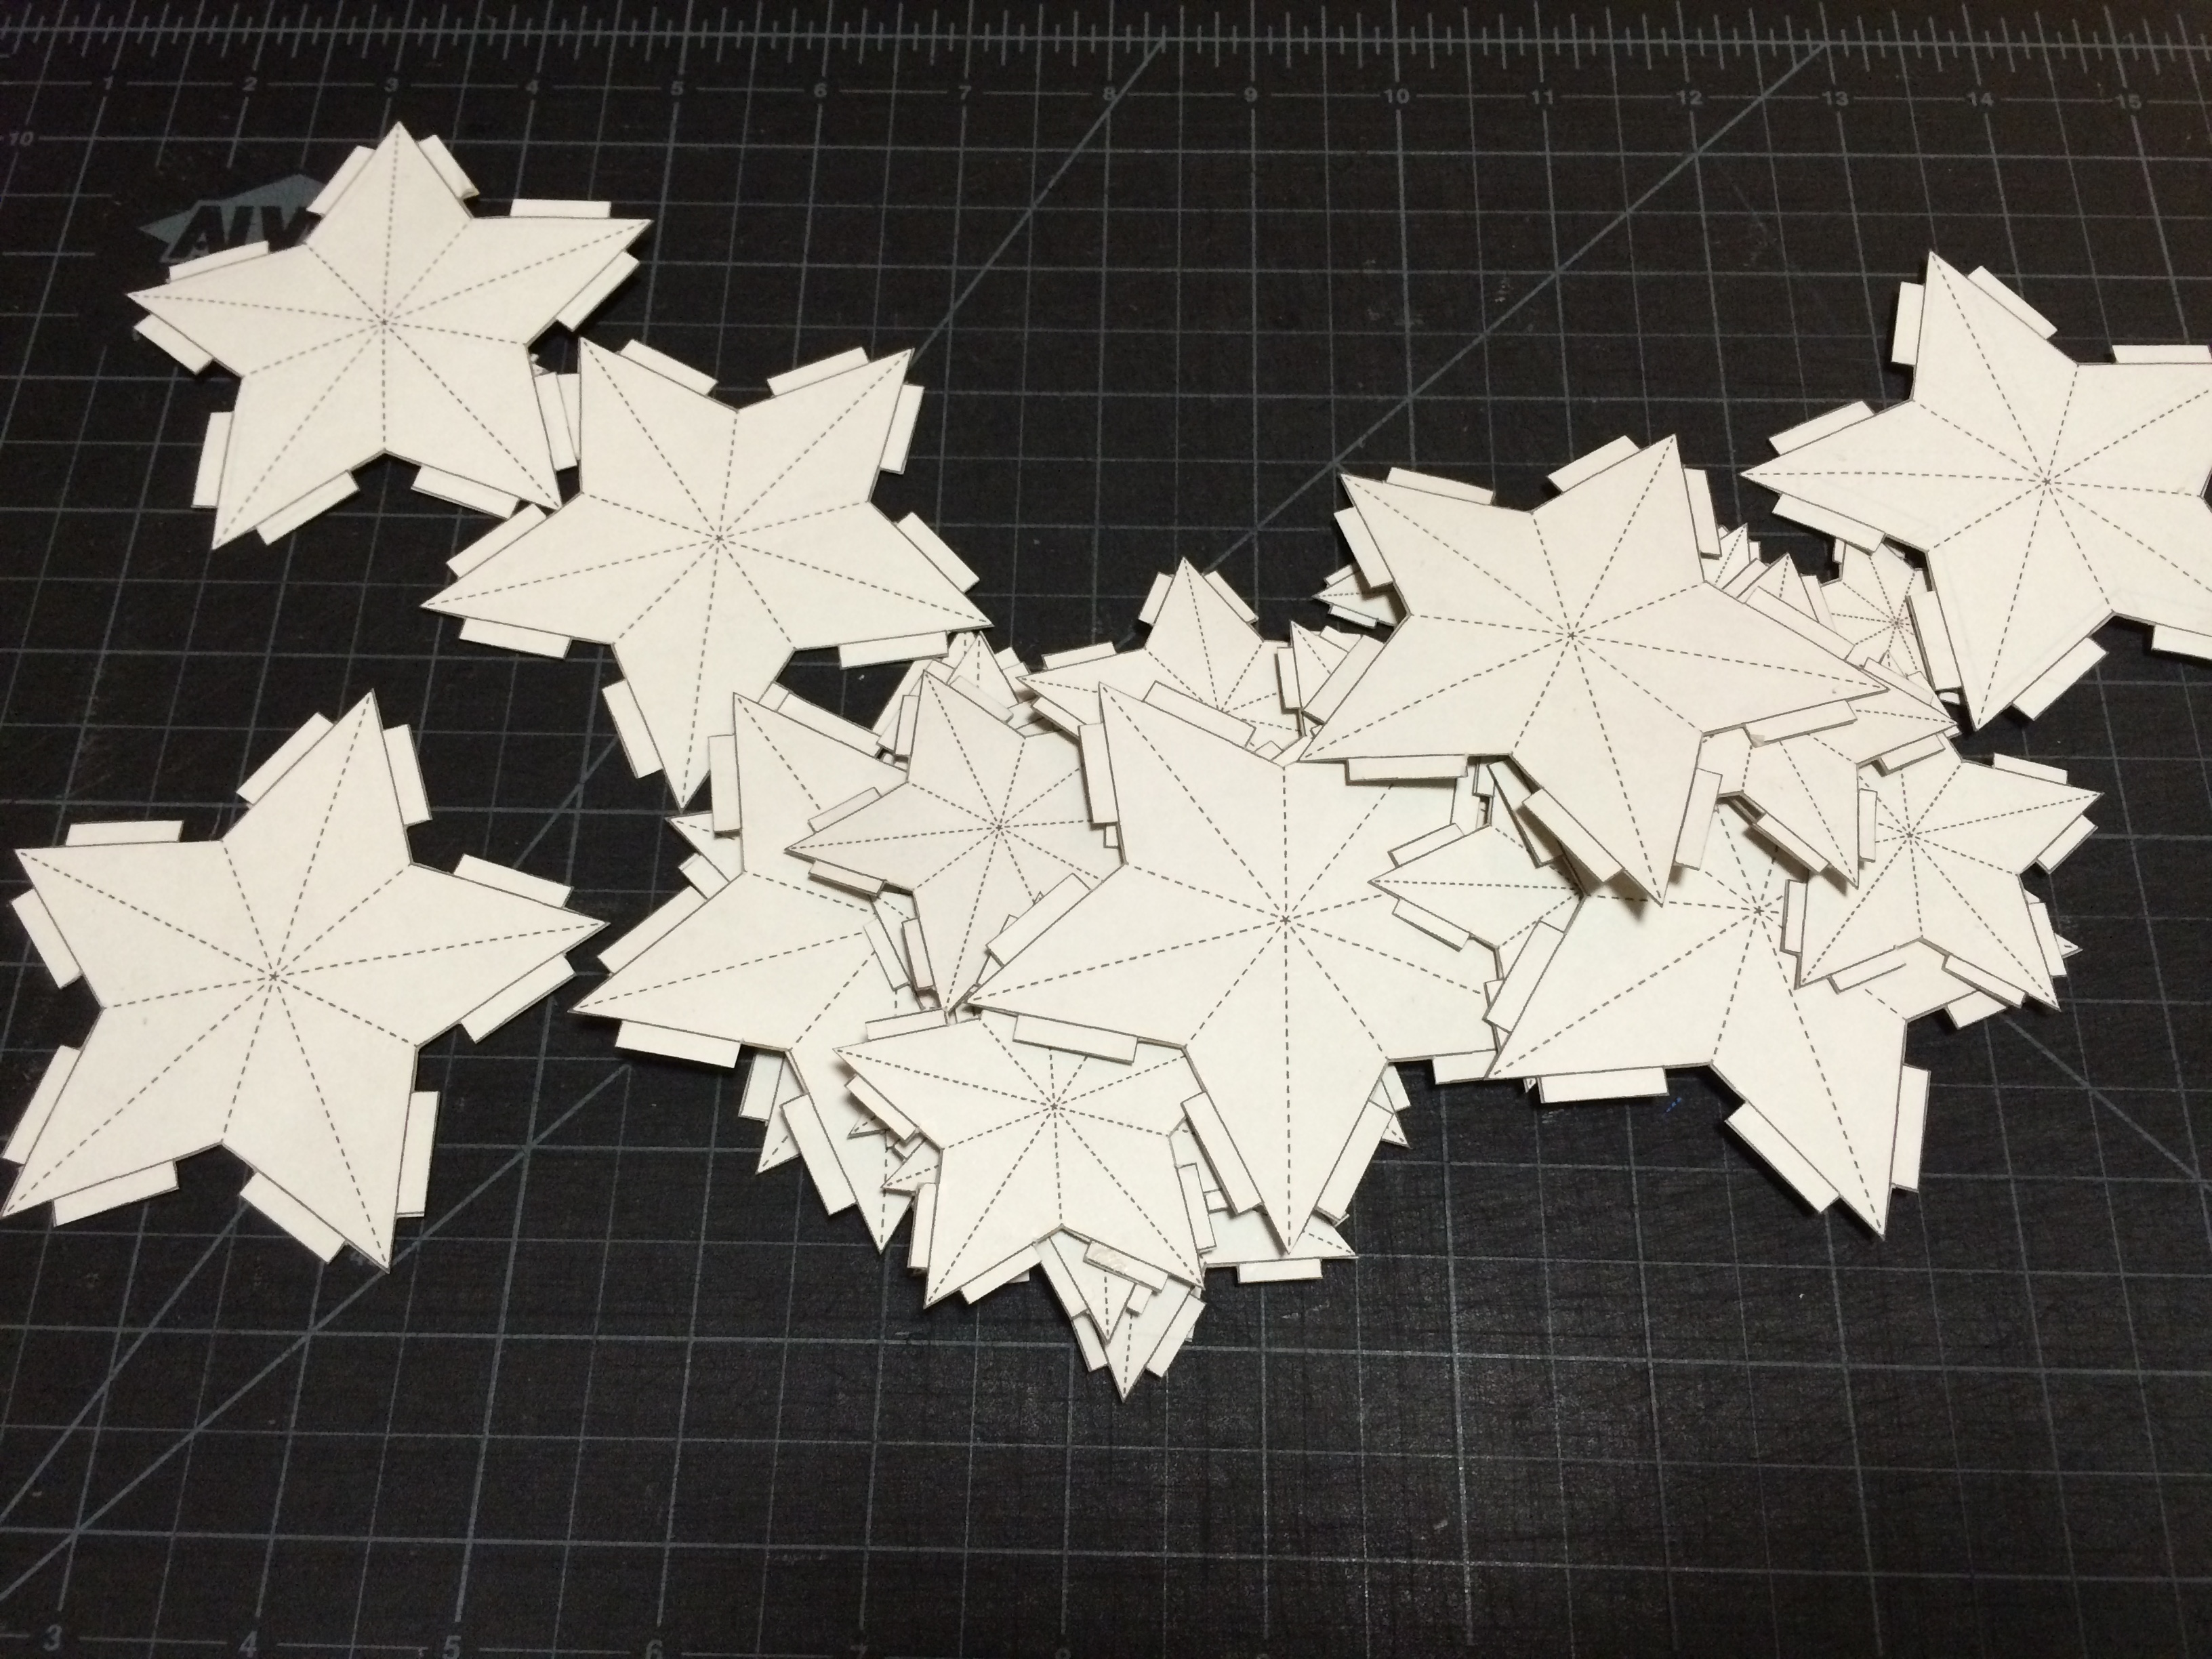
// set aside the B stars (the plain stars) and we will work on the A stars (the ones with glue tabs and dotted lines) for STEPS 5-7 //
// 一度 Bの星(無地のシンプルな星)をよけて、ステップ5〜7では、Aの星を加工します。//
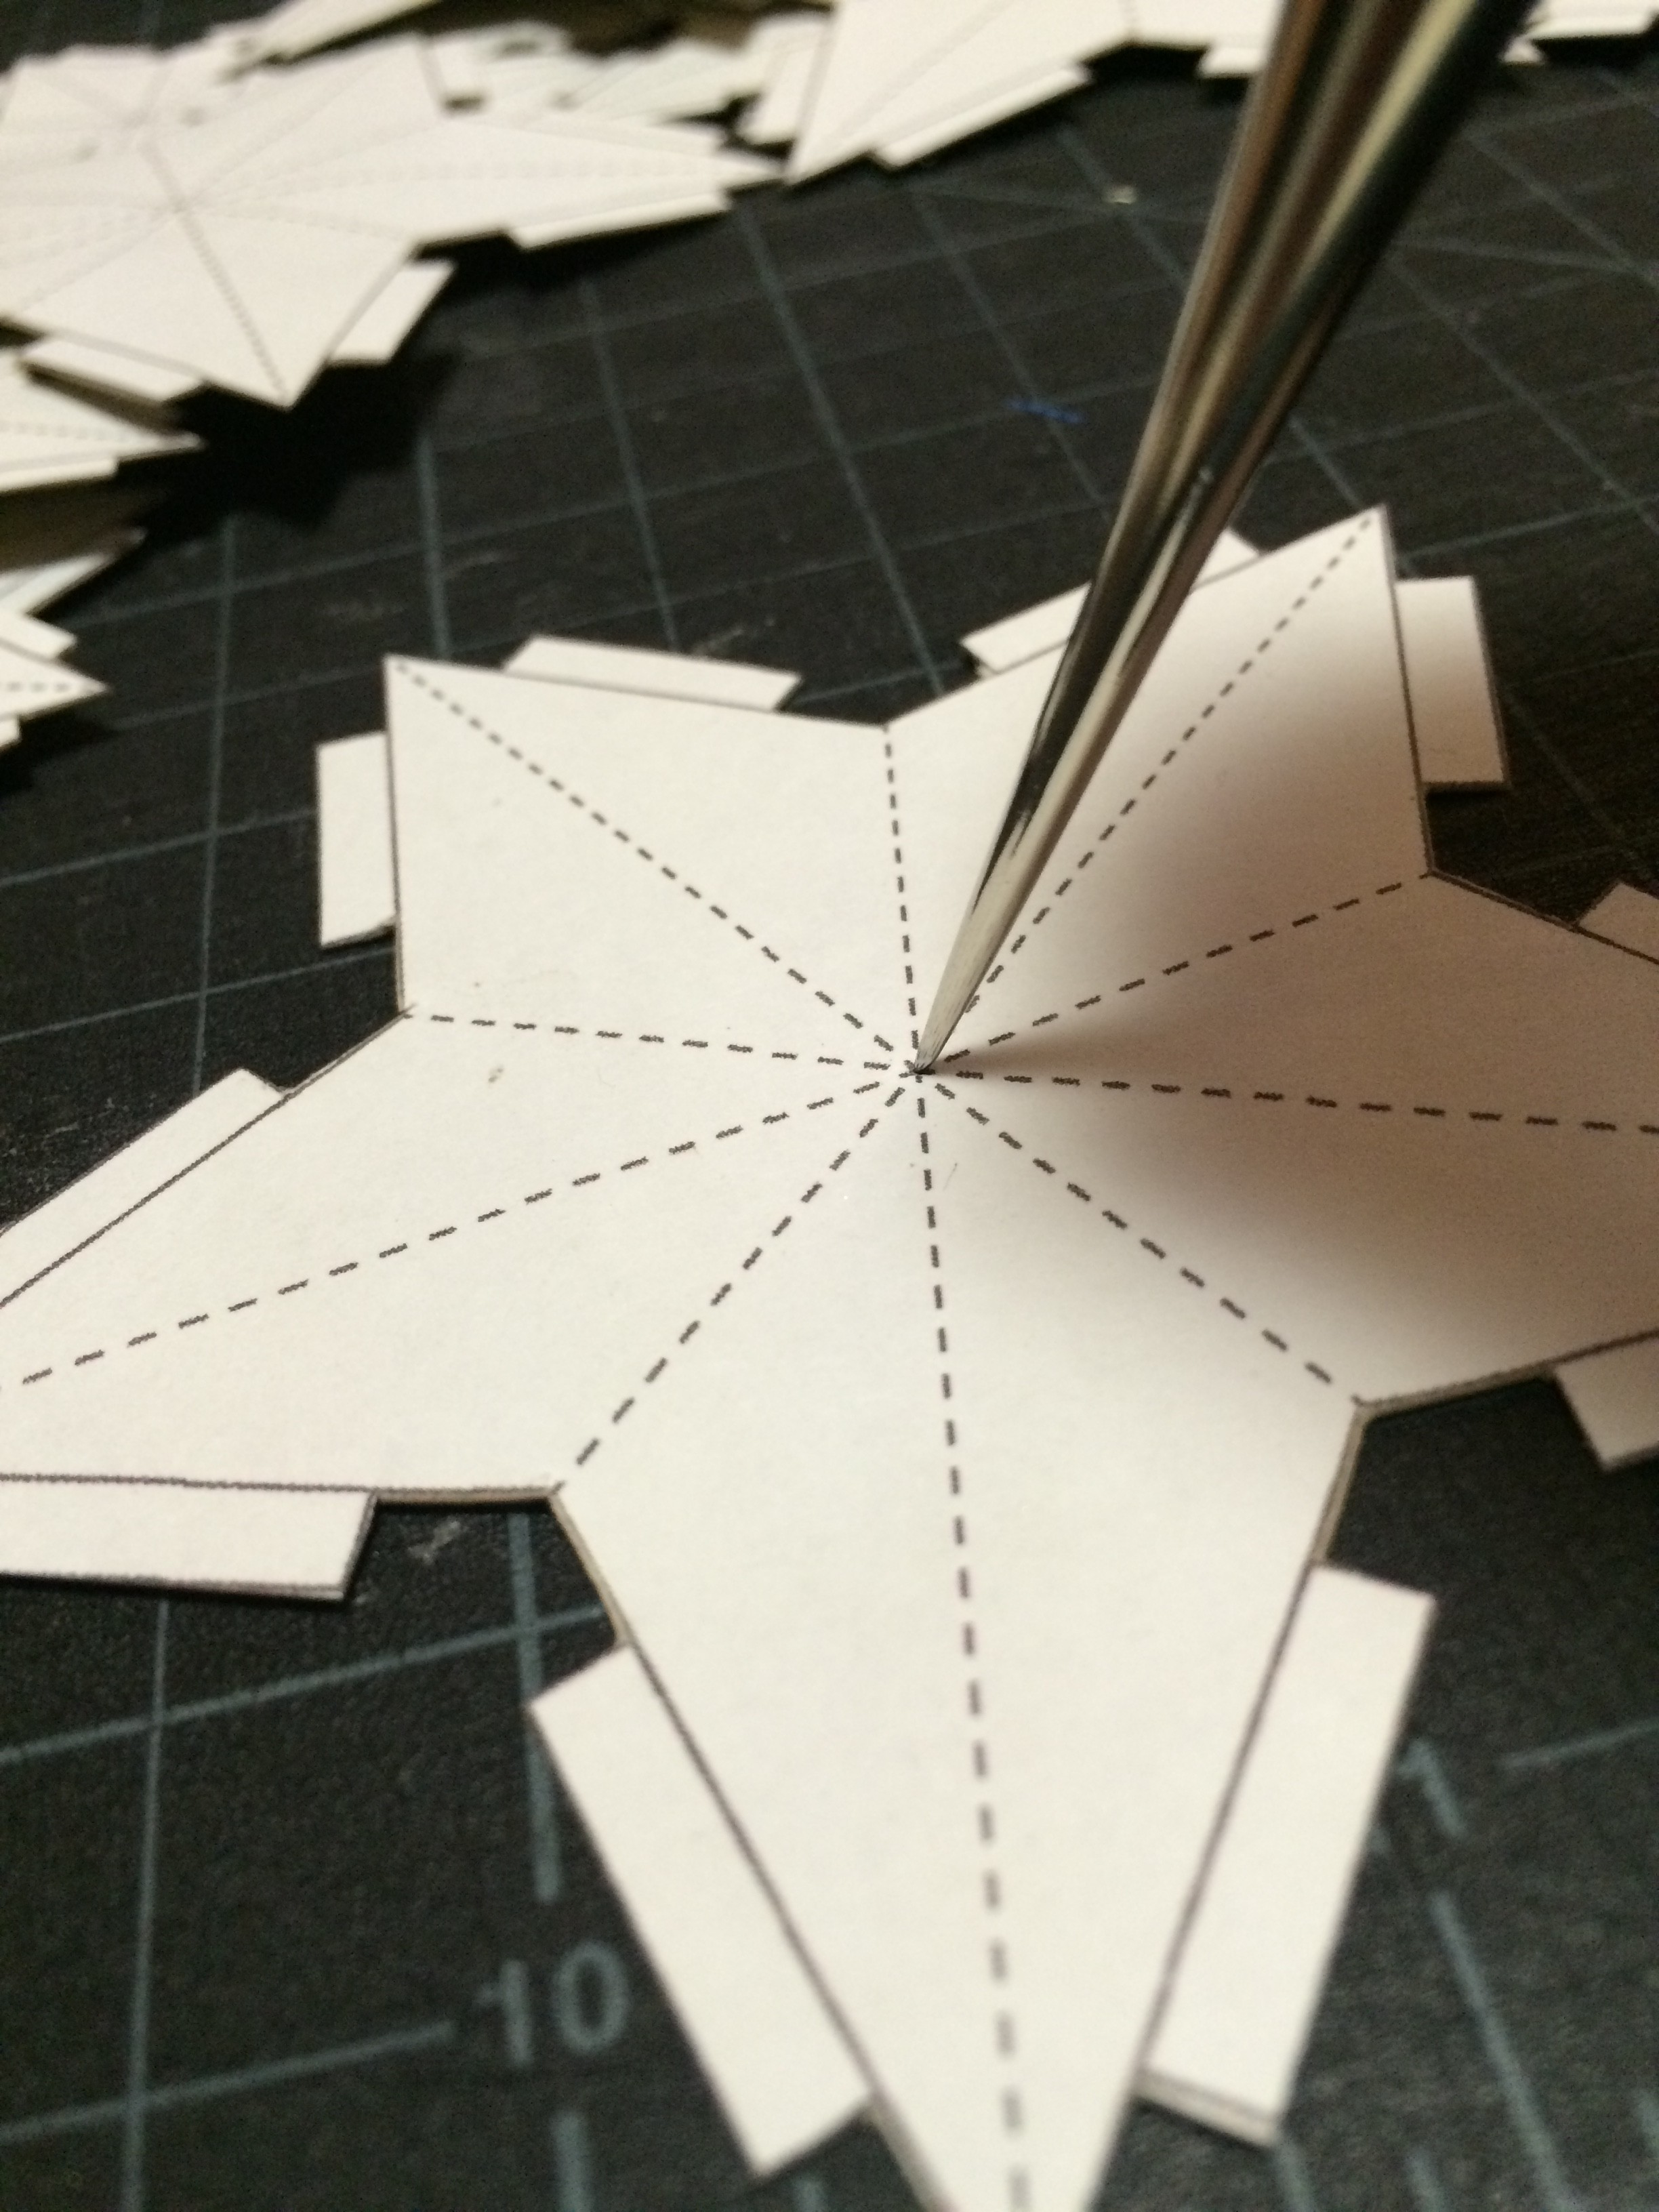
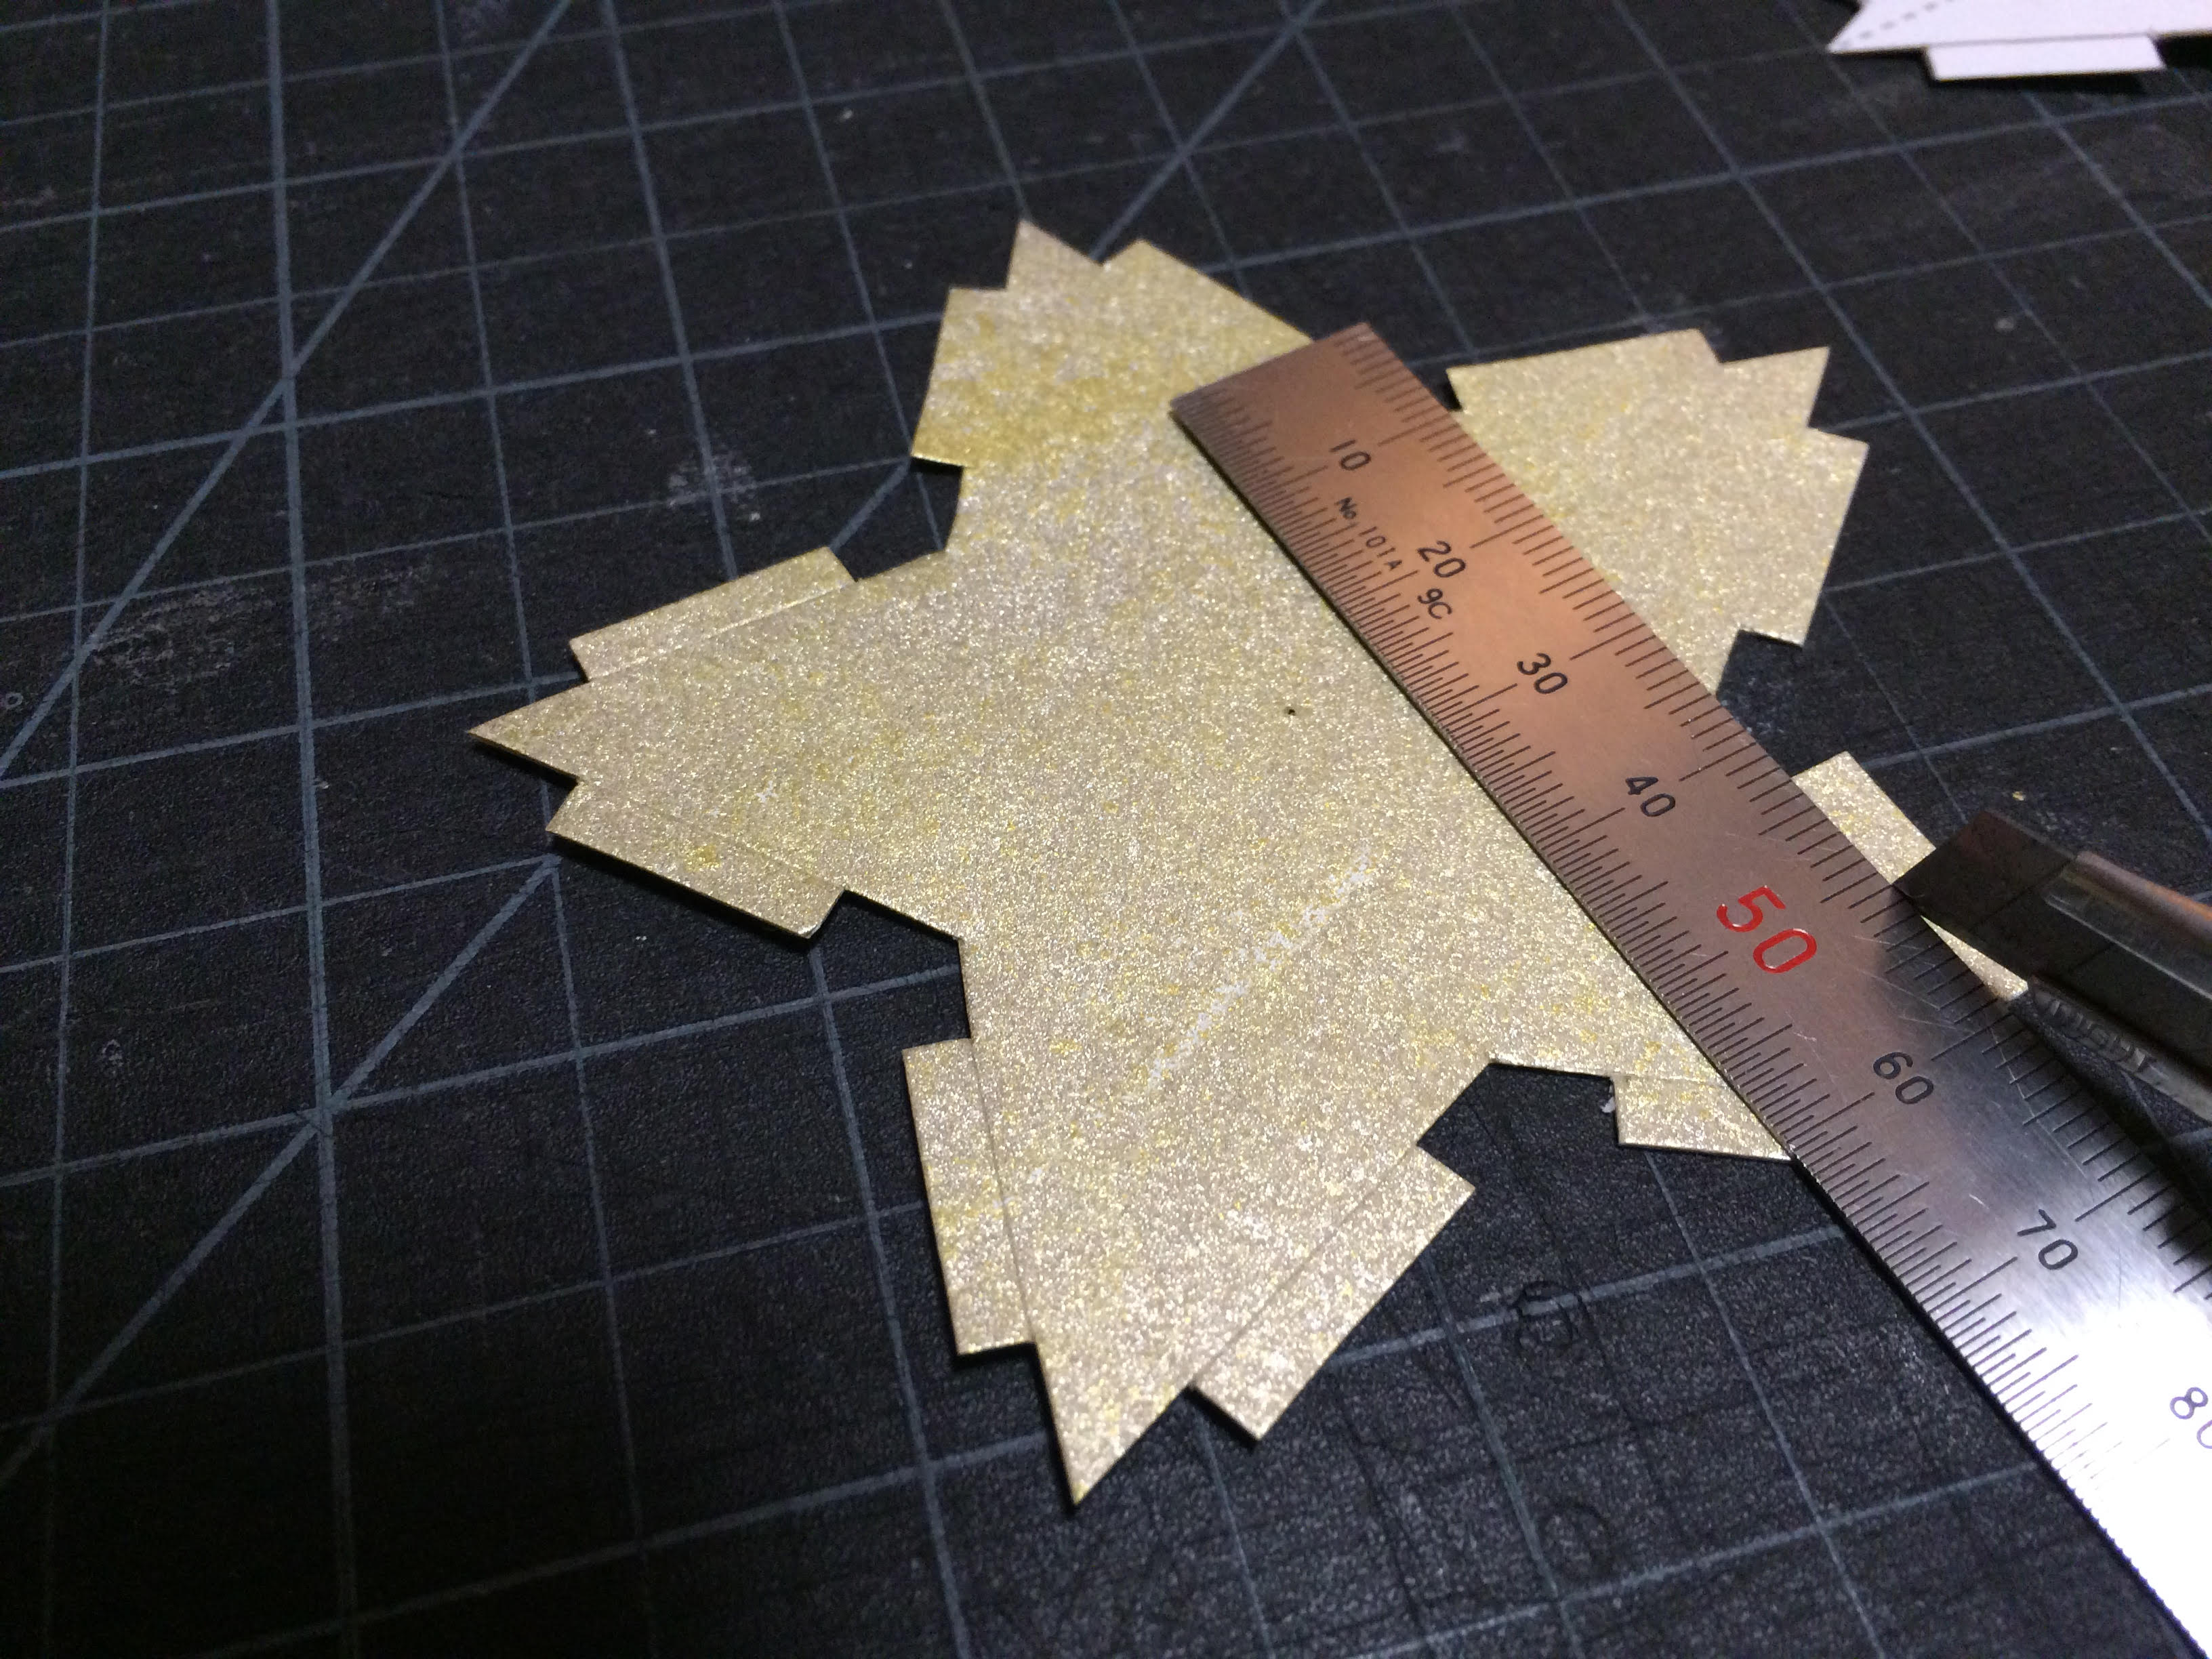
5. for the A stars (or the stars with tabs) poke a very small hole where the lines meet in the center of the star. / Aの星の線が重なり合う中心点に目打ちで小さく穴を刺す。
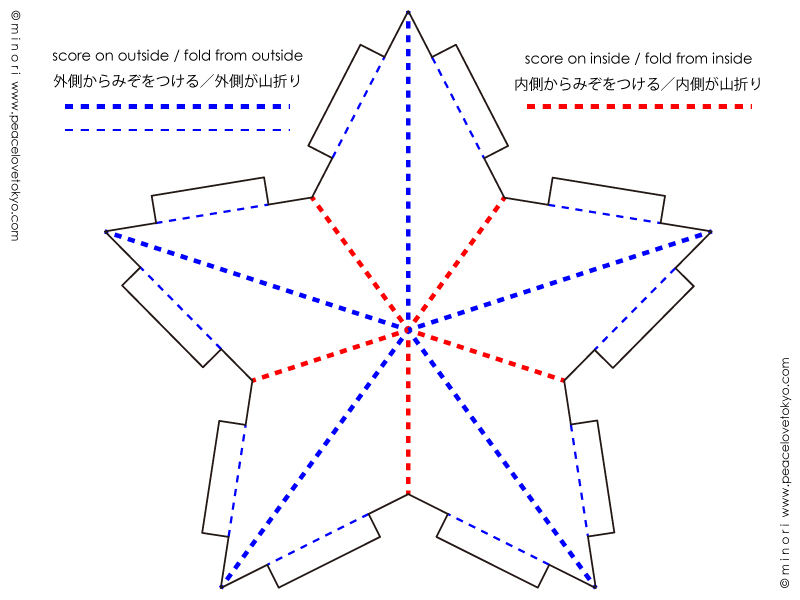
6. use a cutter to gently score along the lines as shown in above picture. for the lines that need to be scored from the outside, 1. score from the center hole to each of the five points of the star and 2. connect the two points of the glue tab folds. / 上記図の通りにカッターで優しく、浅く溝を切り込む。表面の線は、1. 中心の穴から星の5つの頂点まで一つずつ線を引く。2. のり代の折り線は、端点の間を線を引く。
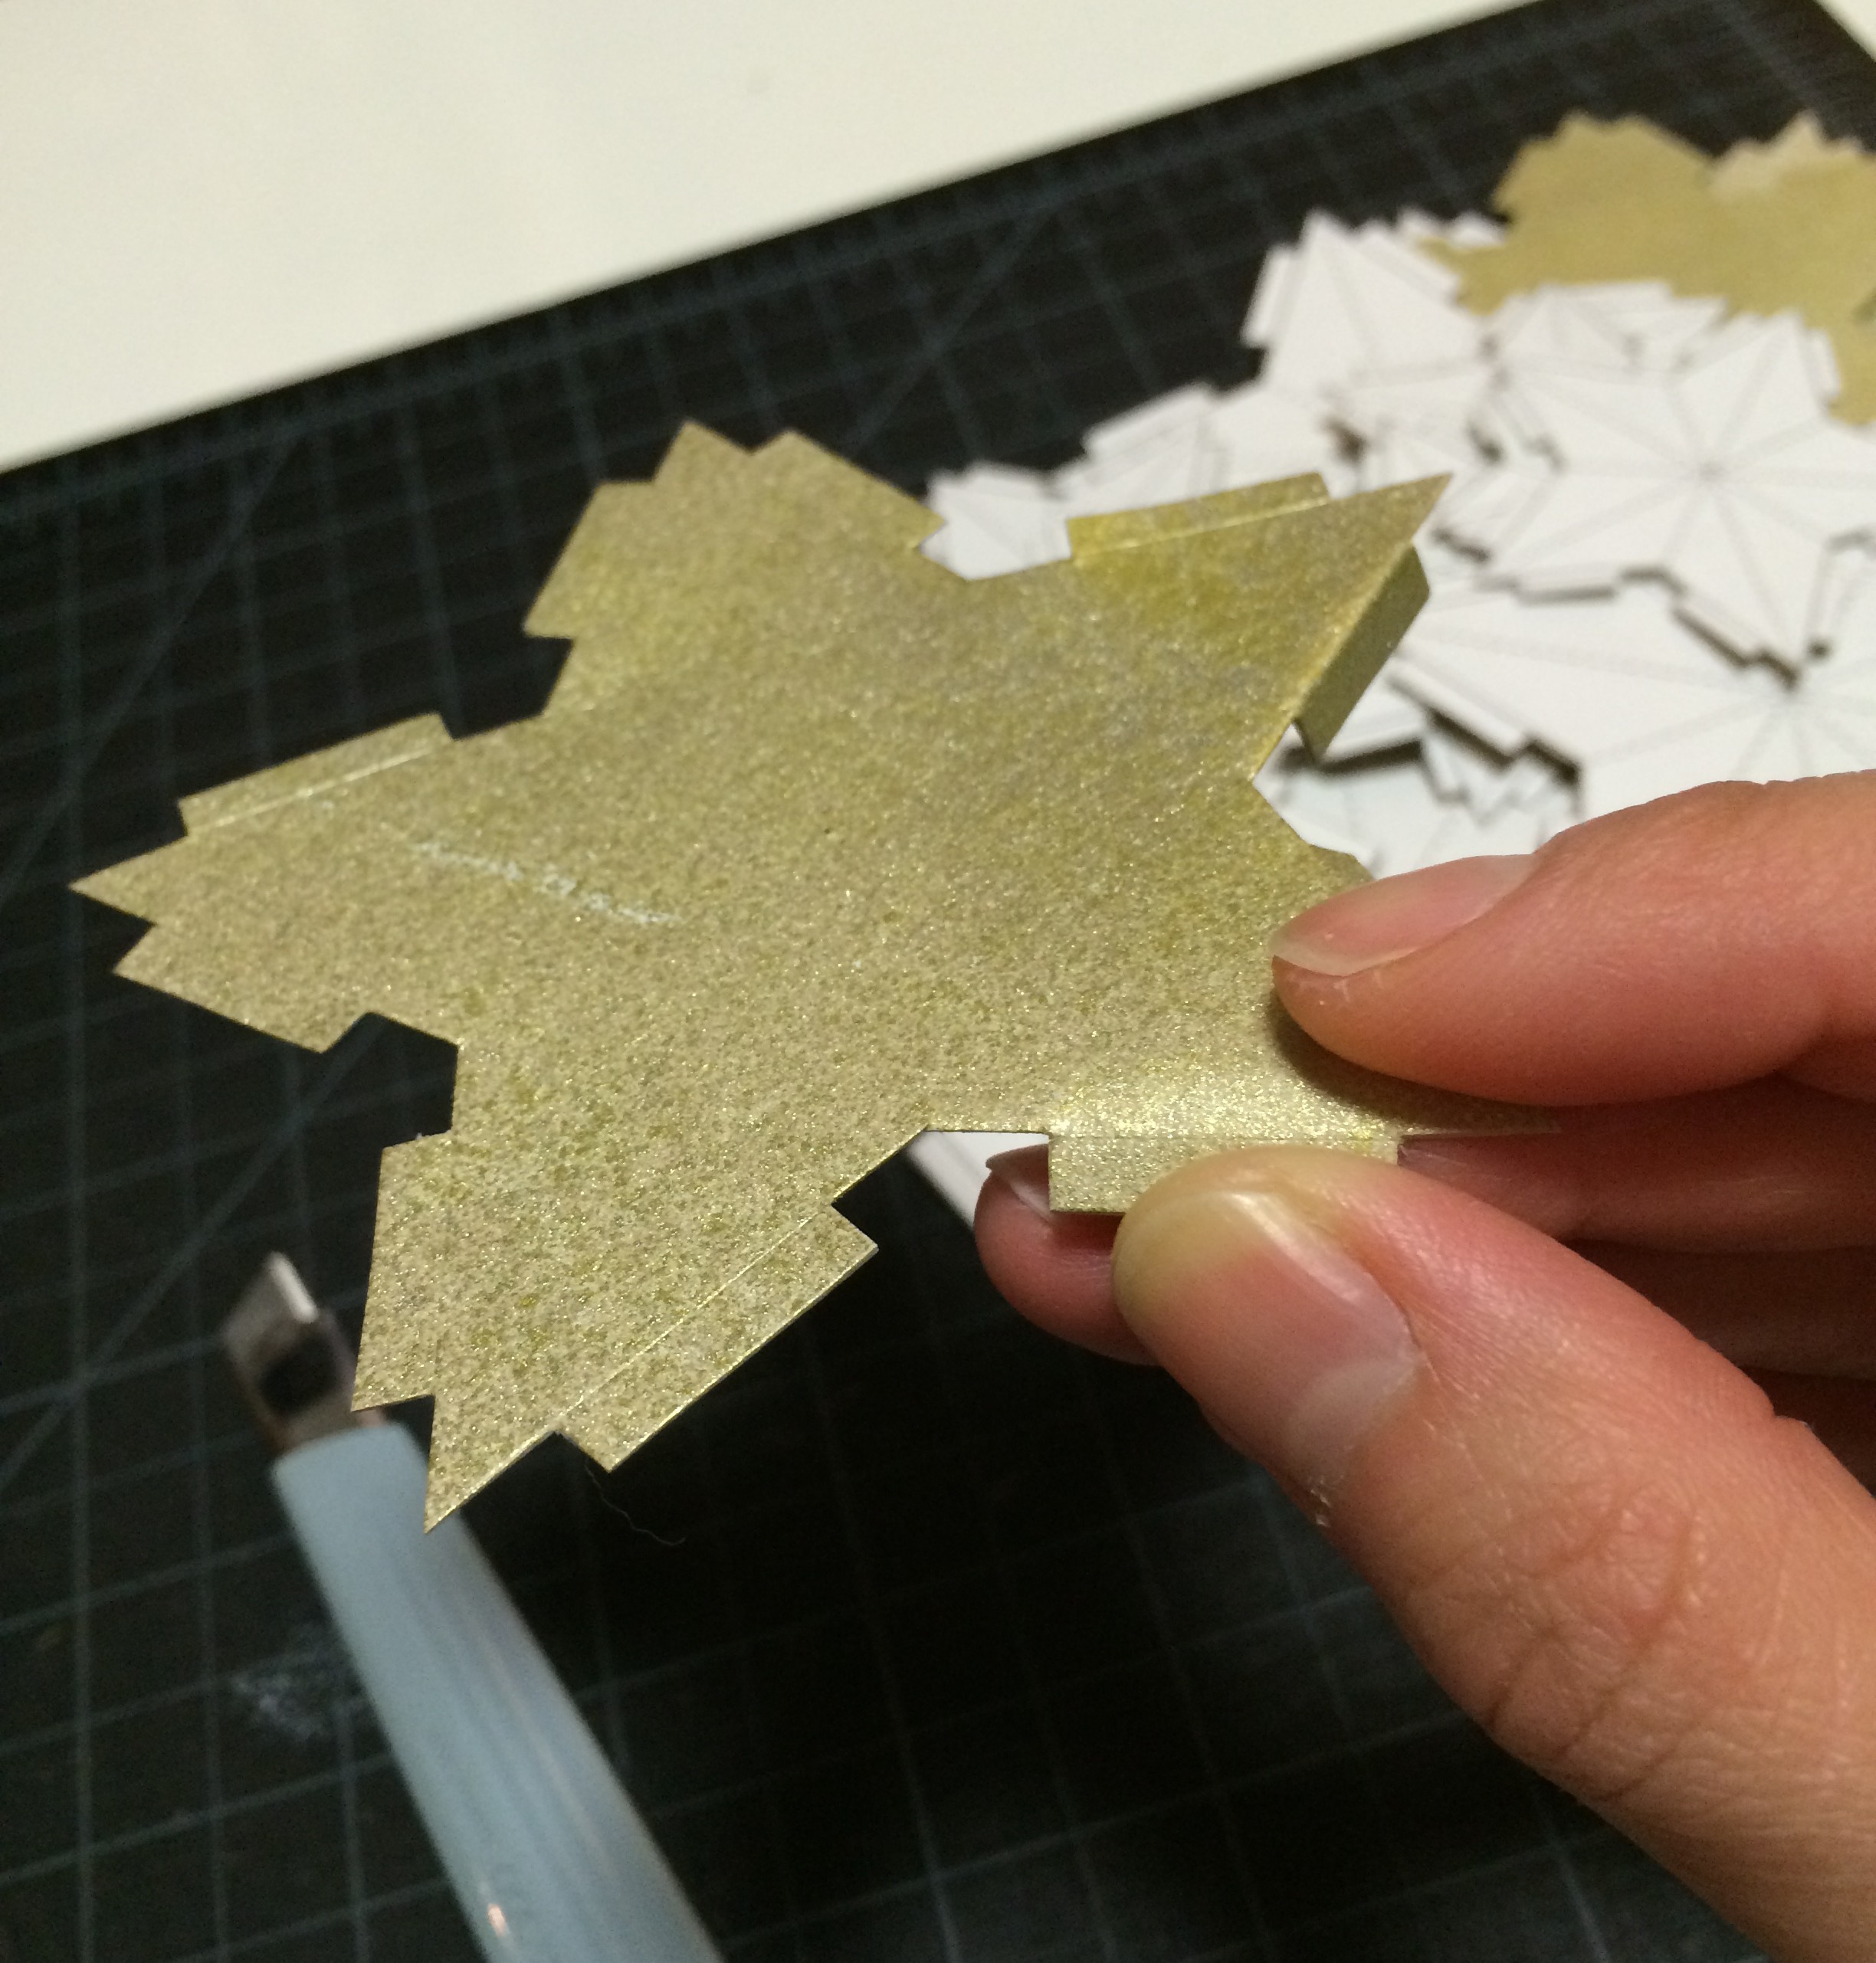
7. fold the scored lines. see the picture in step 6.: for the blue lines, the fold (or mountain fold) should be on the outside. for the red lines, the fold (or mountain fold) would be on the inside. / 溝に沿って折る。ステップ6.の図の青い破線は表面が山折りになります。赤い破線は内側が山折りになります。
8. returning to the B stars (the plain ones), lay out your cord and plan where to attach the B stars. tape the garland cord onto the insides of these stars. / ここからBの星(無地タイプ)に戻ります。ガーランドの紐とBの星の位置を決めます。Bの星の内側に紐をテープで固定します。
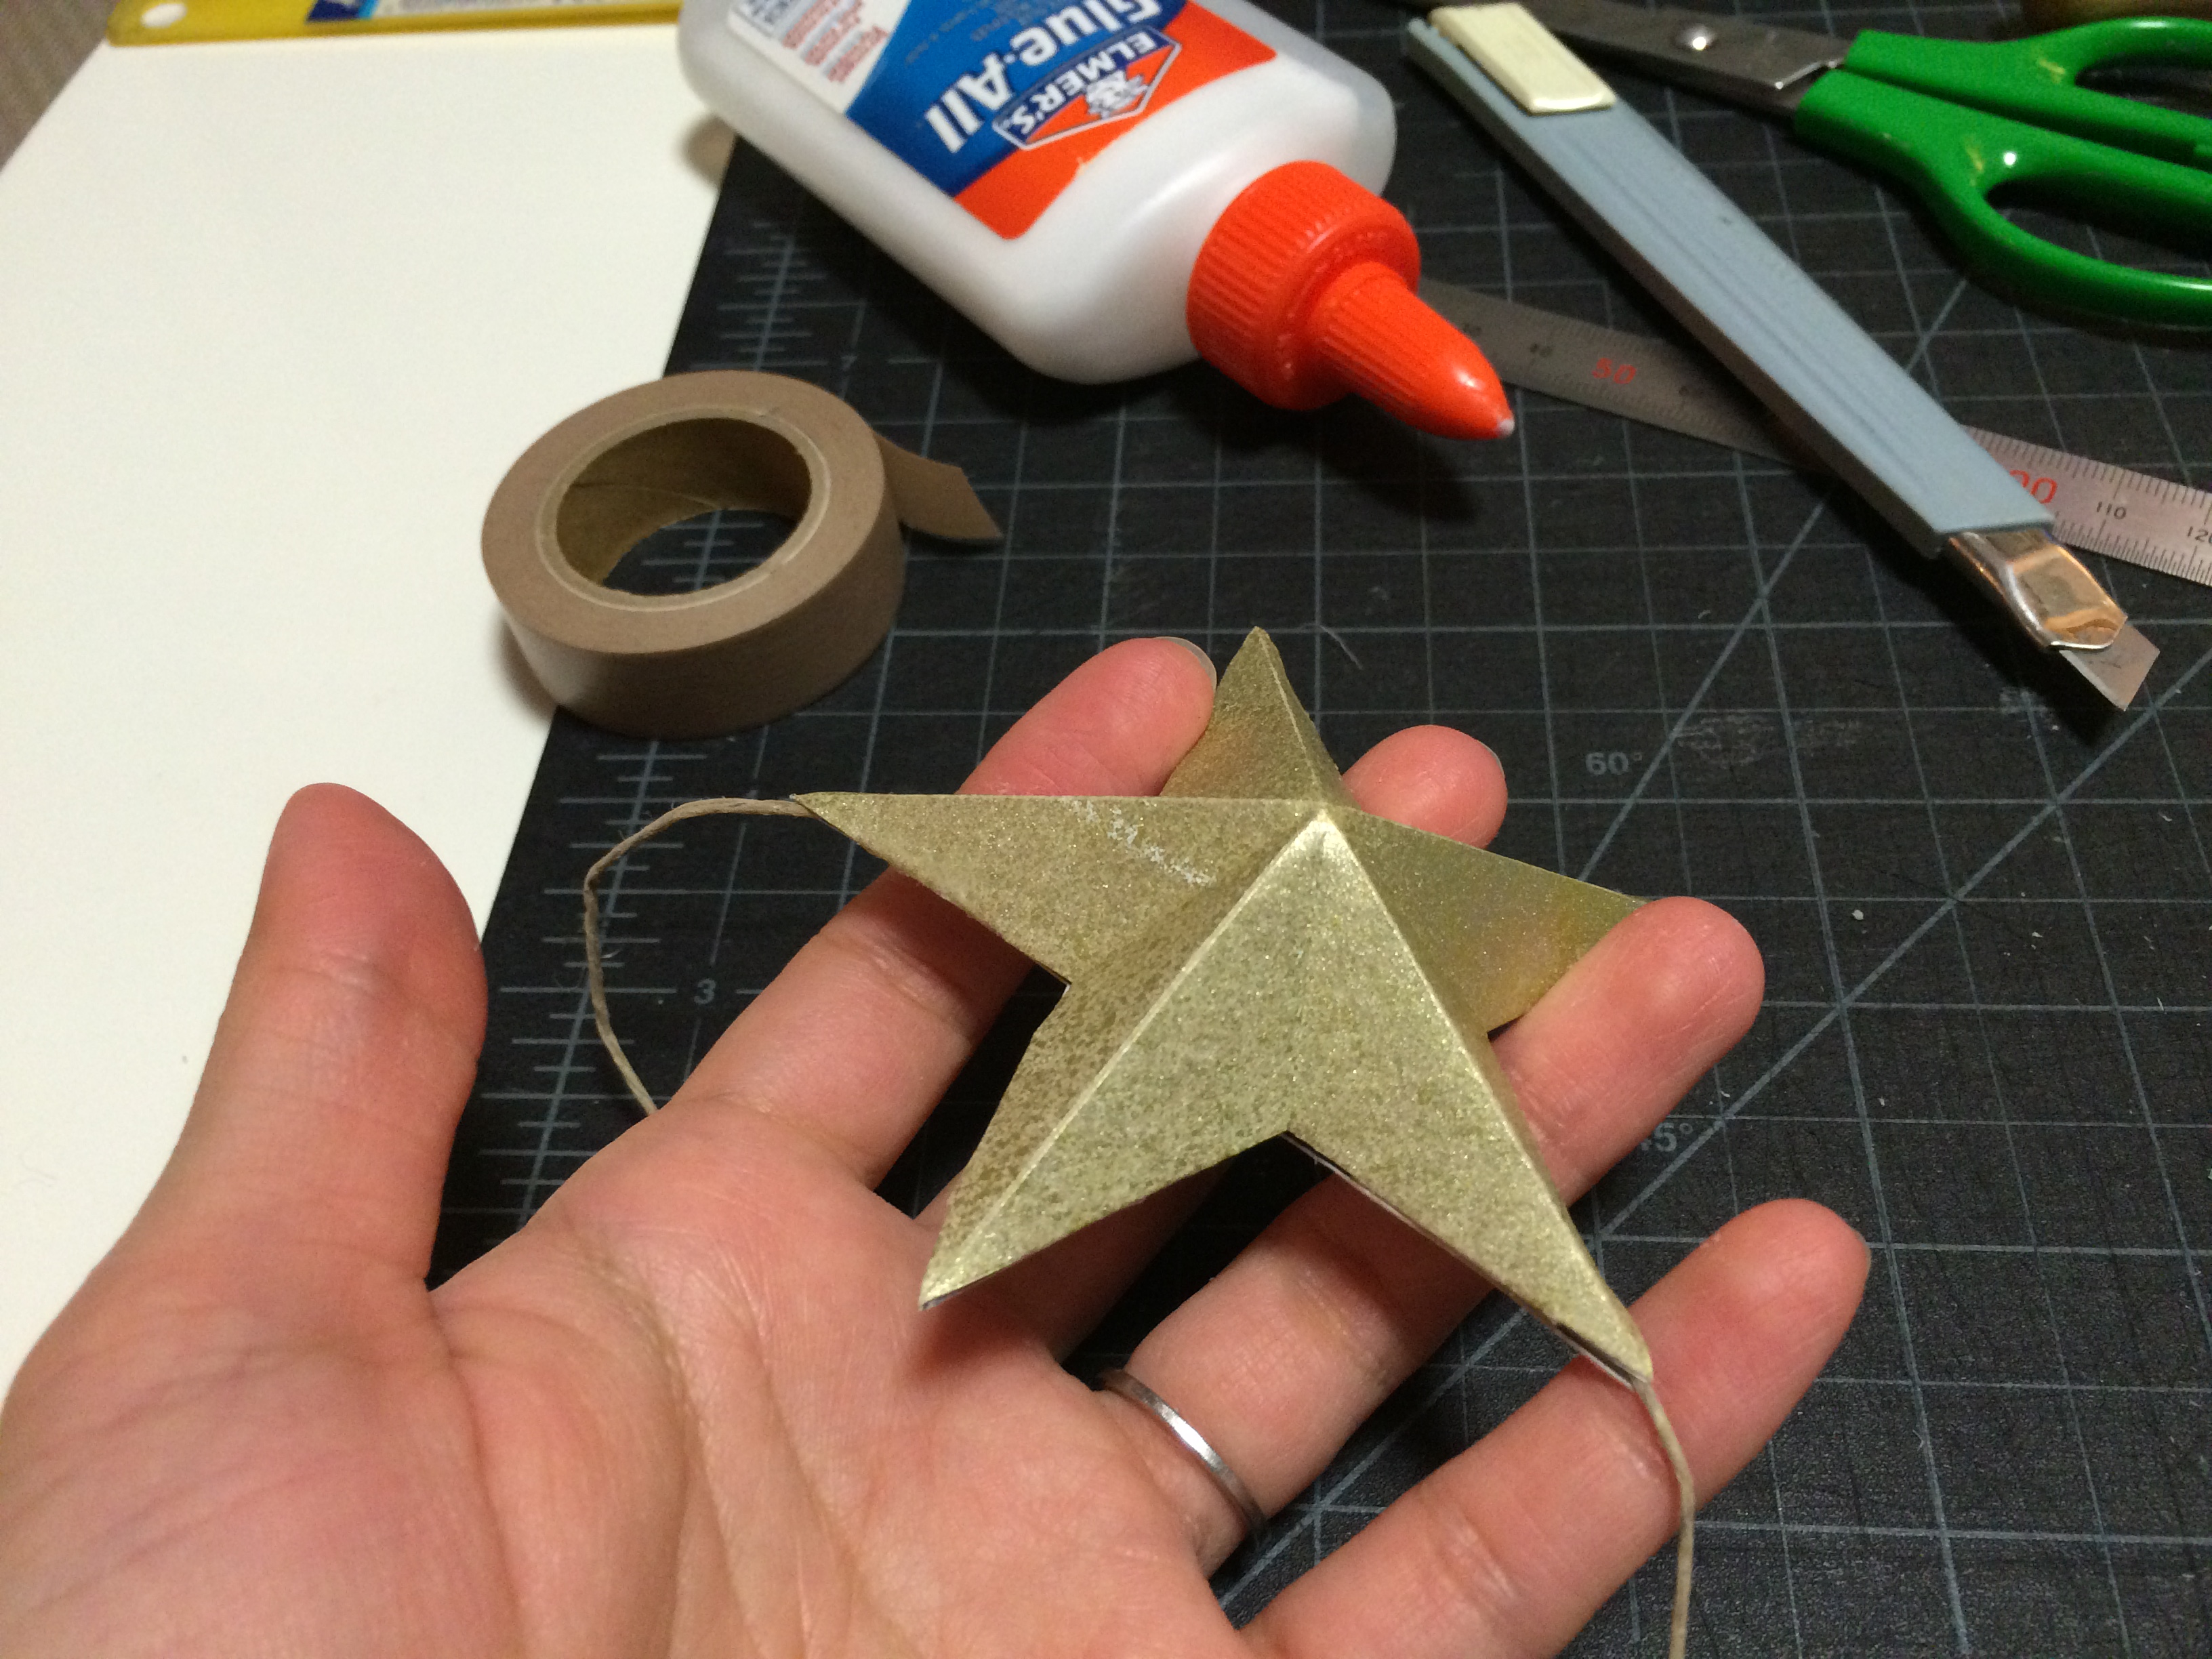
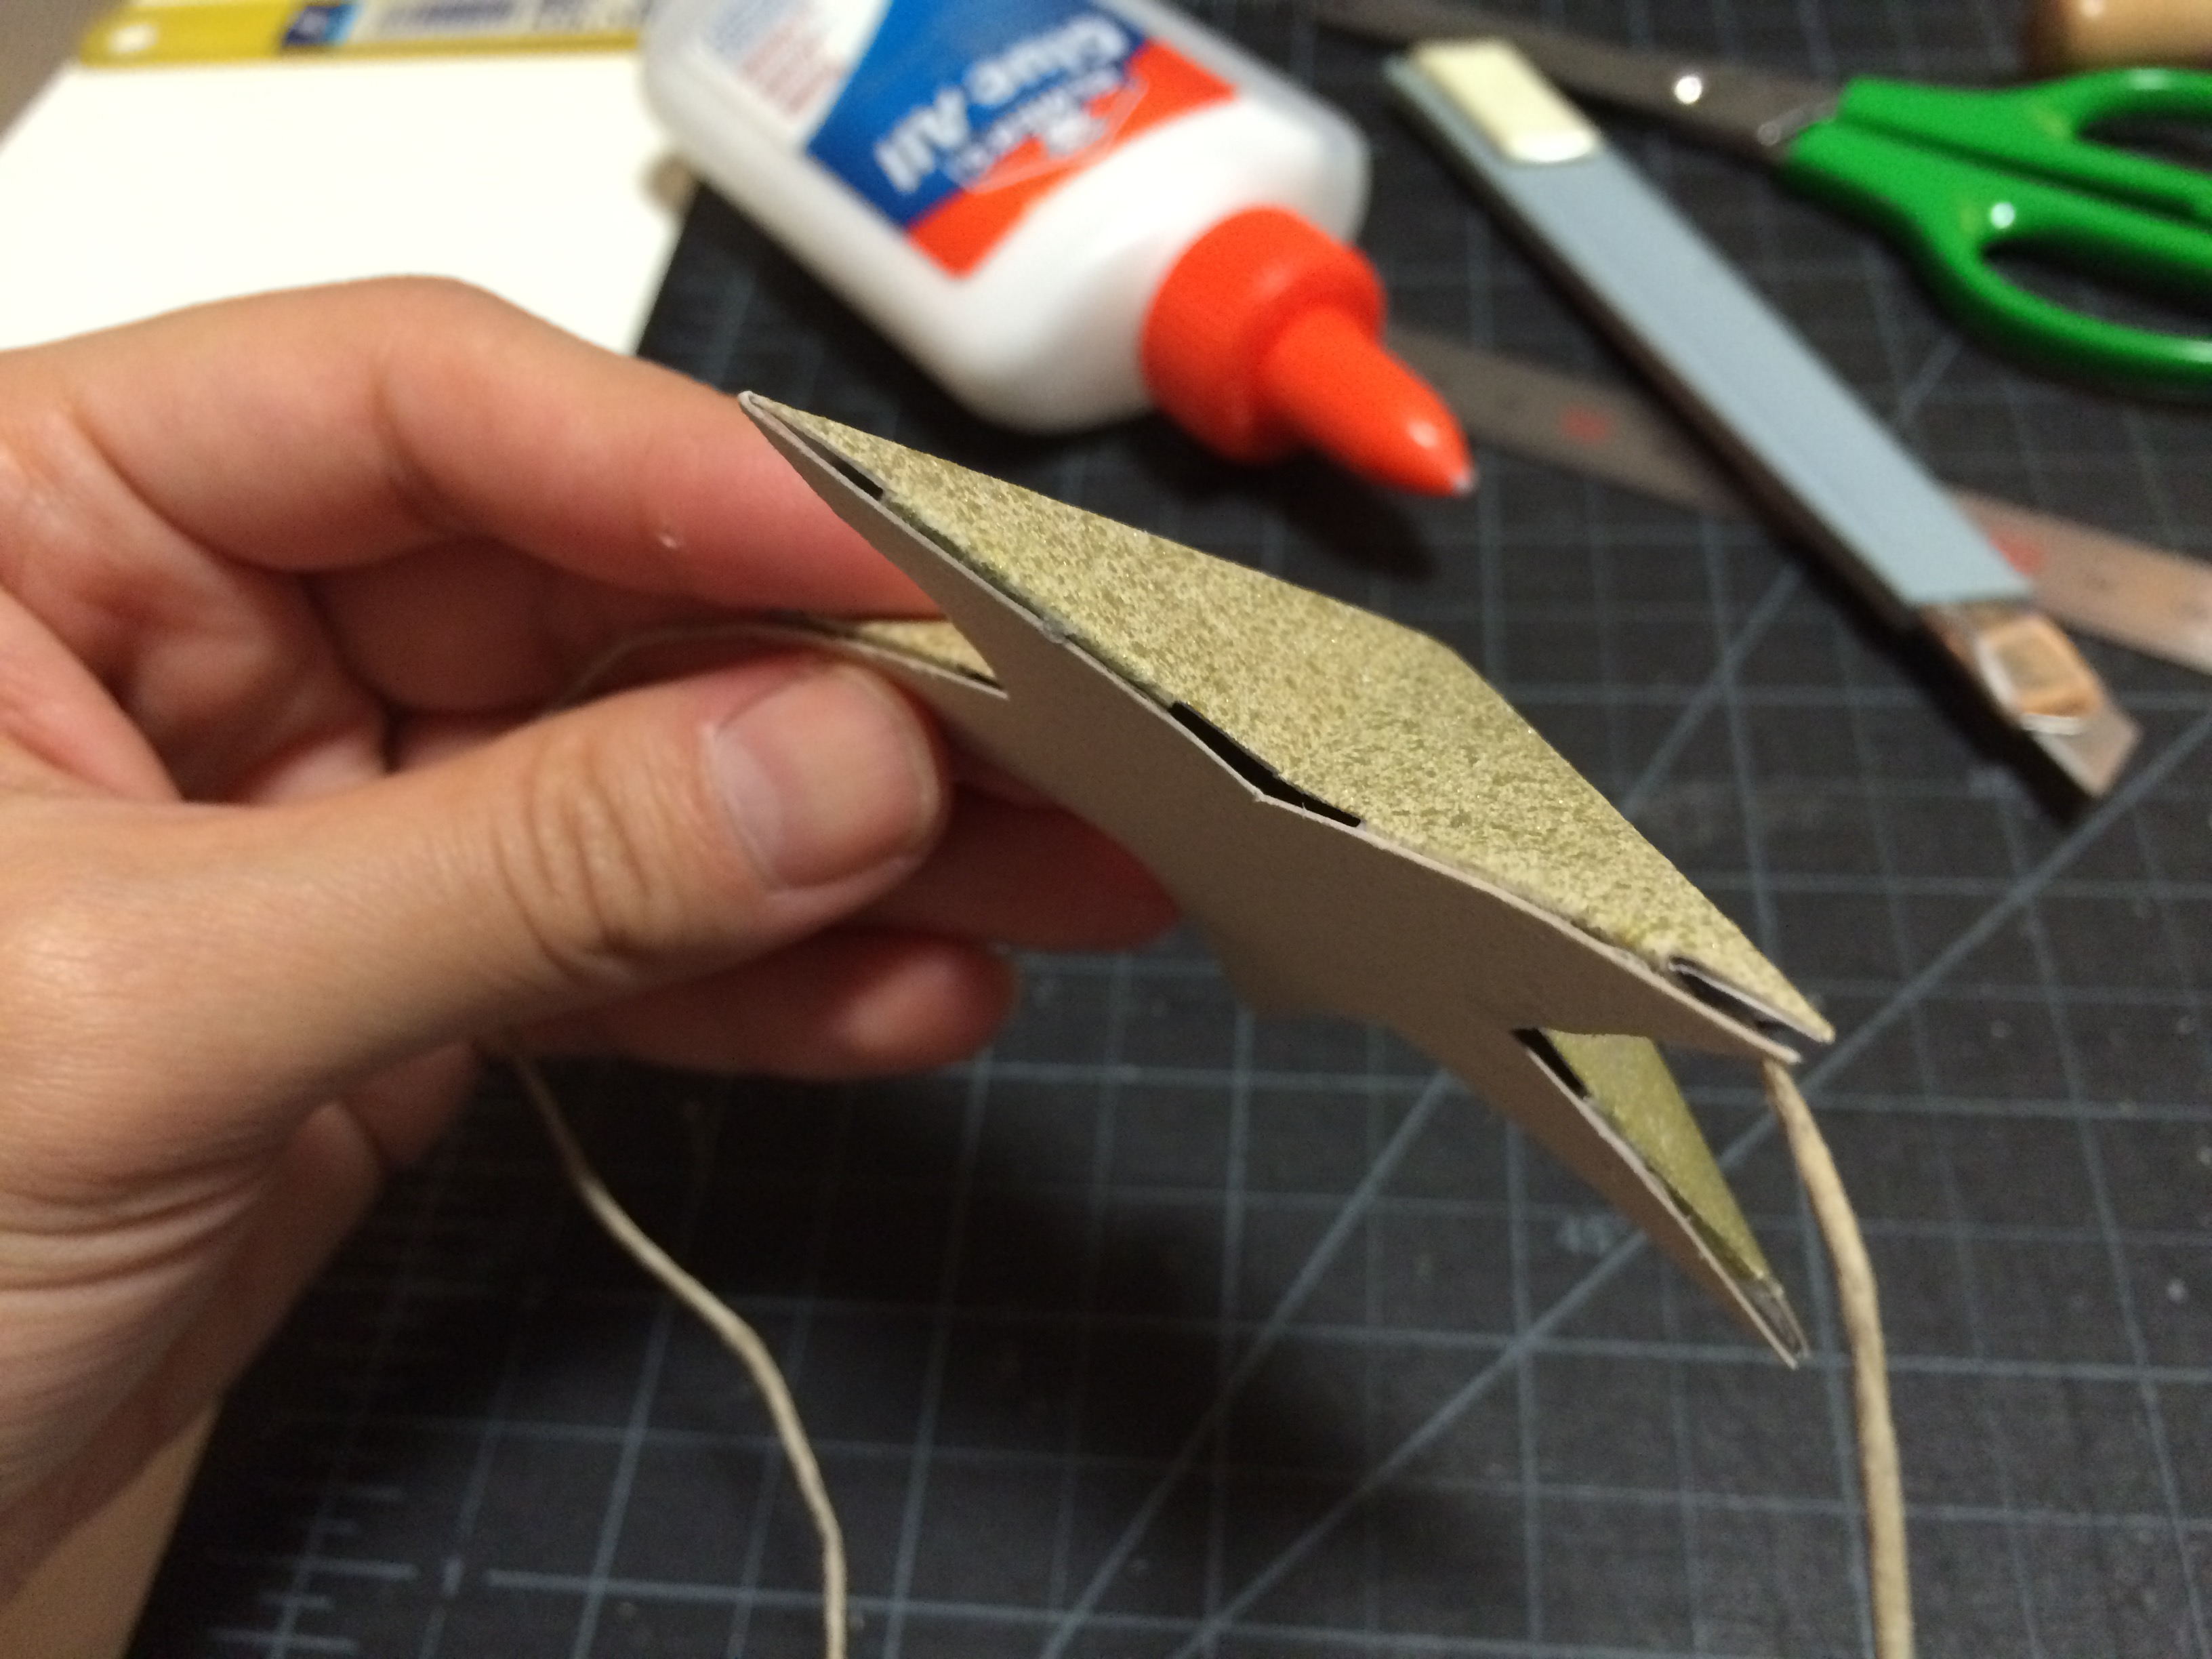
9. find the corresponding sized A star for each B star from step 8 (star sizes 1-3). place a small amount of glue on the glue tabs on both sides of a single star point and attach to B star. this step takes a lot of patience: hold the point in place for about 30 seconds to 1 minute. then move on to the next two glue tabs, and repeat until you complete the star. remember, PATIENCE IS KEY! / テープで固定したB星のサイズ(1〜3)に合うA星を探す。一つの頂点の両のり代に少量の糊をつける。丁寧にB星にのせ、30秒〜1分間手で押し付ける。このステップでは、一回に一つの頂点を終わらせてから次の頂点へ進めます。気長〜に丁寧に進めるのがキーポイントです!!
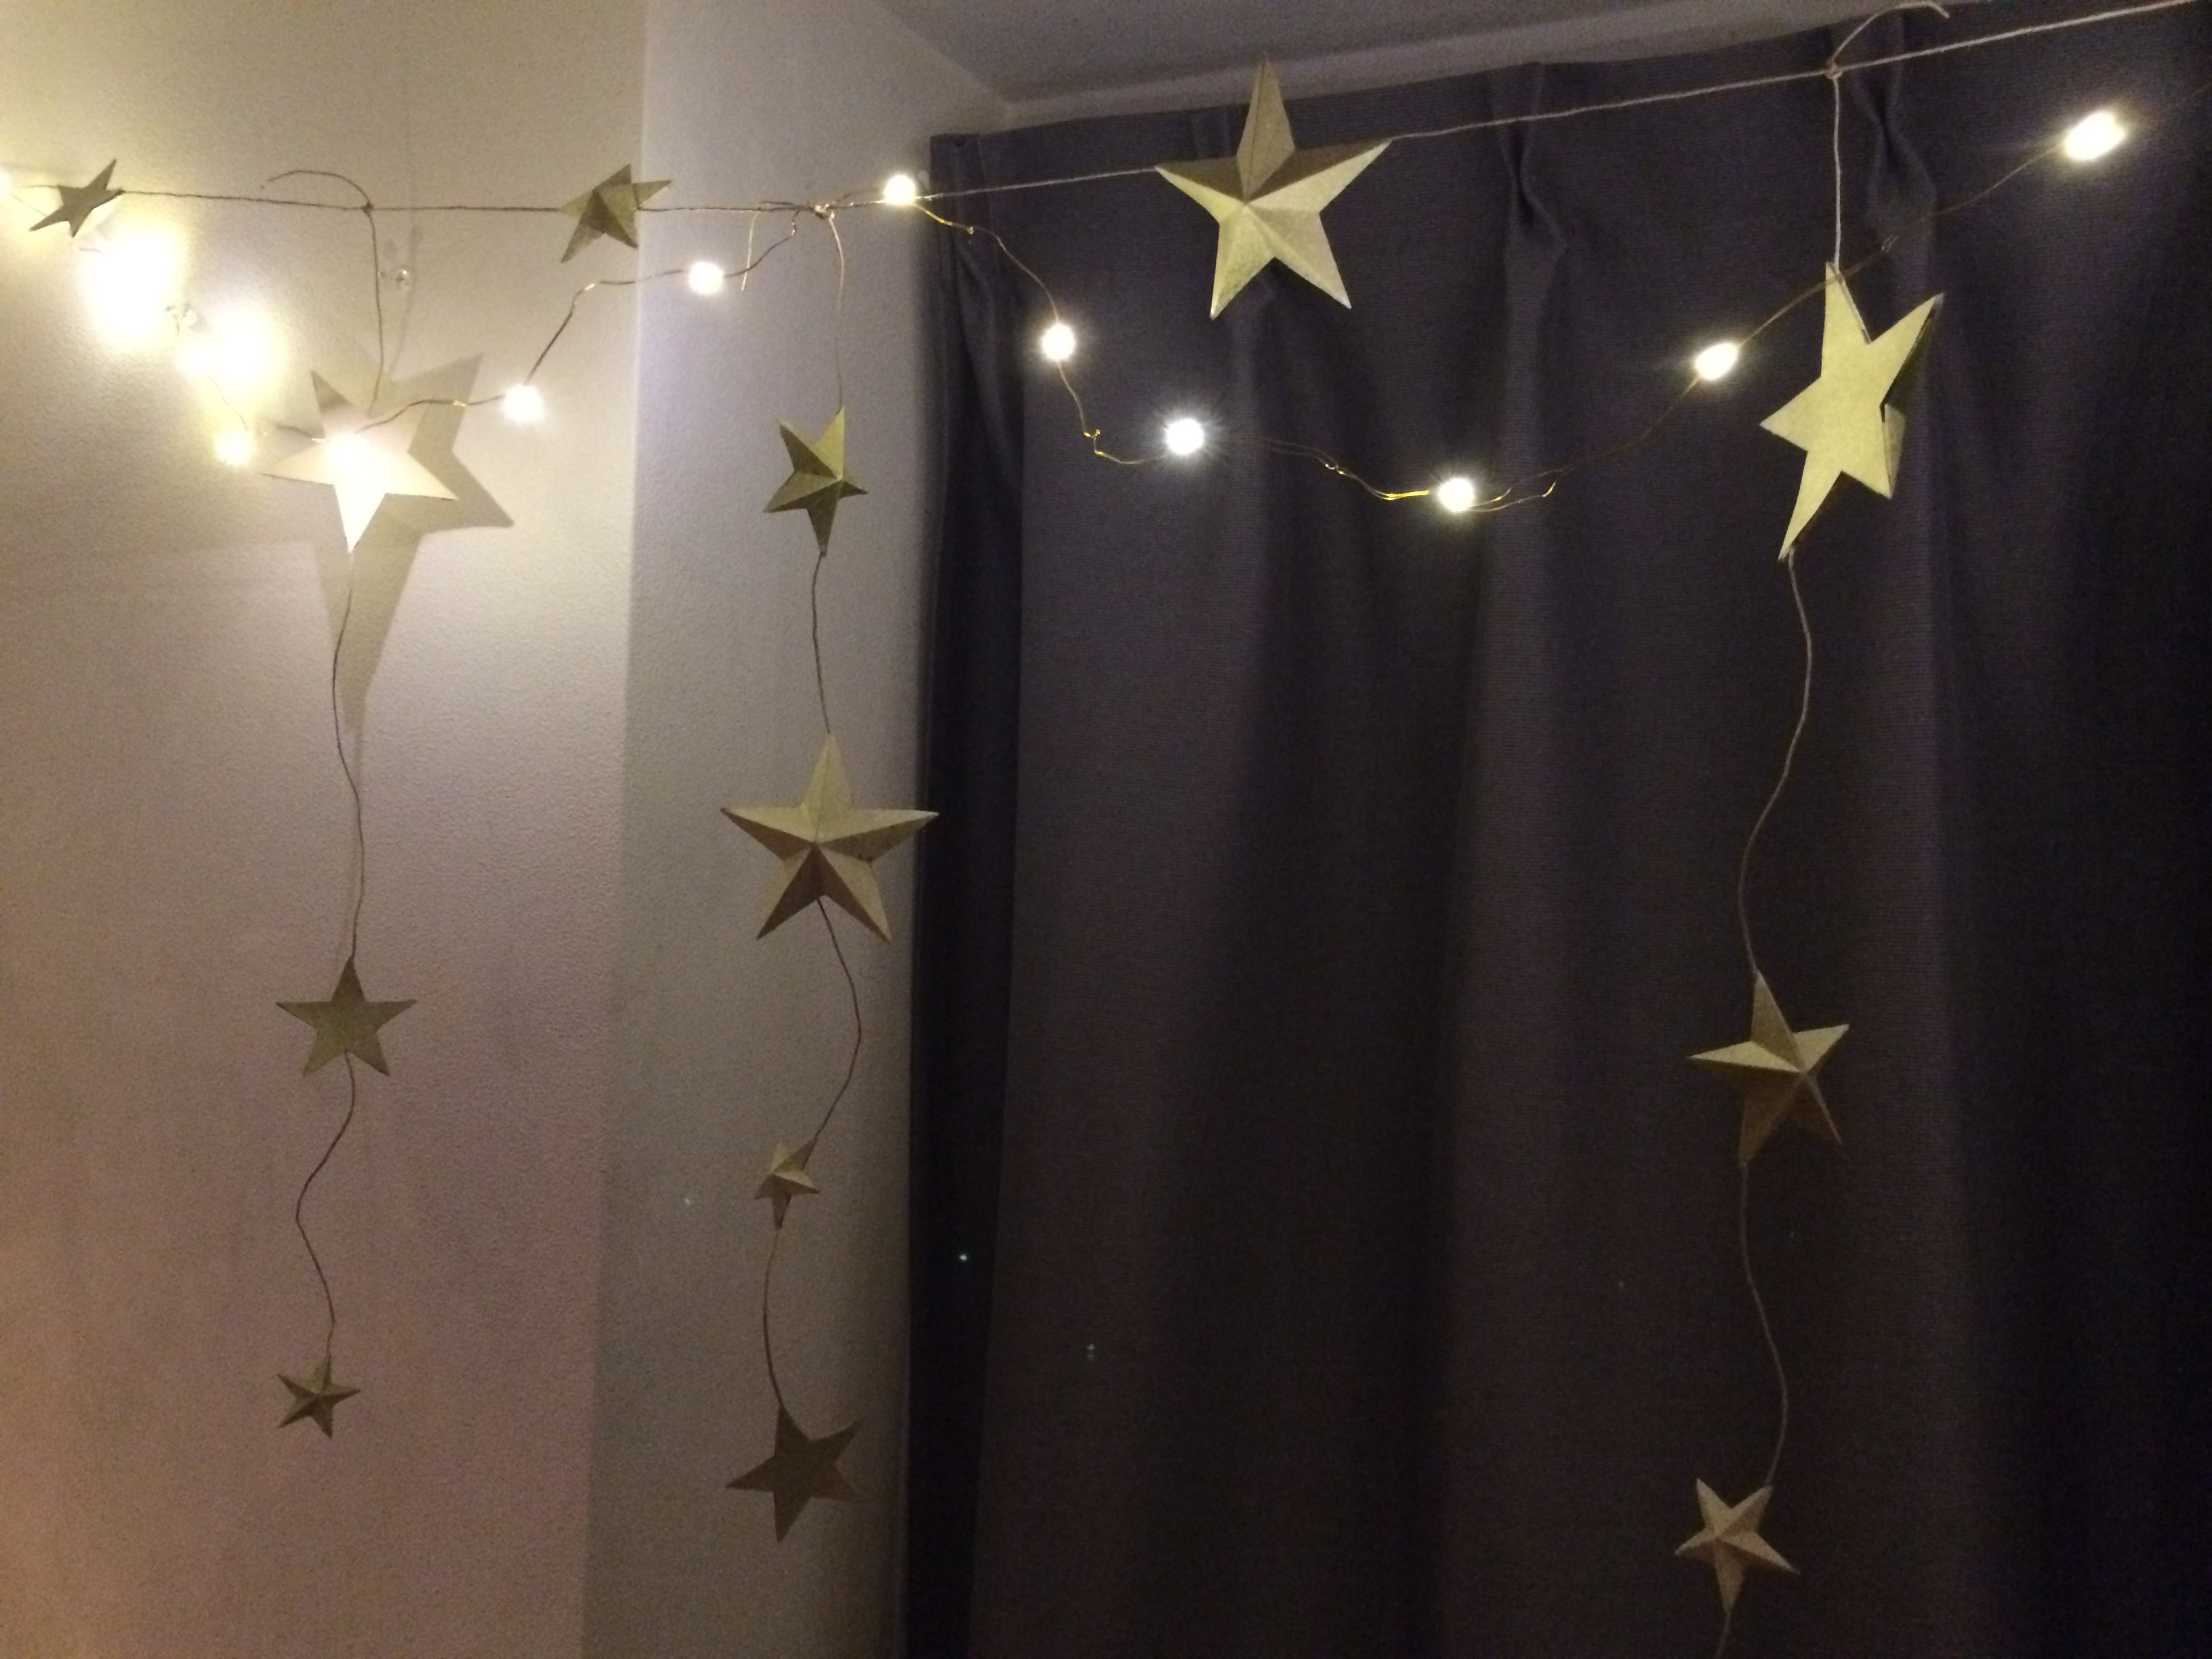
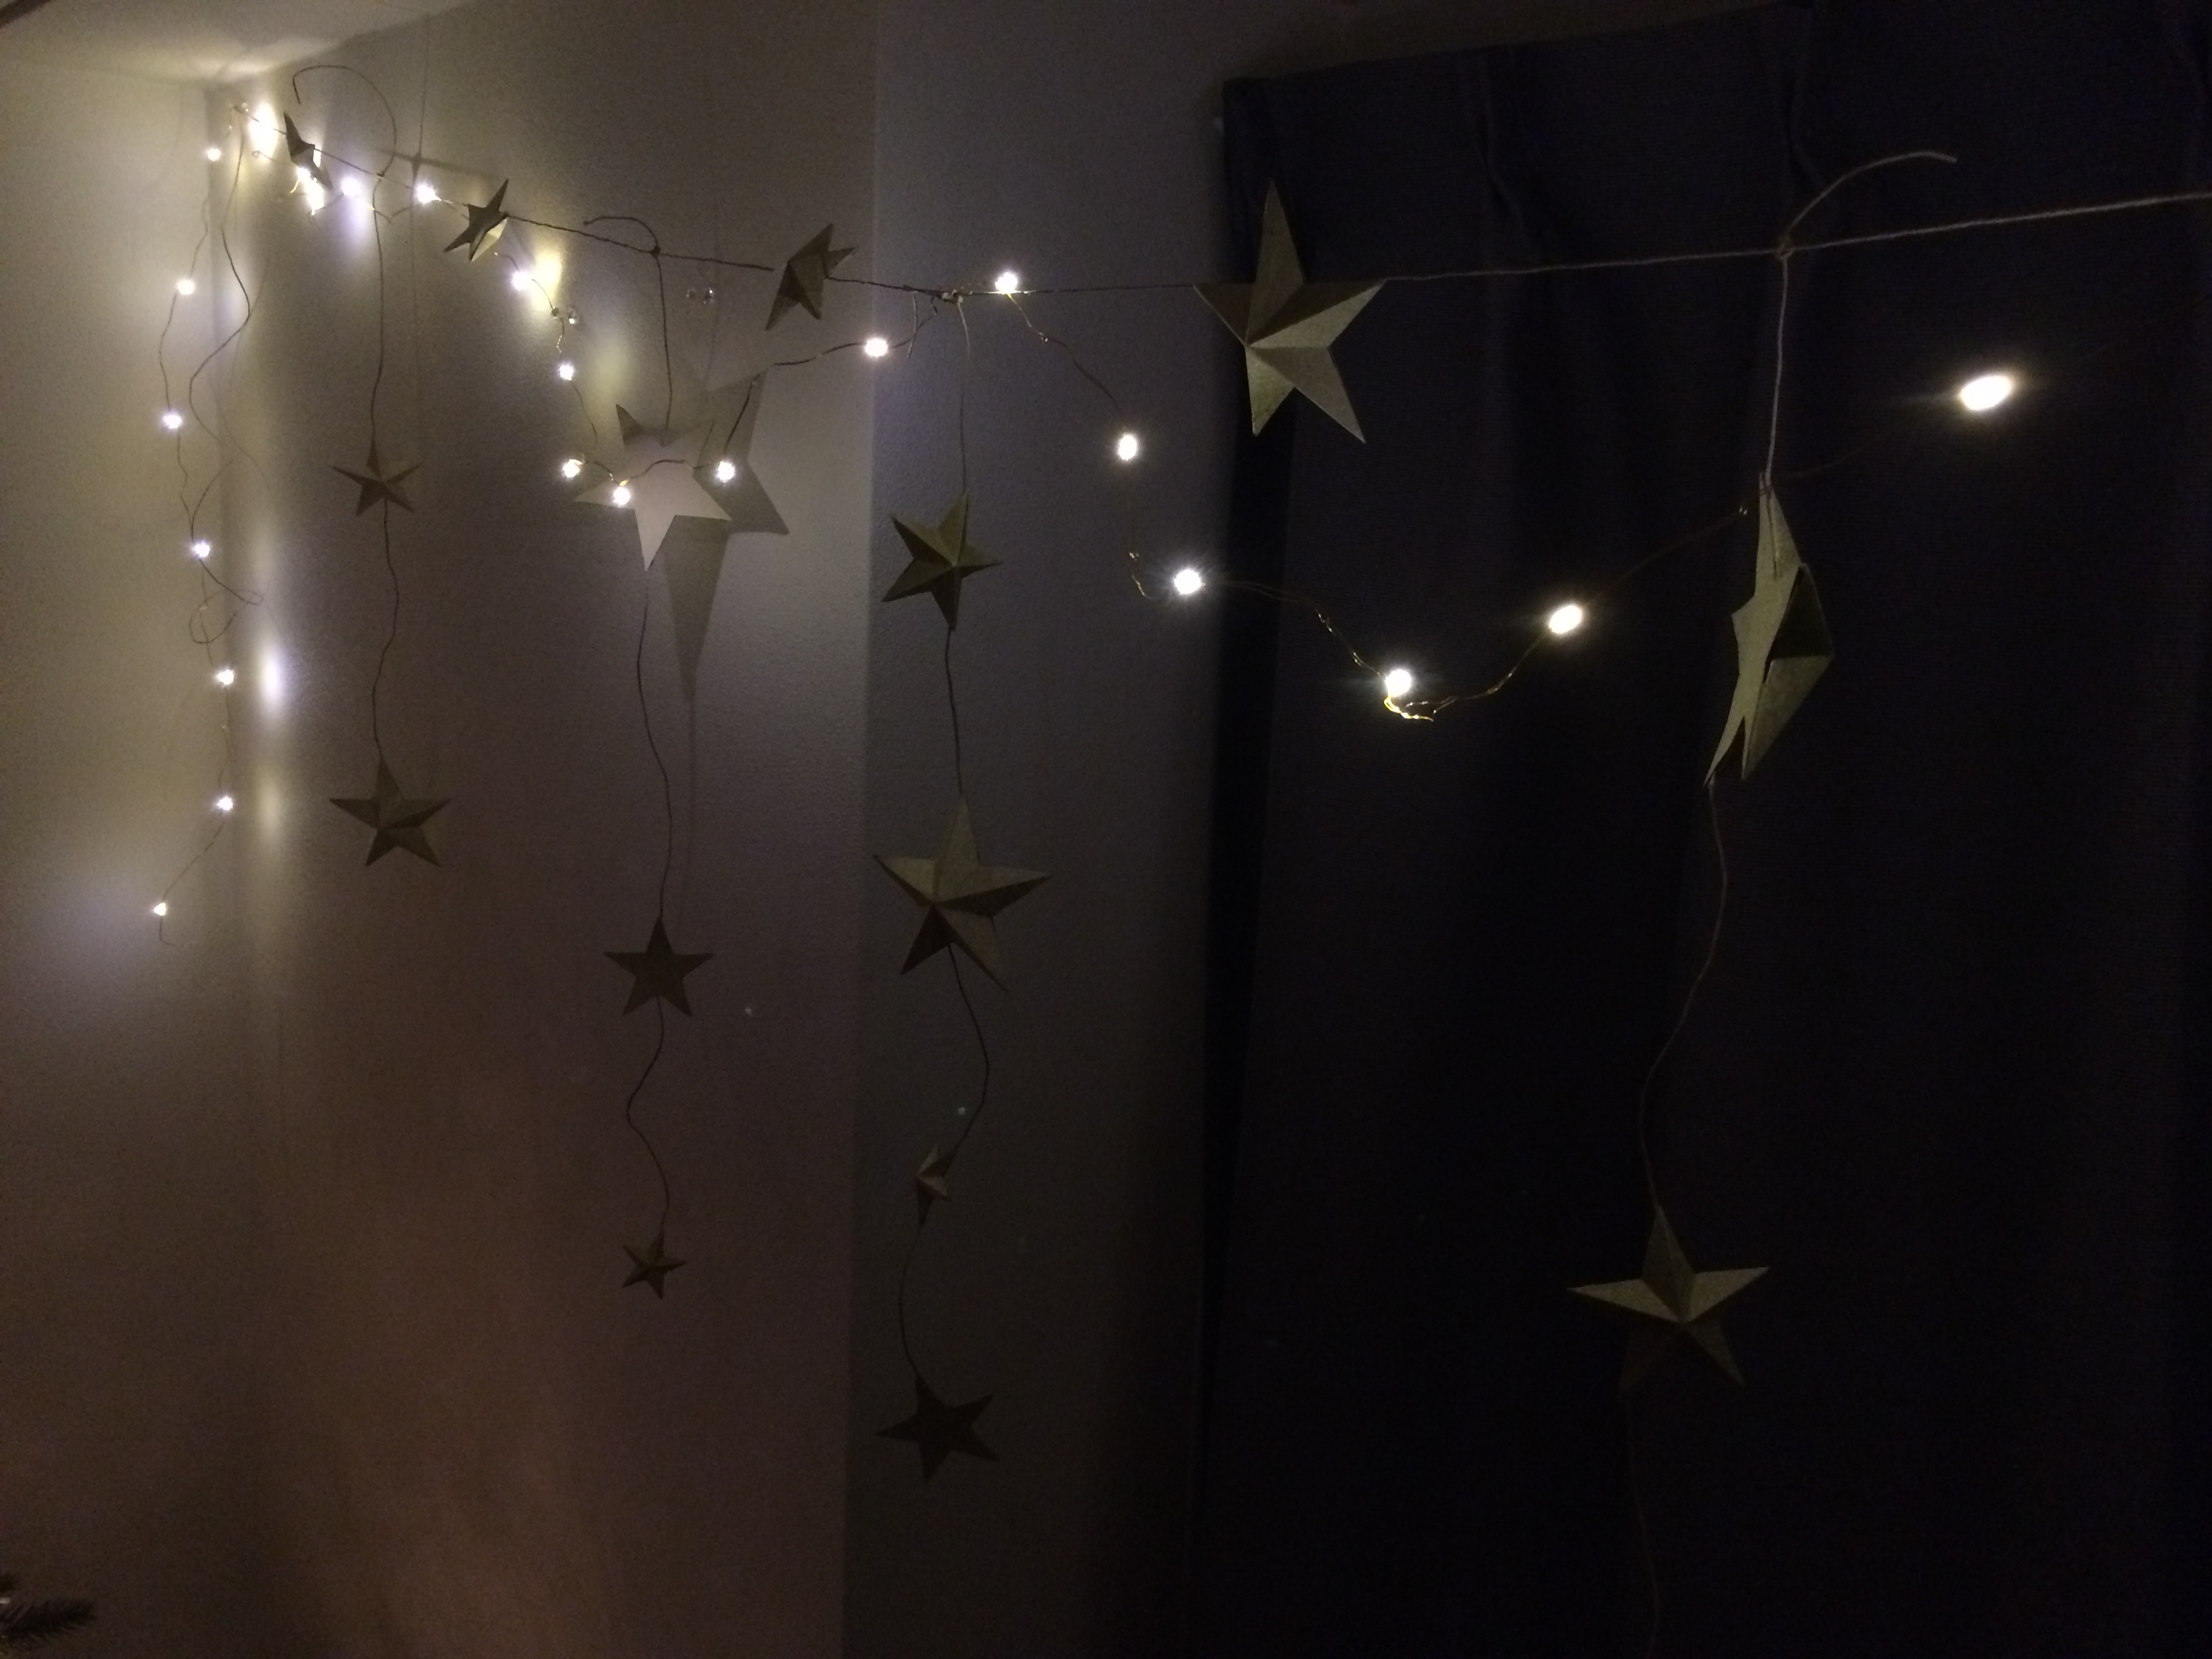
FINISHED! / 出来上がり!
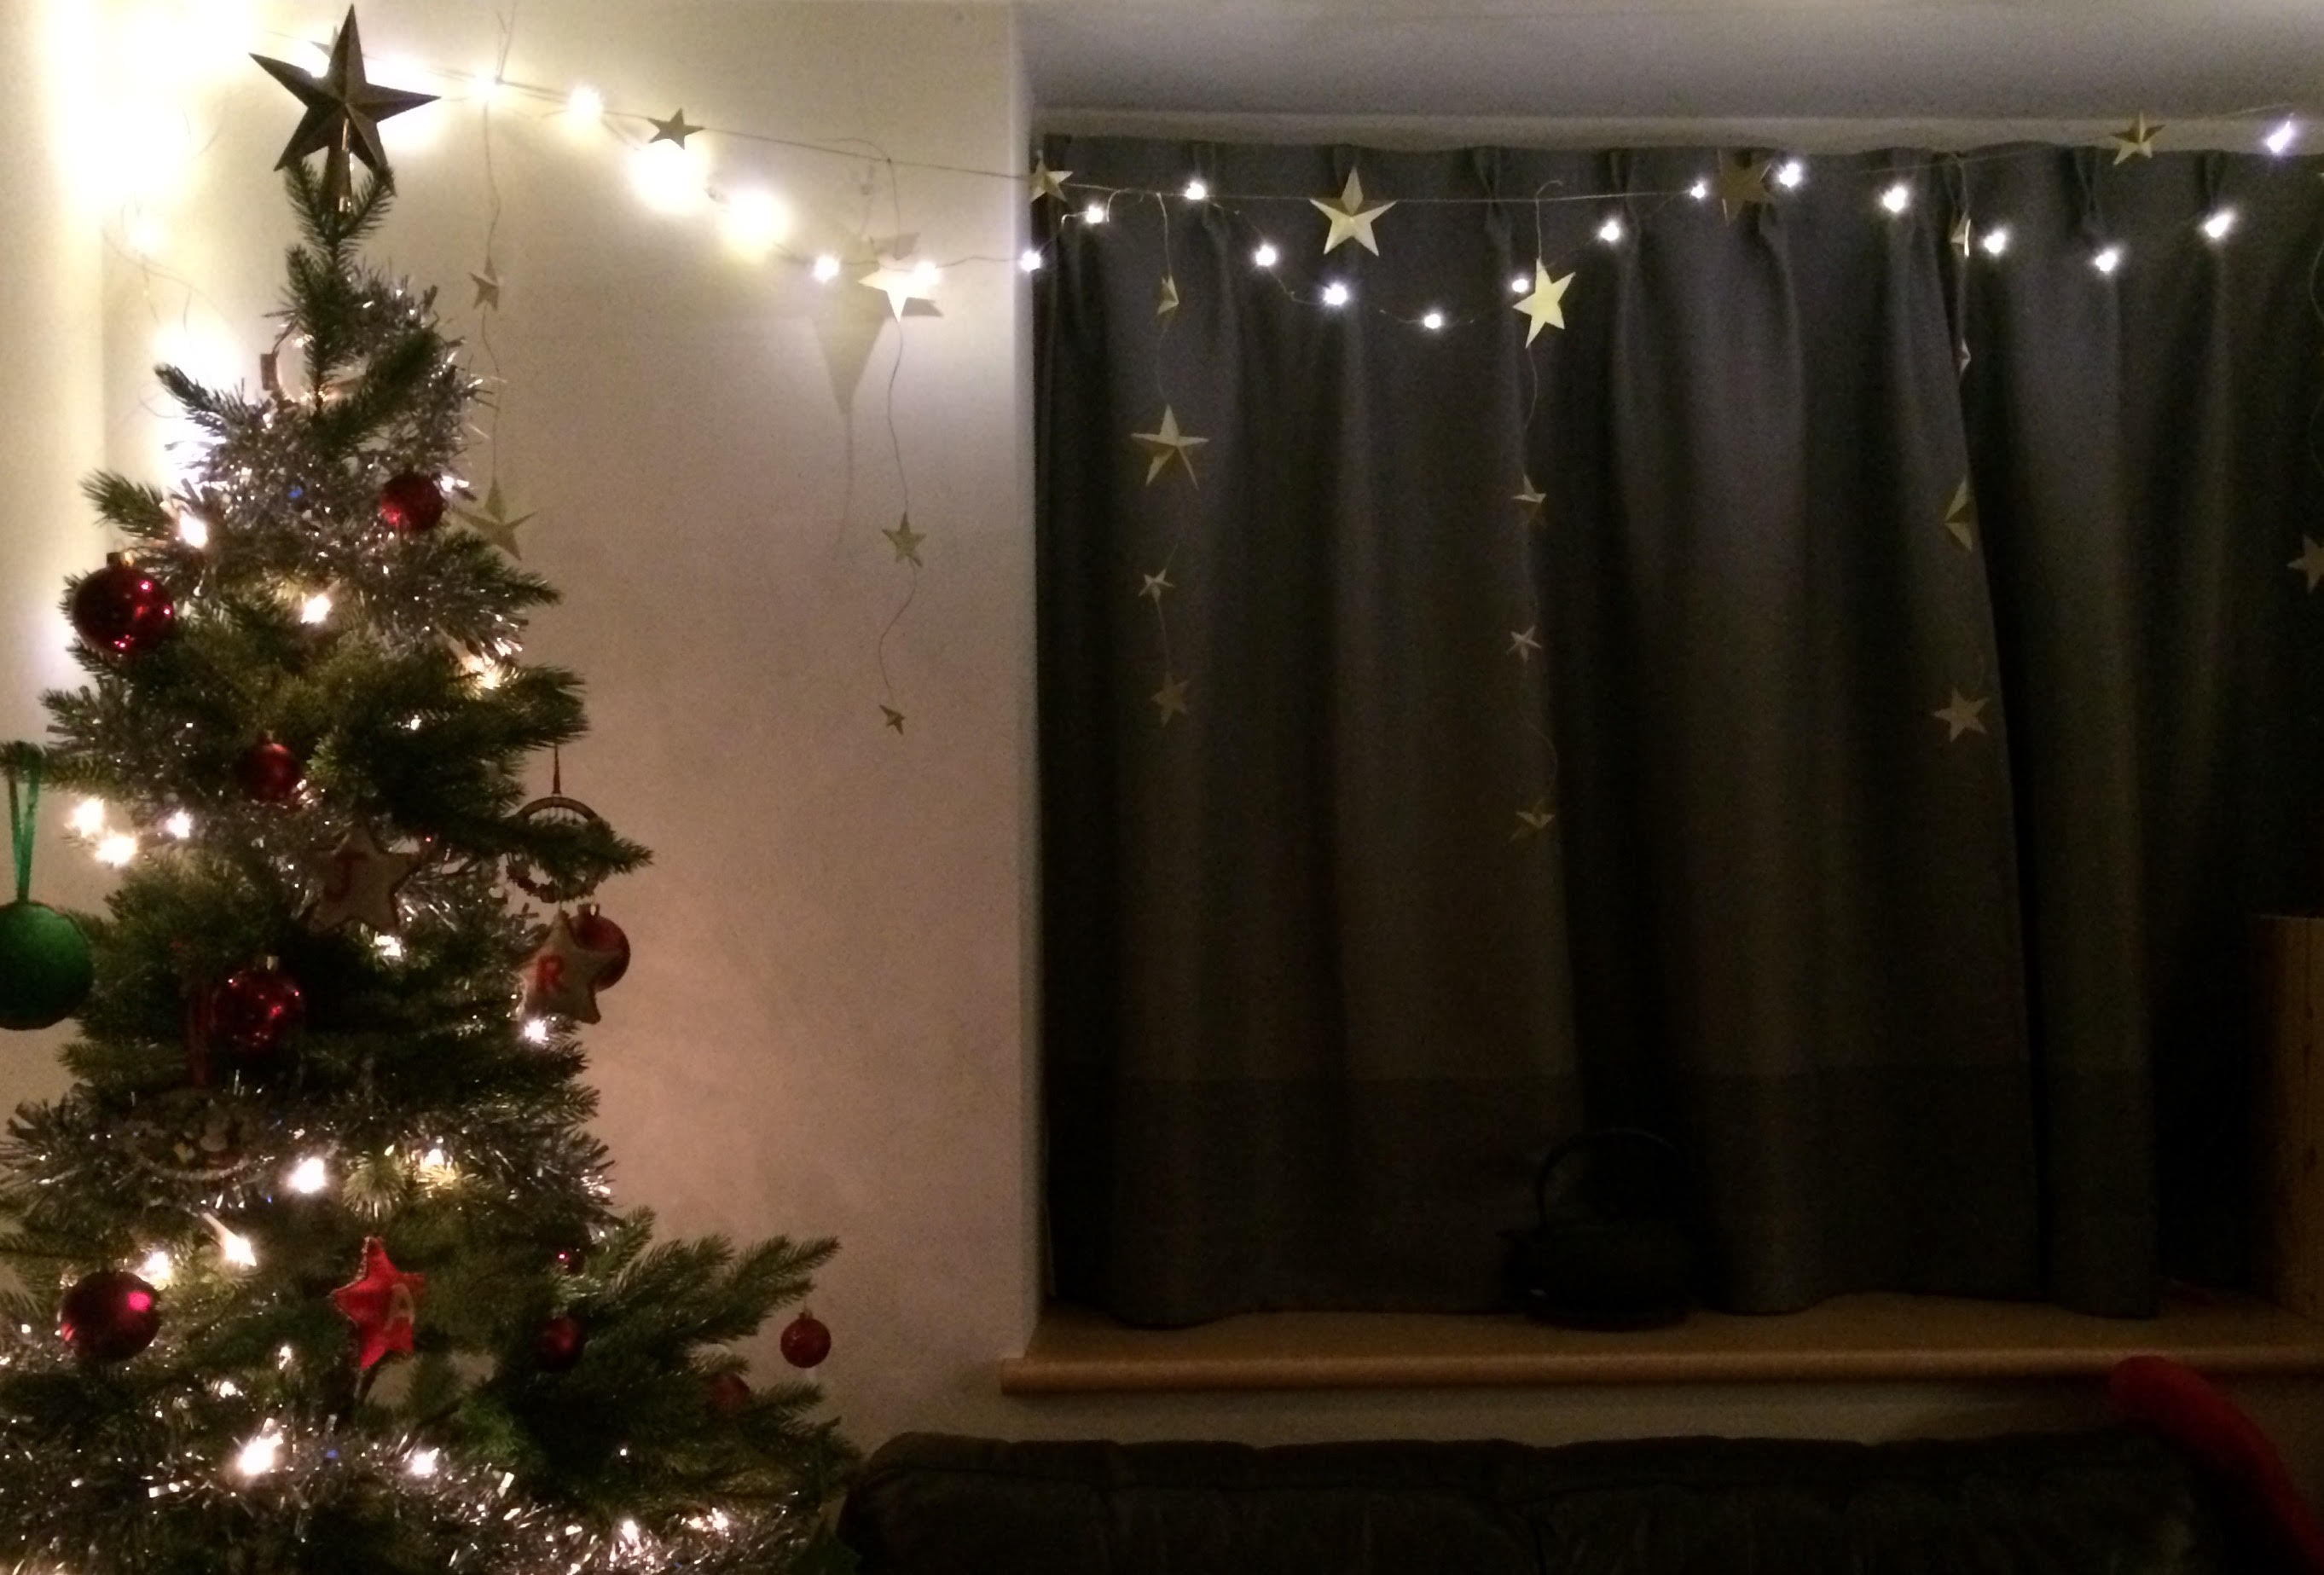
they really are dreamy when combined with these fairy lights! / フェアリーライトと組み合わせて暗い部屋でも暖かくて夢のような空間に仕上がりました。
this is what it looks like with the christmas tree. i plan on keeping them up through the winter (or maybe through the year…) though. / クリスマスツリーと組み合わせています。クリスマスだけでなく、少なくても冬の間はずっと飾り続ける予定です!
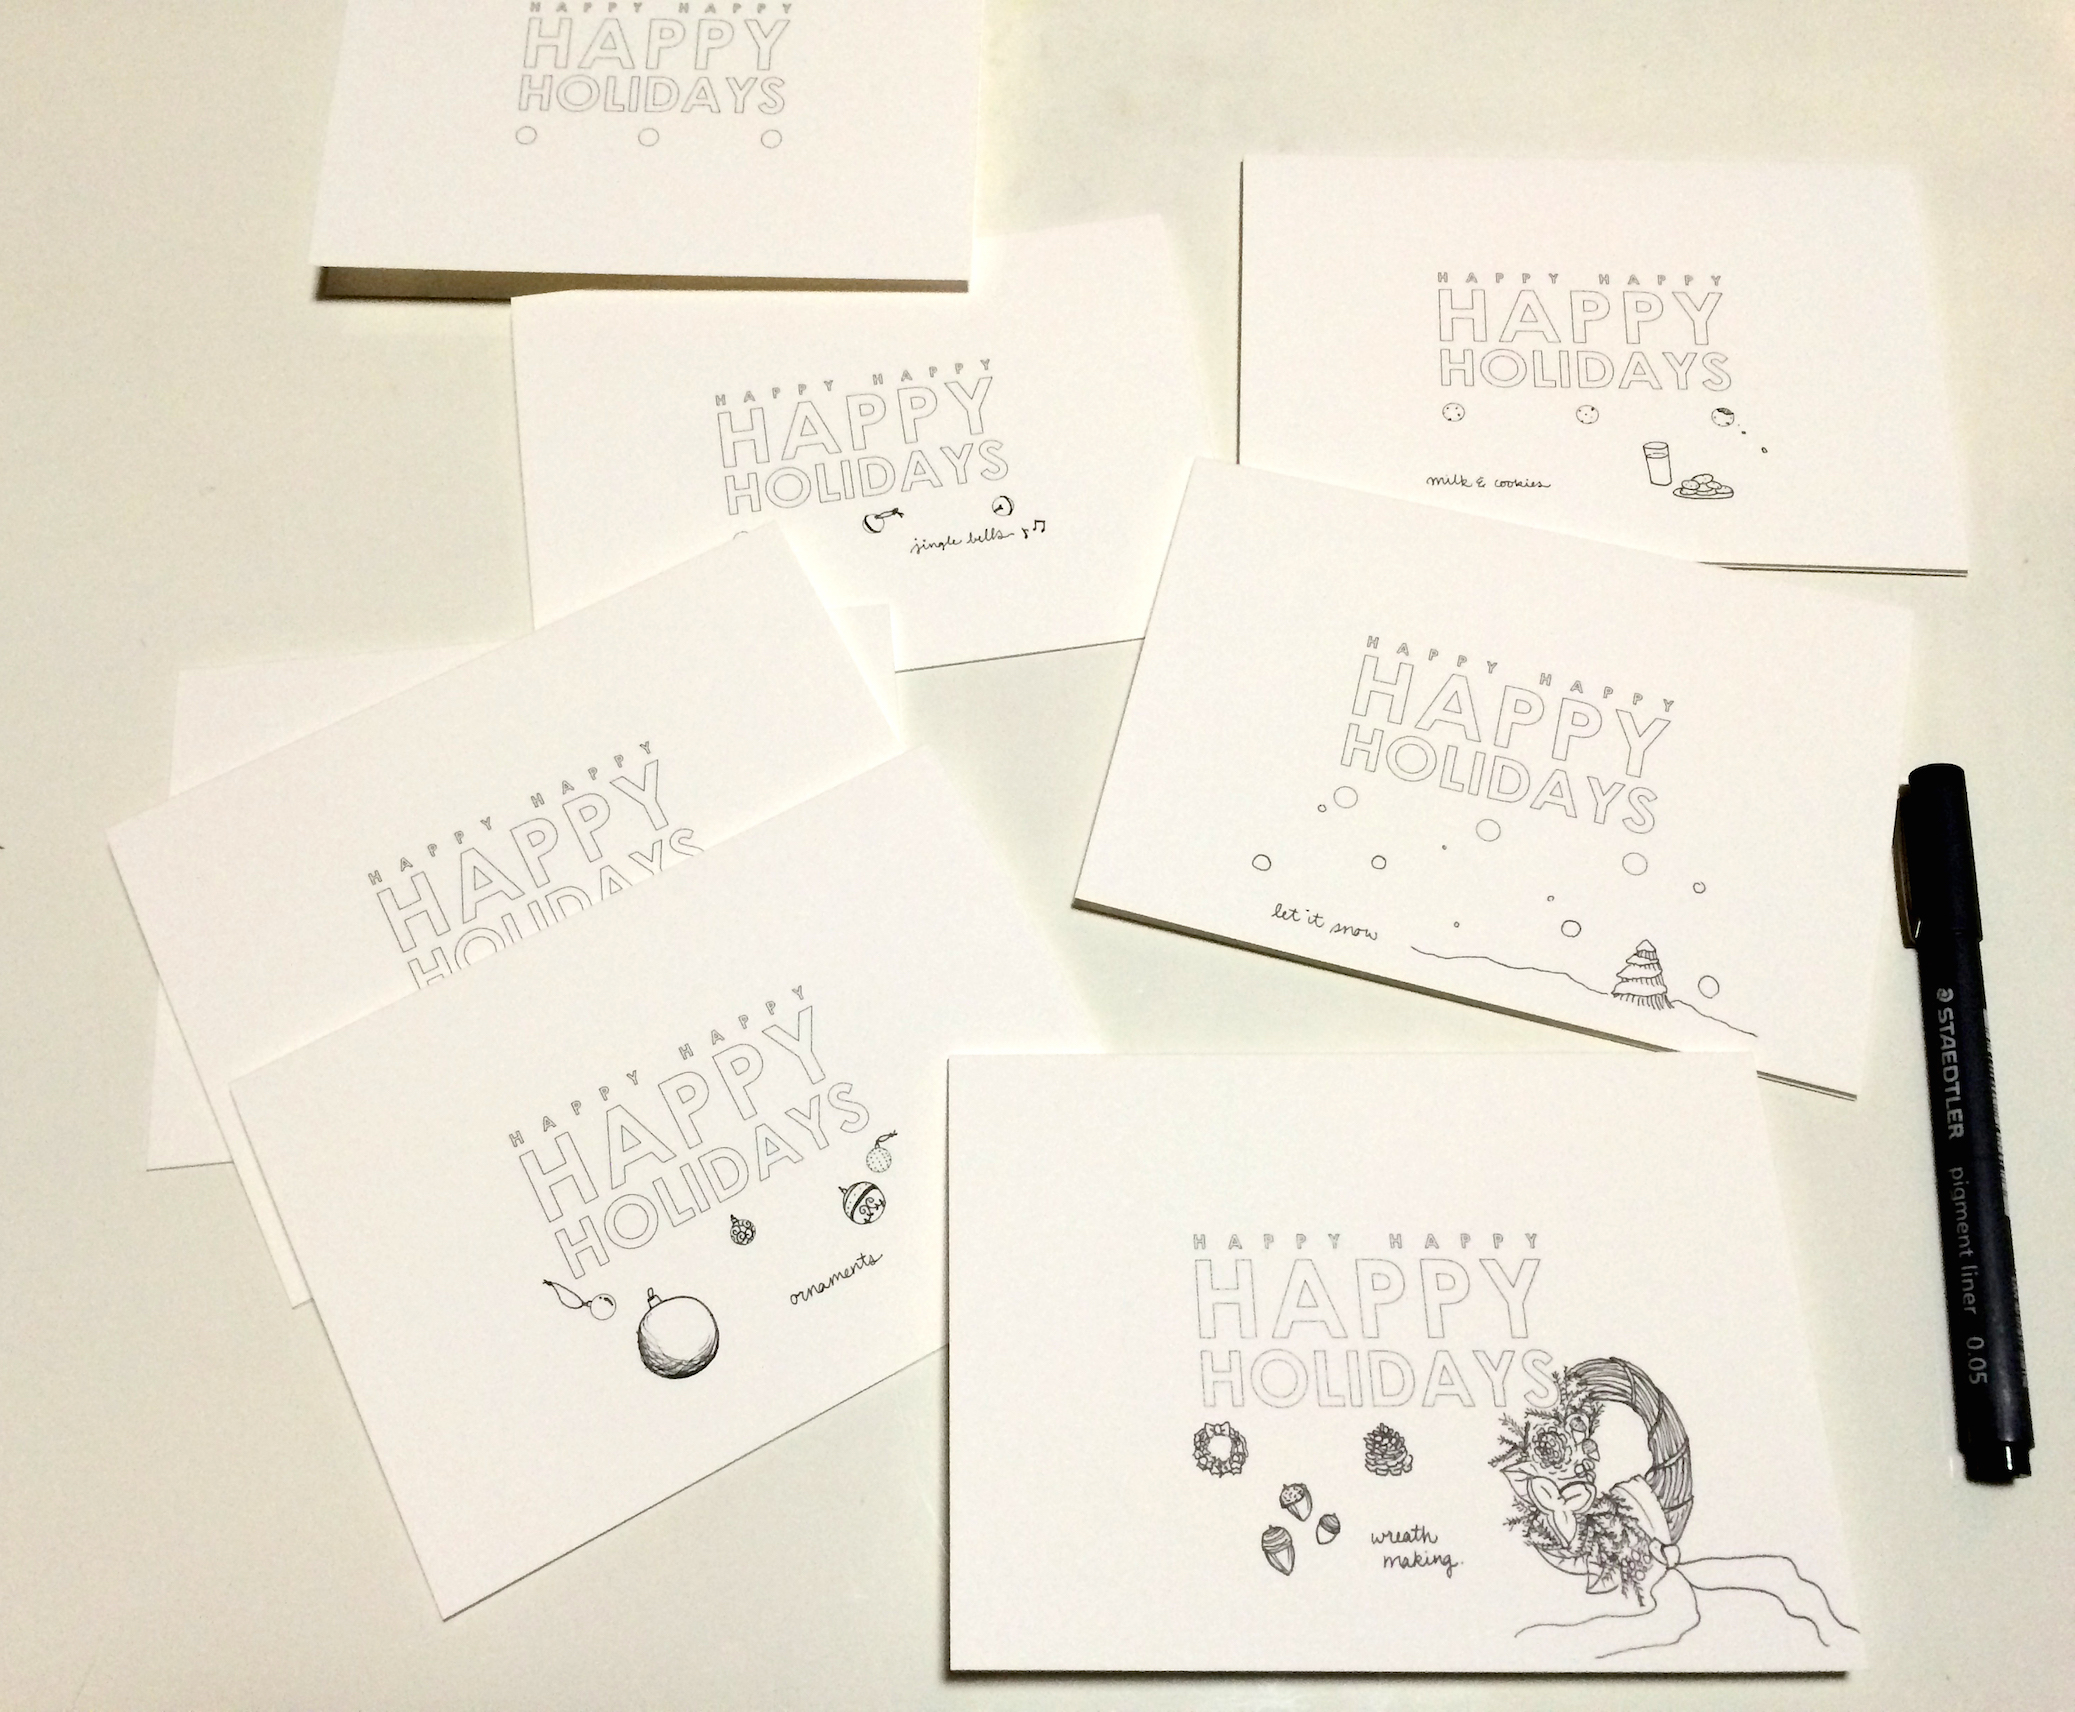
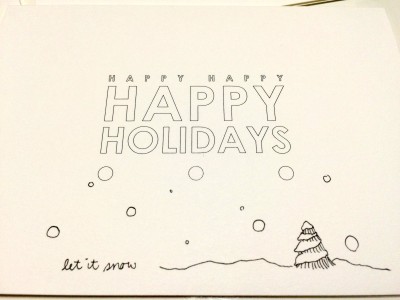
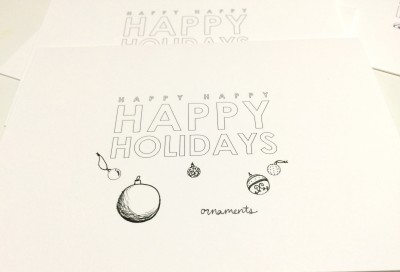
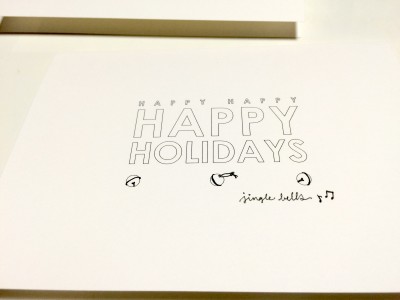
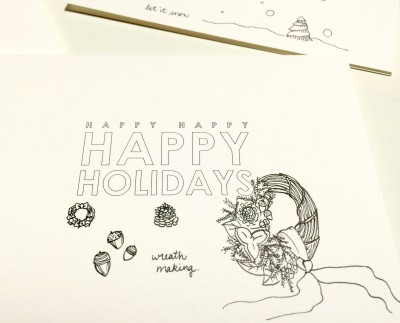
it’s the holiday season! which means many people around the world are rushing to get their holiday greeting cards in the mail and on their way to loved ones. as i mentioned before, i originally began selling the cards i personally made for myself to send, and this year i’m using these from my Etsy shop. take a look below to see how i personalized the simple minimal holiday cards.