[d.i.y.] baby shower favors
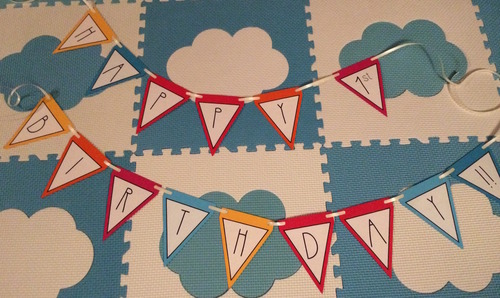
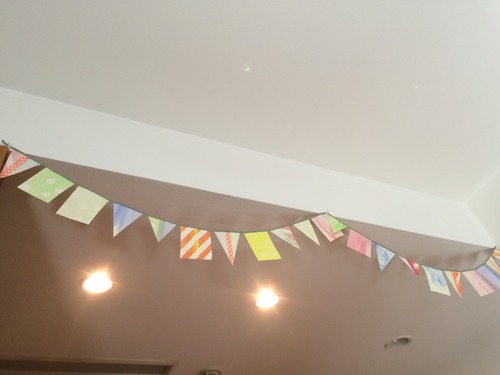
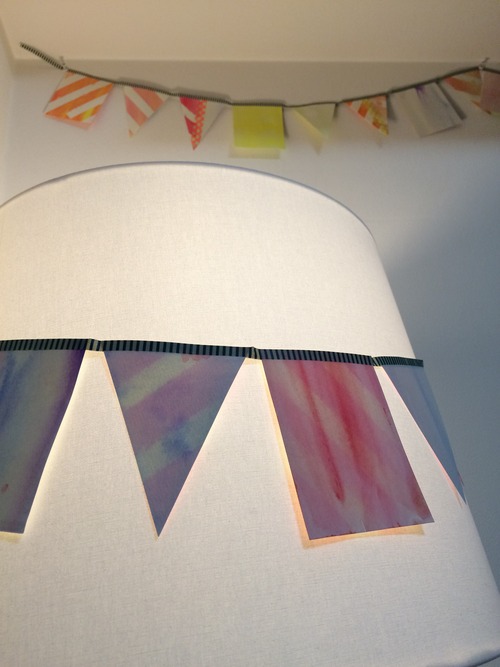
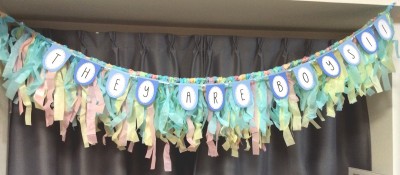
last month, i hosted a dual baby shower for two of my expecting friends. both of them are due around the same time, and both are boys! i was limited with set up time and decorations, so i made a volumy tassel garland that’s easy to put up and instantly brightens up any party space. i didn’t have time to take many photos but here’s what the garlands looked like.
先月、妊娠中の友人二人のために共同ベビーシャワーを開催しました。同時期の予定日に加え、二人とも男の子が産まれるとの事!レンタルスペースだったので、飾り付けをする時間と場所も限られていた為、飾りはタッセル風ティッシュペーパーガーランドを作りました。ボリュームたっぷりで軽いので、これだけでも存在感たっぷりになりました。当日のお写真を撮り逃したのですが、こんな感じです!
now onto the MAIN subject of this post. a simple and easy baby shower favor d.i.y.! i know i do a lot of “simple and easy”, but seriously not many of us have all the time in the world, and efficiency is key. as long as your heart goes into making these favors, your guests will truly appreciate the gesture!
そこで、本日のDIYのテーマへ!超簡単&シンプルなベビーシャワープチギフト。いつもいつも、簡単やらシンプルと歌っていますが、時間を有効に活用するのは重要ですよね。一番大事なのは、心を込めて手作りの一手間を加えて、ゲストの方々に温かみが伝わる事です。
LET’S START! / 始めよう!
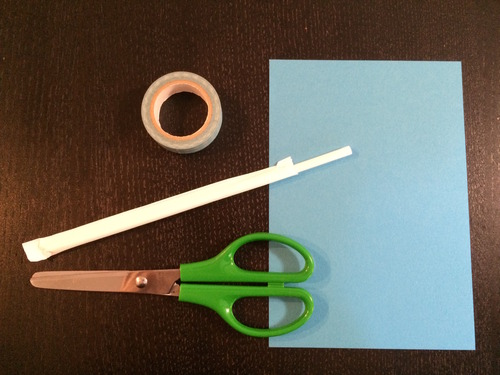
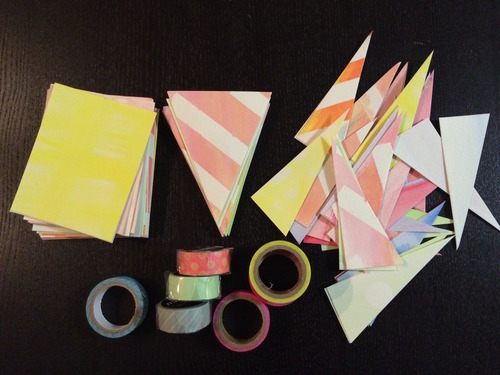
what you need / 材料:
small paper gift bags / ギフト用紙袋
chocolates, candies, or other small wrapped snacks / 個別包装されたチョコレート、キャンディー、お菓子
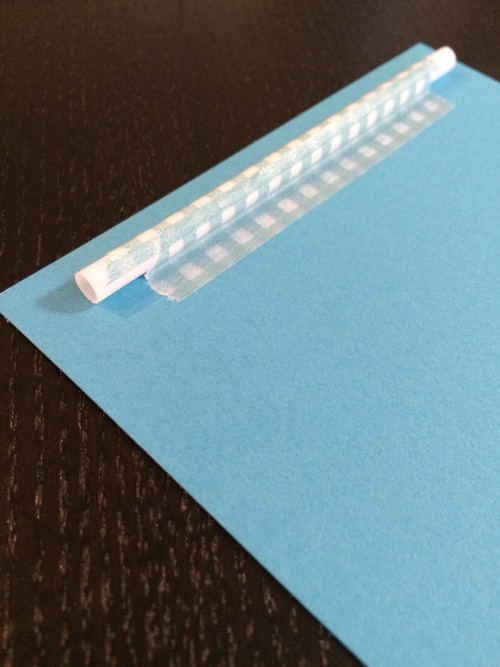
washi tape / 和紙テープ
printed (or written) thank you message / 手描き、もしくは印刷されたサンキューメッセージ
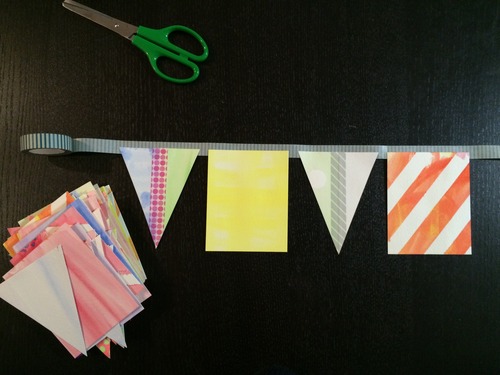
scissors / ハサミ
ribbon / リボン
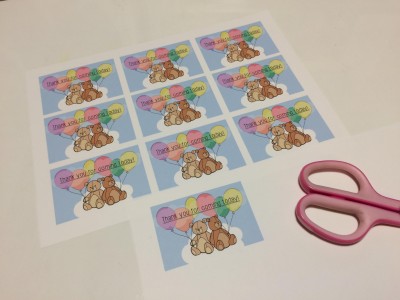
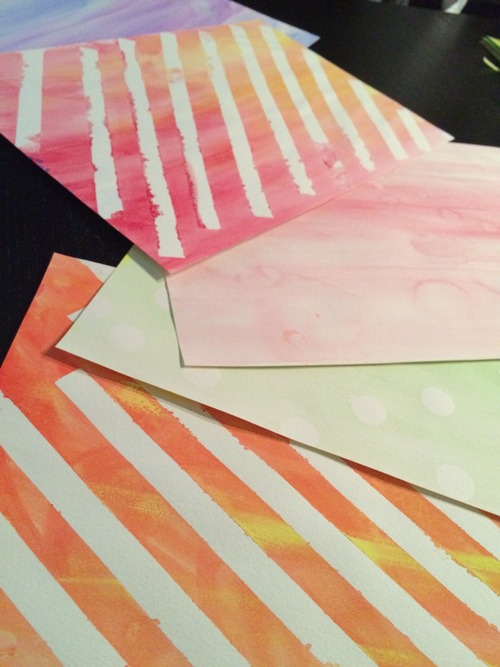
1. print and/or handwrite/draw a thank you message to match the width of gift bag. / 印刷もしくは手書き/描きのサンキューメッセージタグを作る。幅はギフトバッグに合わせて。
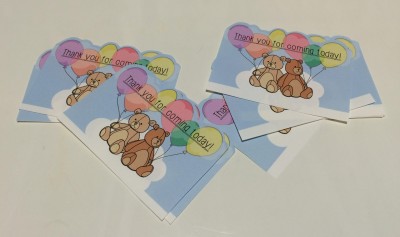
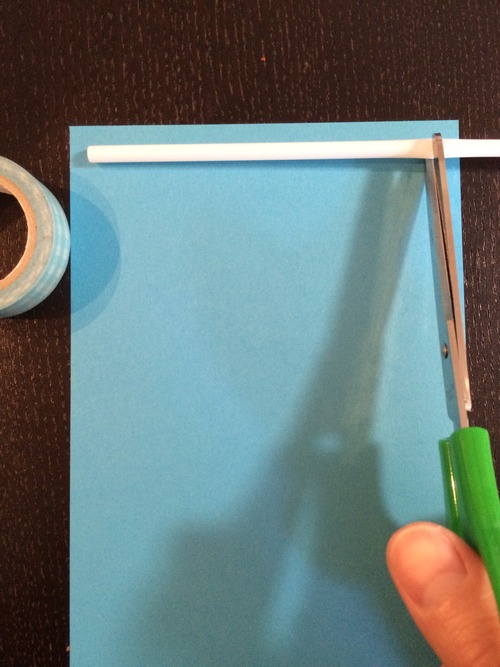
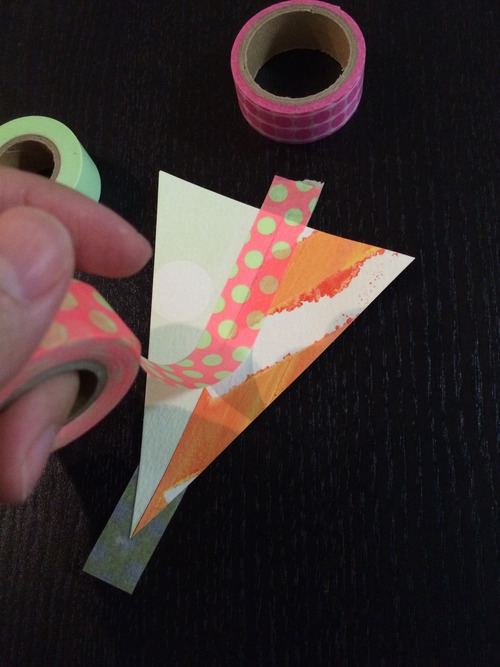
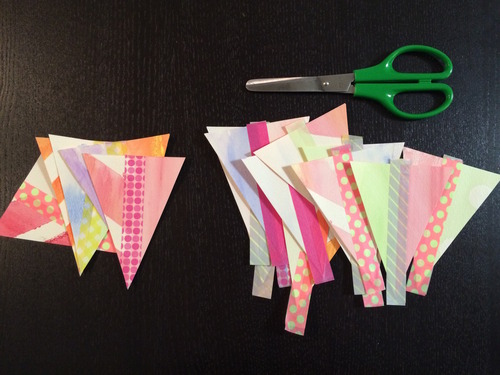
2. cut out thank you message tag. i left some white space at the bottom where the tape will go, but this is optional. for some extra fun details, cut top edges in a curved, scalloped, or zig-zag pattern! /
メッセージタグを切り抜く。下端の白紙部分はテープを貼るのり代として残しました。面白みを出すのに、タグの上端は、カーブやスカラップ、ジグザグで切り抜くと良いです⭐︎
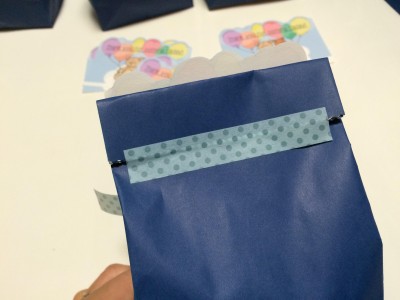
3. fill gift bag with candies and snacks and tape closed. / ギフトバッグにお菓子を詰めて、テープで閉じる。
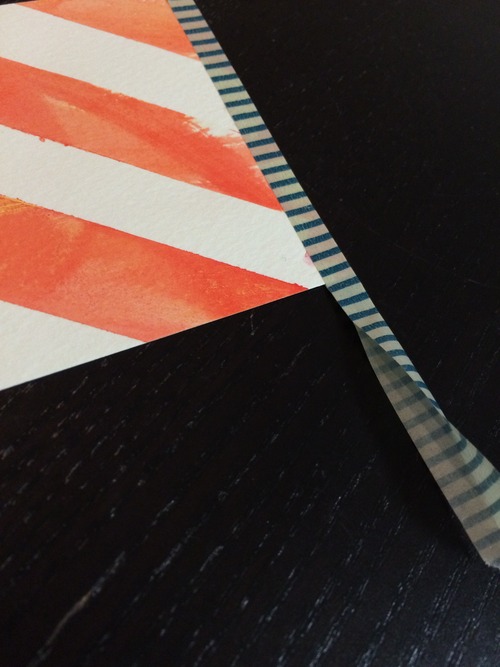
4. tape washi-tape to the bottom edge of tag. make sure to leave about 1/3 inch of the tape from the bottom edge of the tag to attach to the gift bag. / メッセージタグの下端に和紙テープを貼る。ギフトバッグに貼り付ける分量を半分残す。
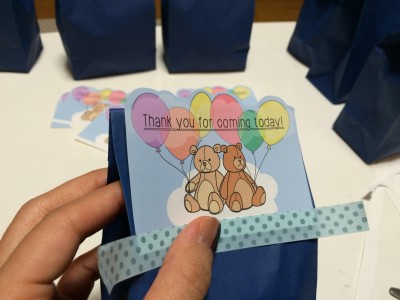
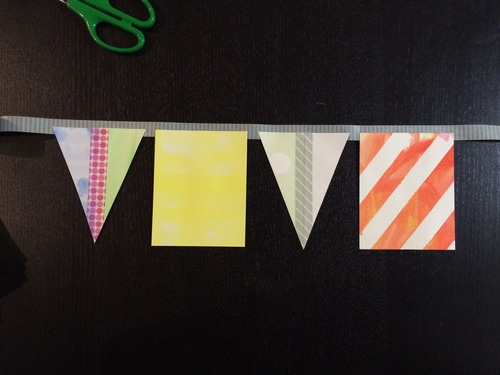
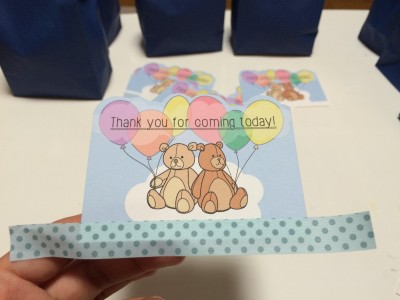
5. tape tag to gift bag. let the detailed top edge stick above the gift bag. / メッセージタグをギフトバッグに貼り付ける。先ほど不規則に切った上端は、紙袋の上から出るように配置してね♥
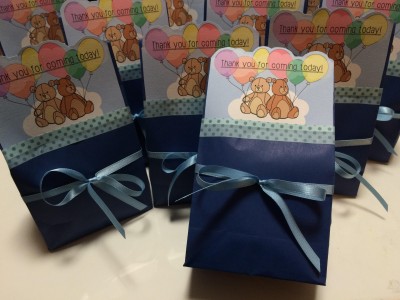
6. finish with a ribbon! / 最後にリボンを結ぶ!
FINISHED! / 出来上がり!
![[D.I.Y.] HALLOWEEN GARLAND](http://www.peacelovetokyo.com/home/wp-content/uploads/2015/10/unnamed-18-300x400.jpg)
![[D.I.Y.] HALLOWEEN GARLAND](http://www.peacelovetokyo.com/home/wp-content/uploads/2015/10/unnamed-13-400x300.jpg)
![[D.I.Y.] HALLOWEEN GARLAND](http://www.peacelovetokyo.com/home/wp-content/uploads/2015/10/unnamed-101-400x300.jpg)
![[D.I.Y.] HALLOWEEN GARLAND](http://www.peacelovetokyo.com/home/wp-content/uploads/2015/10/unnamed-400x300.jpg)
![[D.I.Y.] HALLOWEEN GARLAND](http://www.peacelovetokyo.com/home/wp-content/uploads/2015/10/IMG_7351-400x300.jpg)
![[D.I.Y.] HALLOWEEN GARLAND](http://www.peacelovetokyo.com/home/wp-content/uploads/2015/10/unnamed-3-400x300.jpg)
![[D.I.Y.] HALLOWEEN GARLAND](http://www.peacelovetokyo.com/home/wp-content/uploads/2015/10/IMG_7350-400x300.jpg)
![[D.I.Y.] HALLOWEEN GARLAND](http://www.peacelovetokyo.com/home/wp-content/uploads/2015/10/IMG_7358-400x300.jpg)
![[D.I.Y.] HALLOWEEN GARLAND](http://www.peacelovetokyo.com/home/wp-content/uploads/2015/10/IMG_7359-400x300.jpg)
![[D.I.Y.] HALLOWEEN GARLAND](http://www.peacelovetokyo.com/home/wp-content/uploads/2015/10/IMG_7360-400x315.jpg)
![[d.i.y.] halloween flag garland // ハロウィンフラグガーランド](http://www.peacelovetokyo.com/home/wp-content/uploads/2015/10/unnamed-のコピー-400x188.jpg)