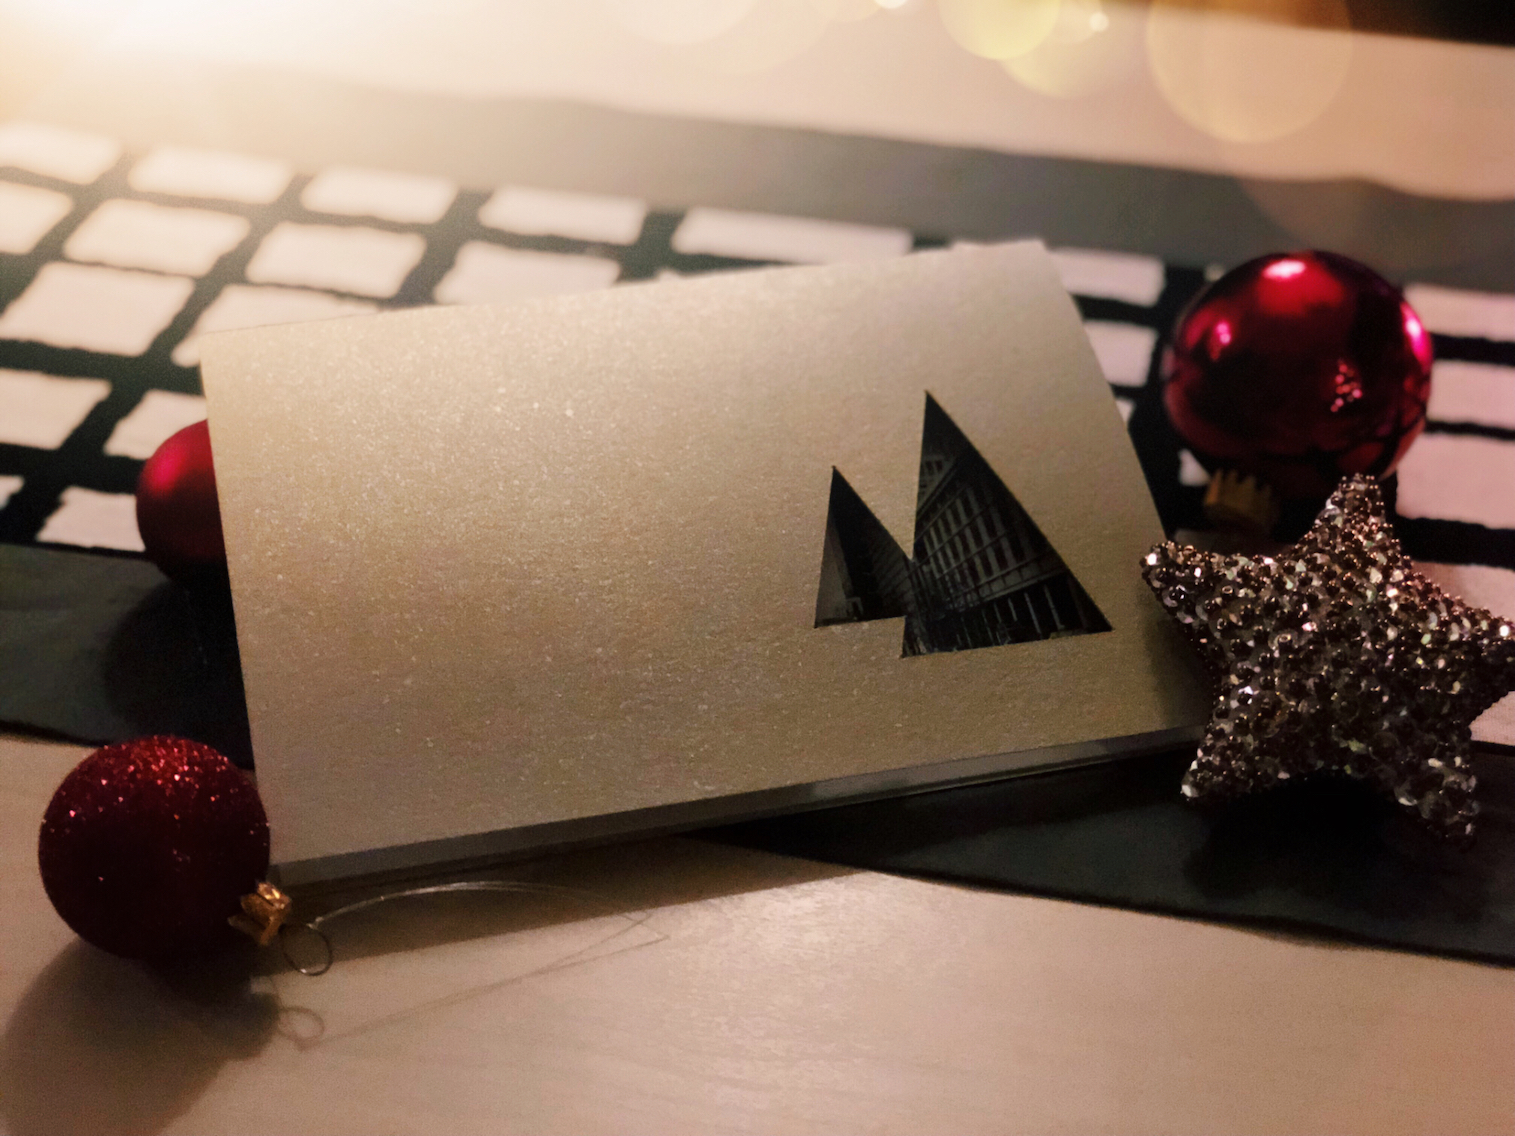
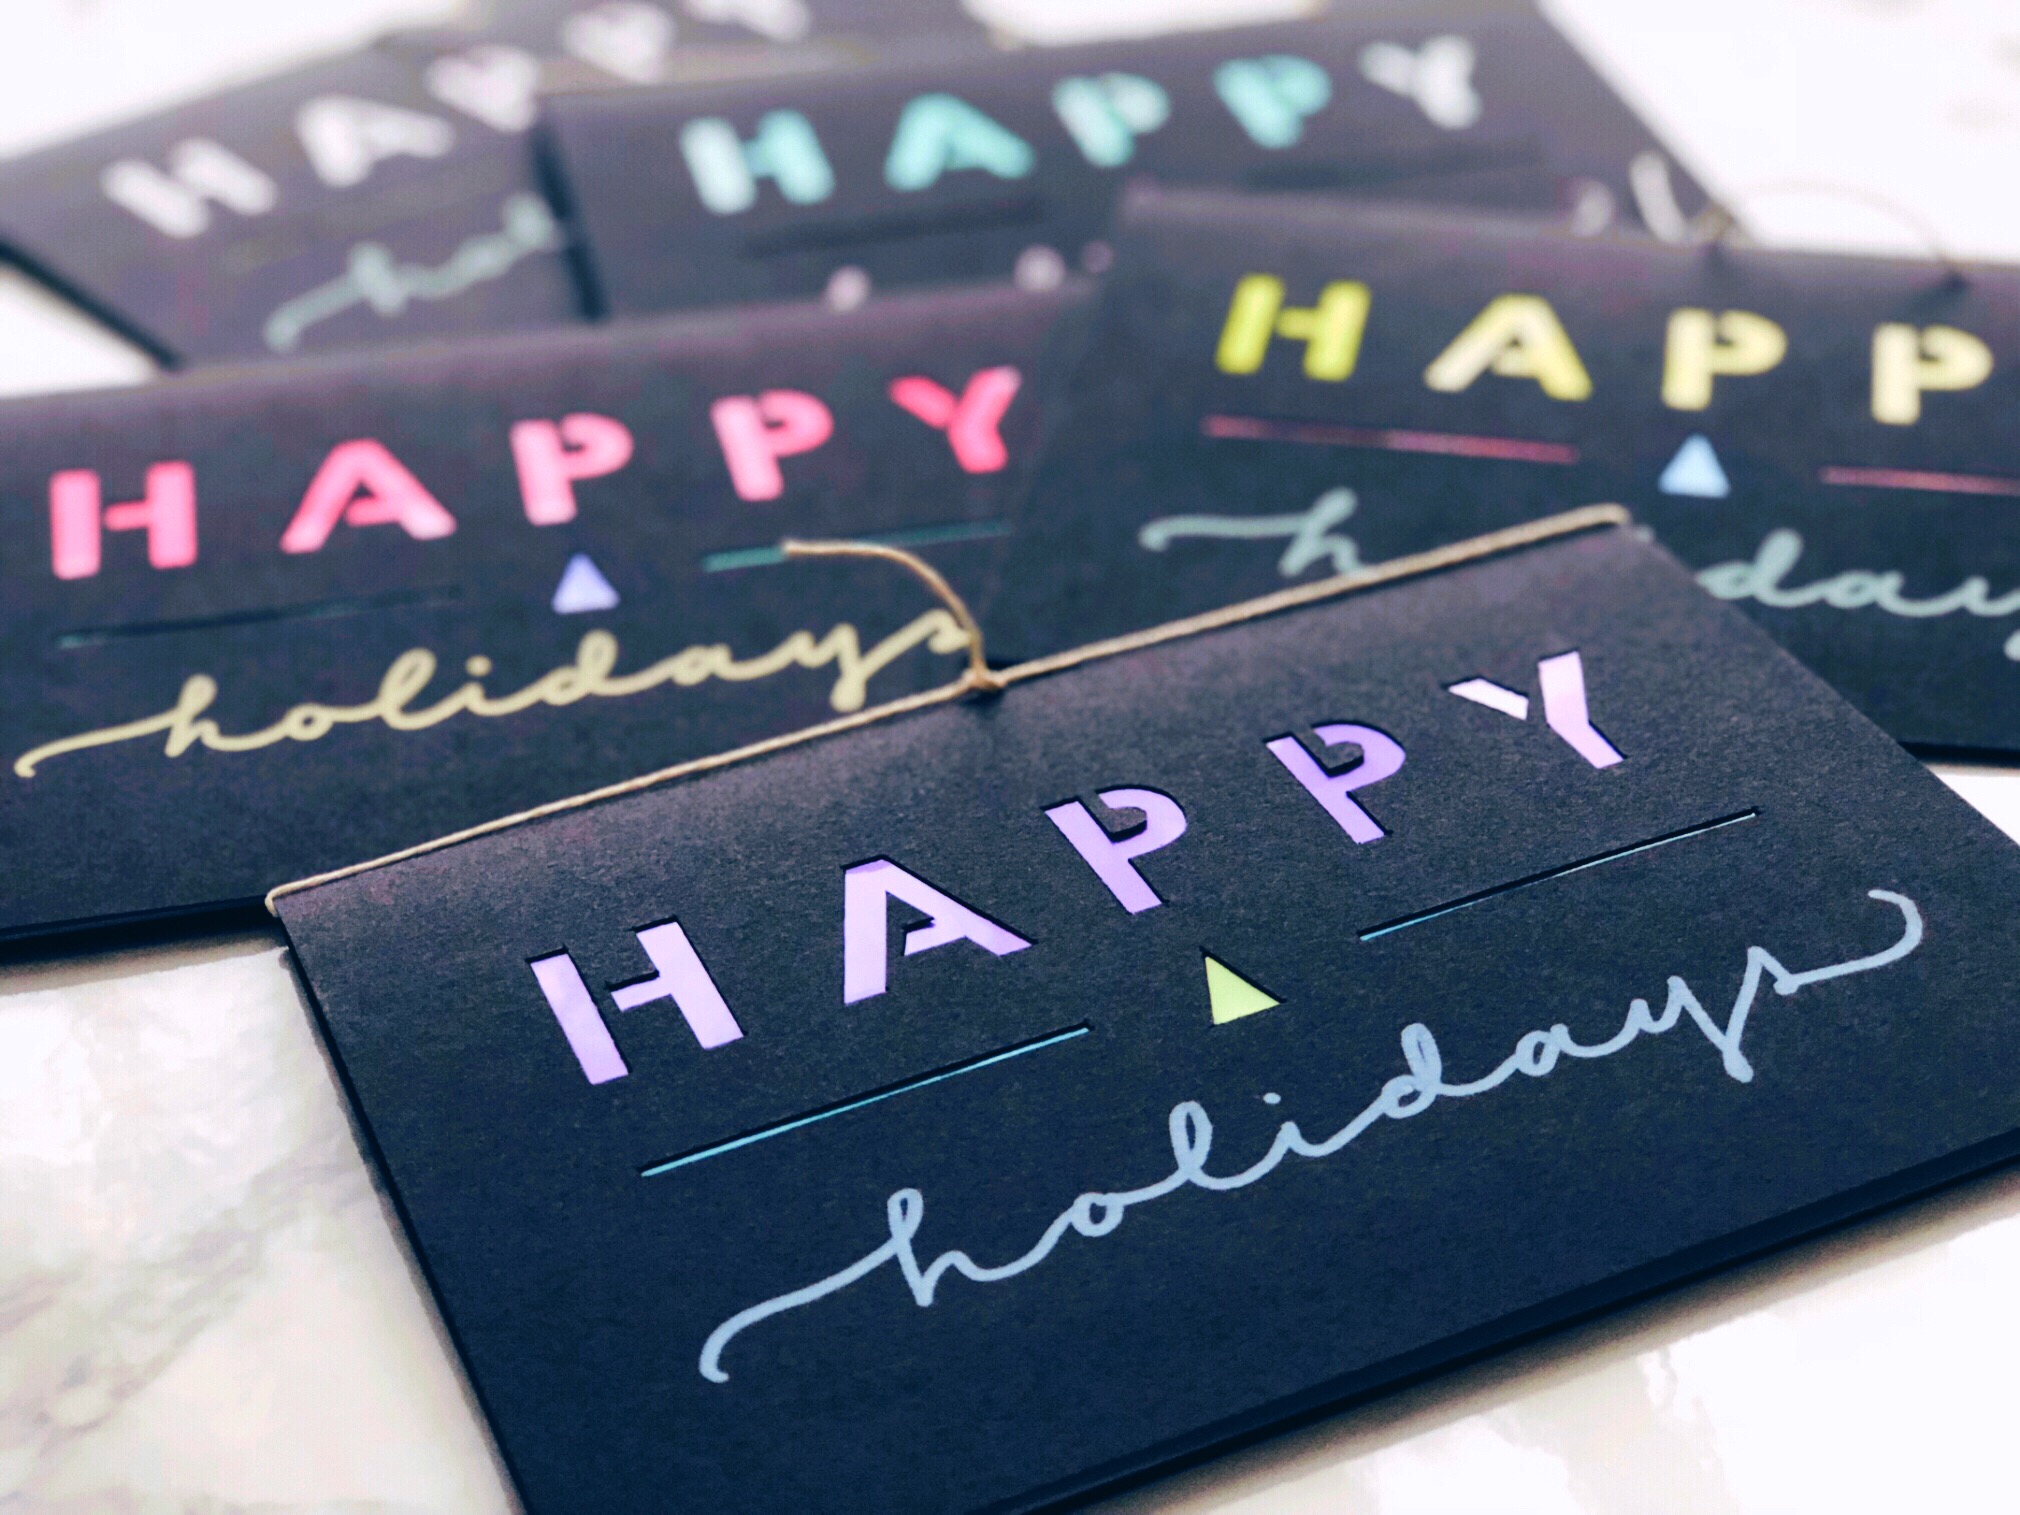
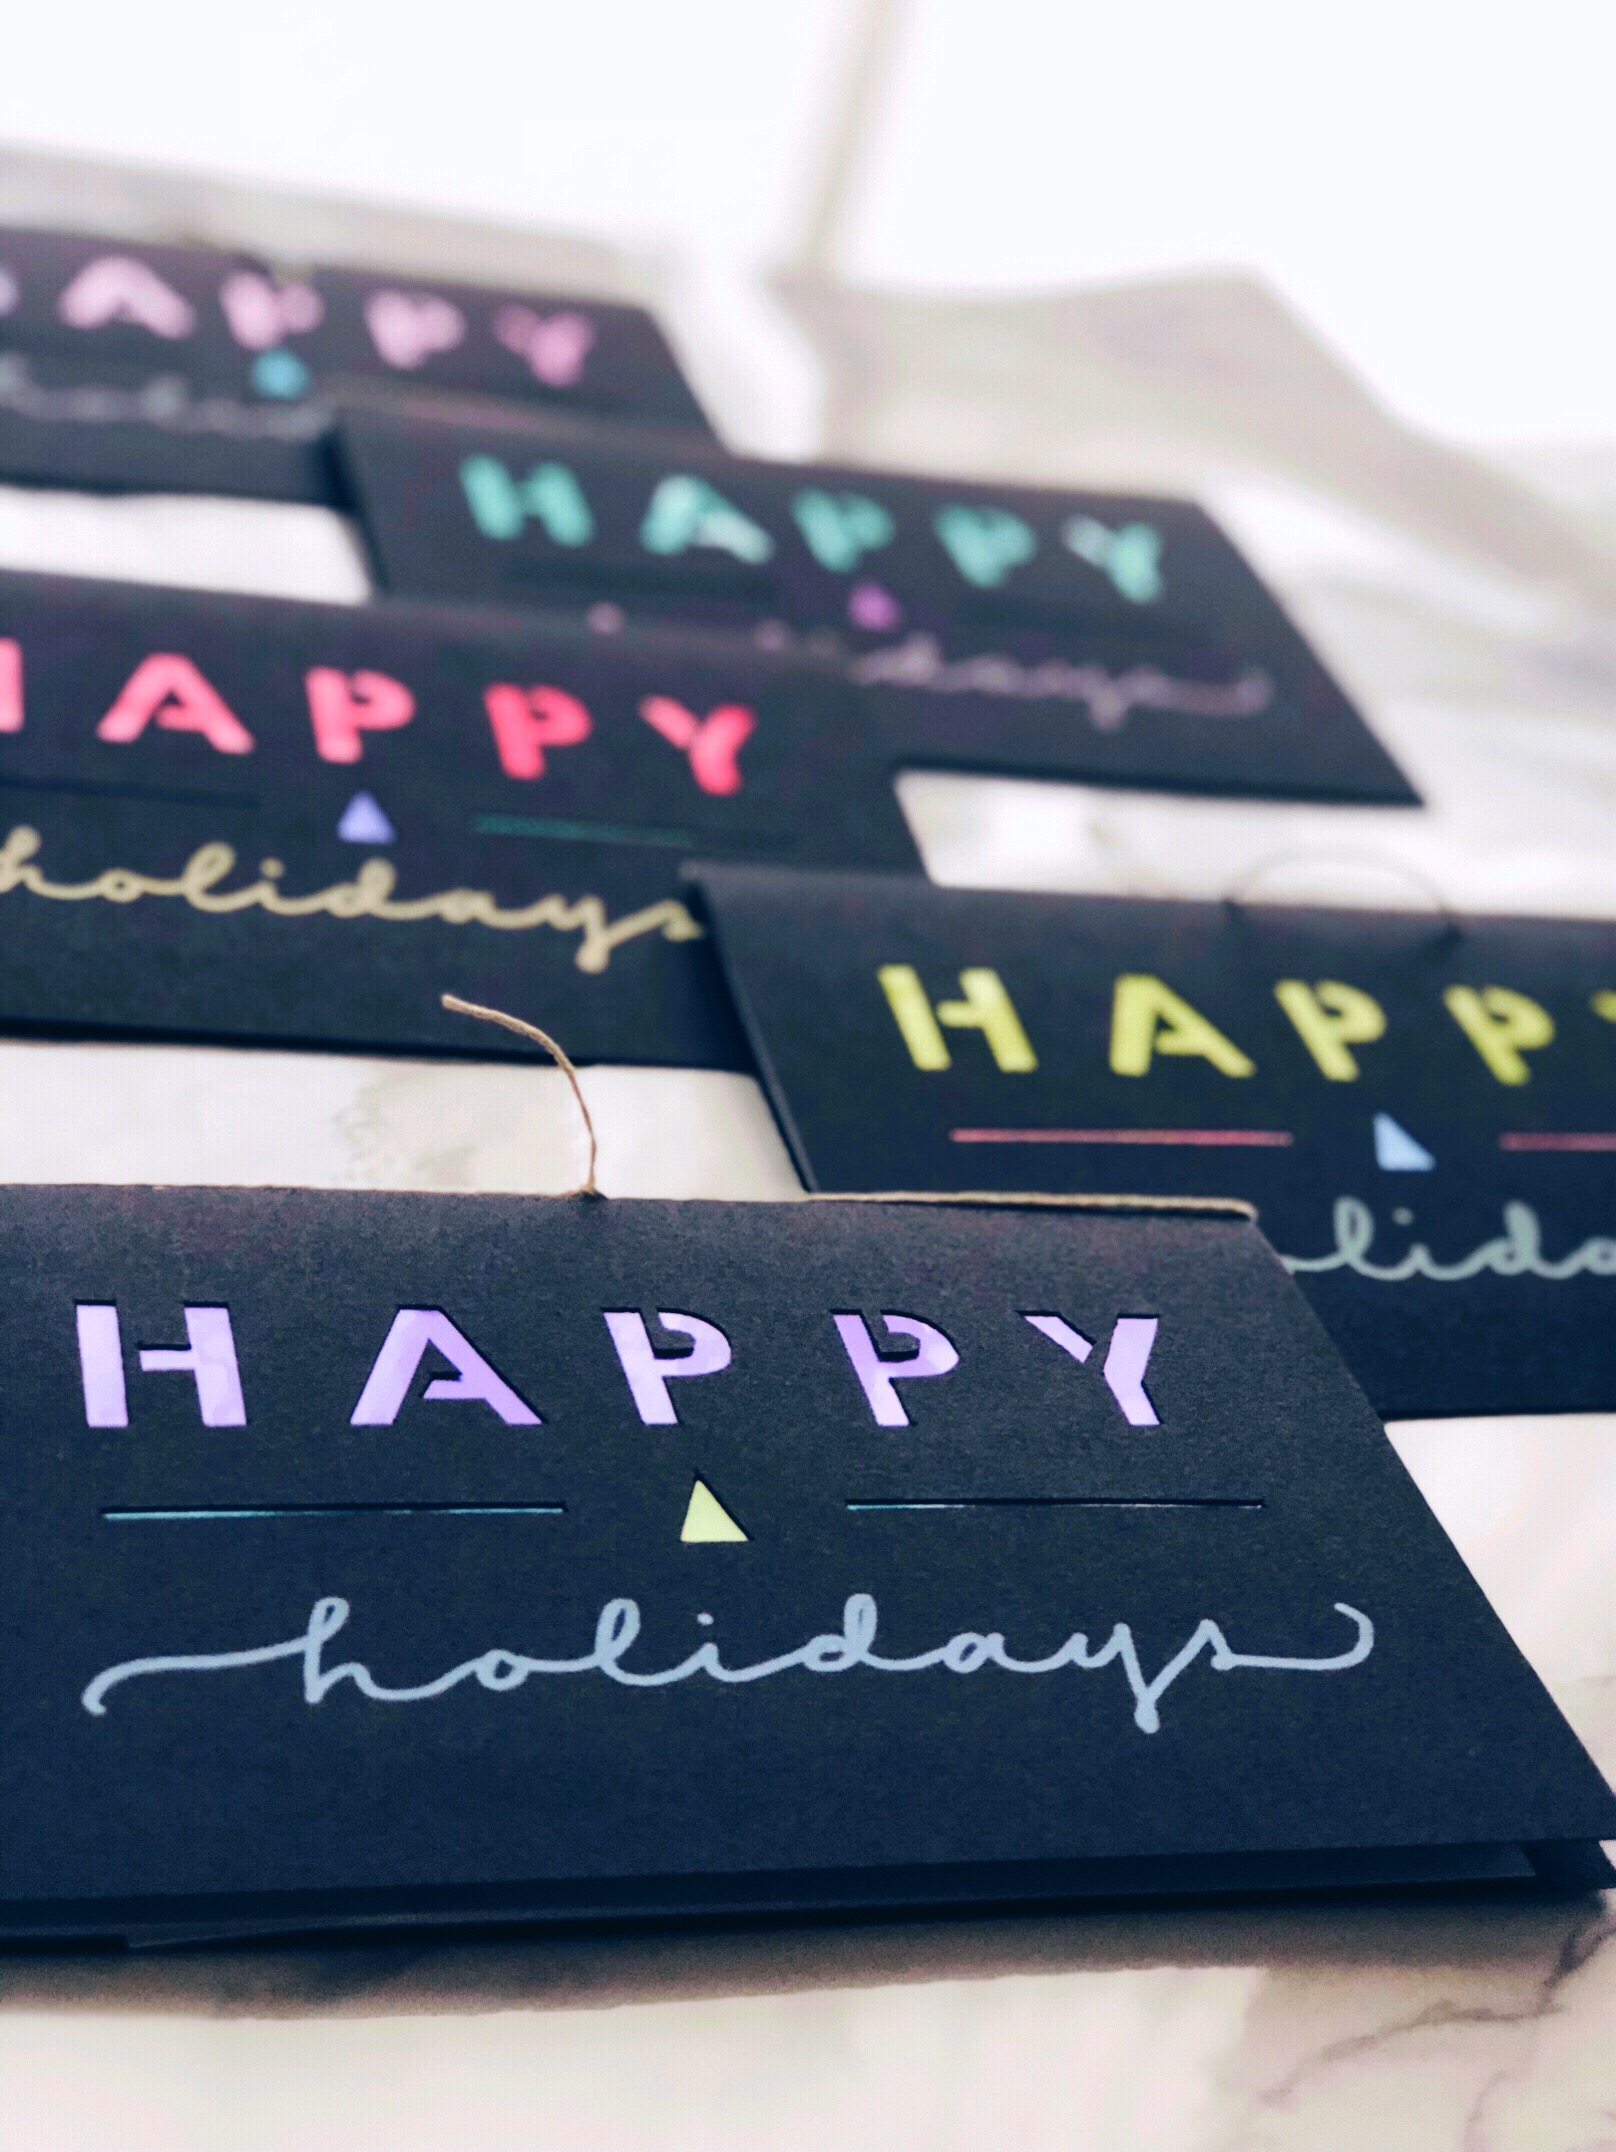
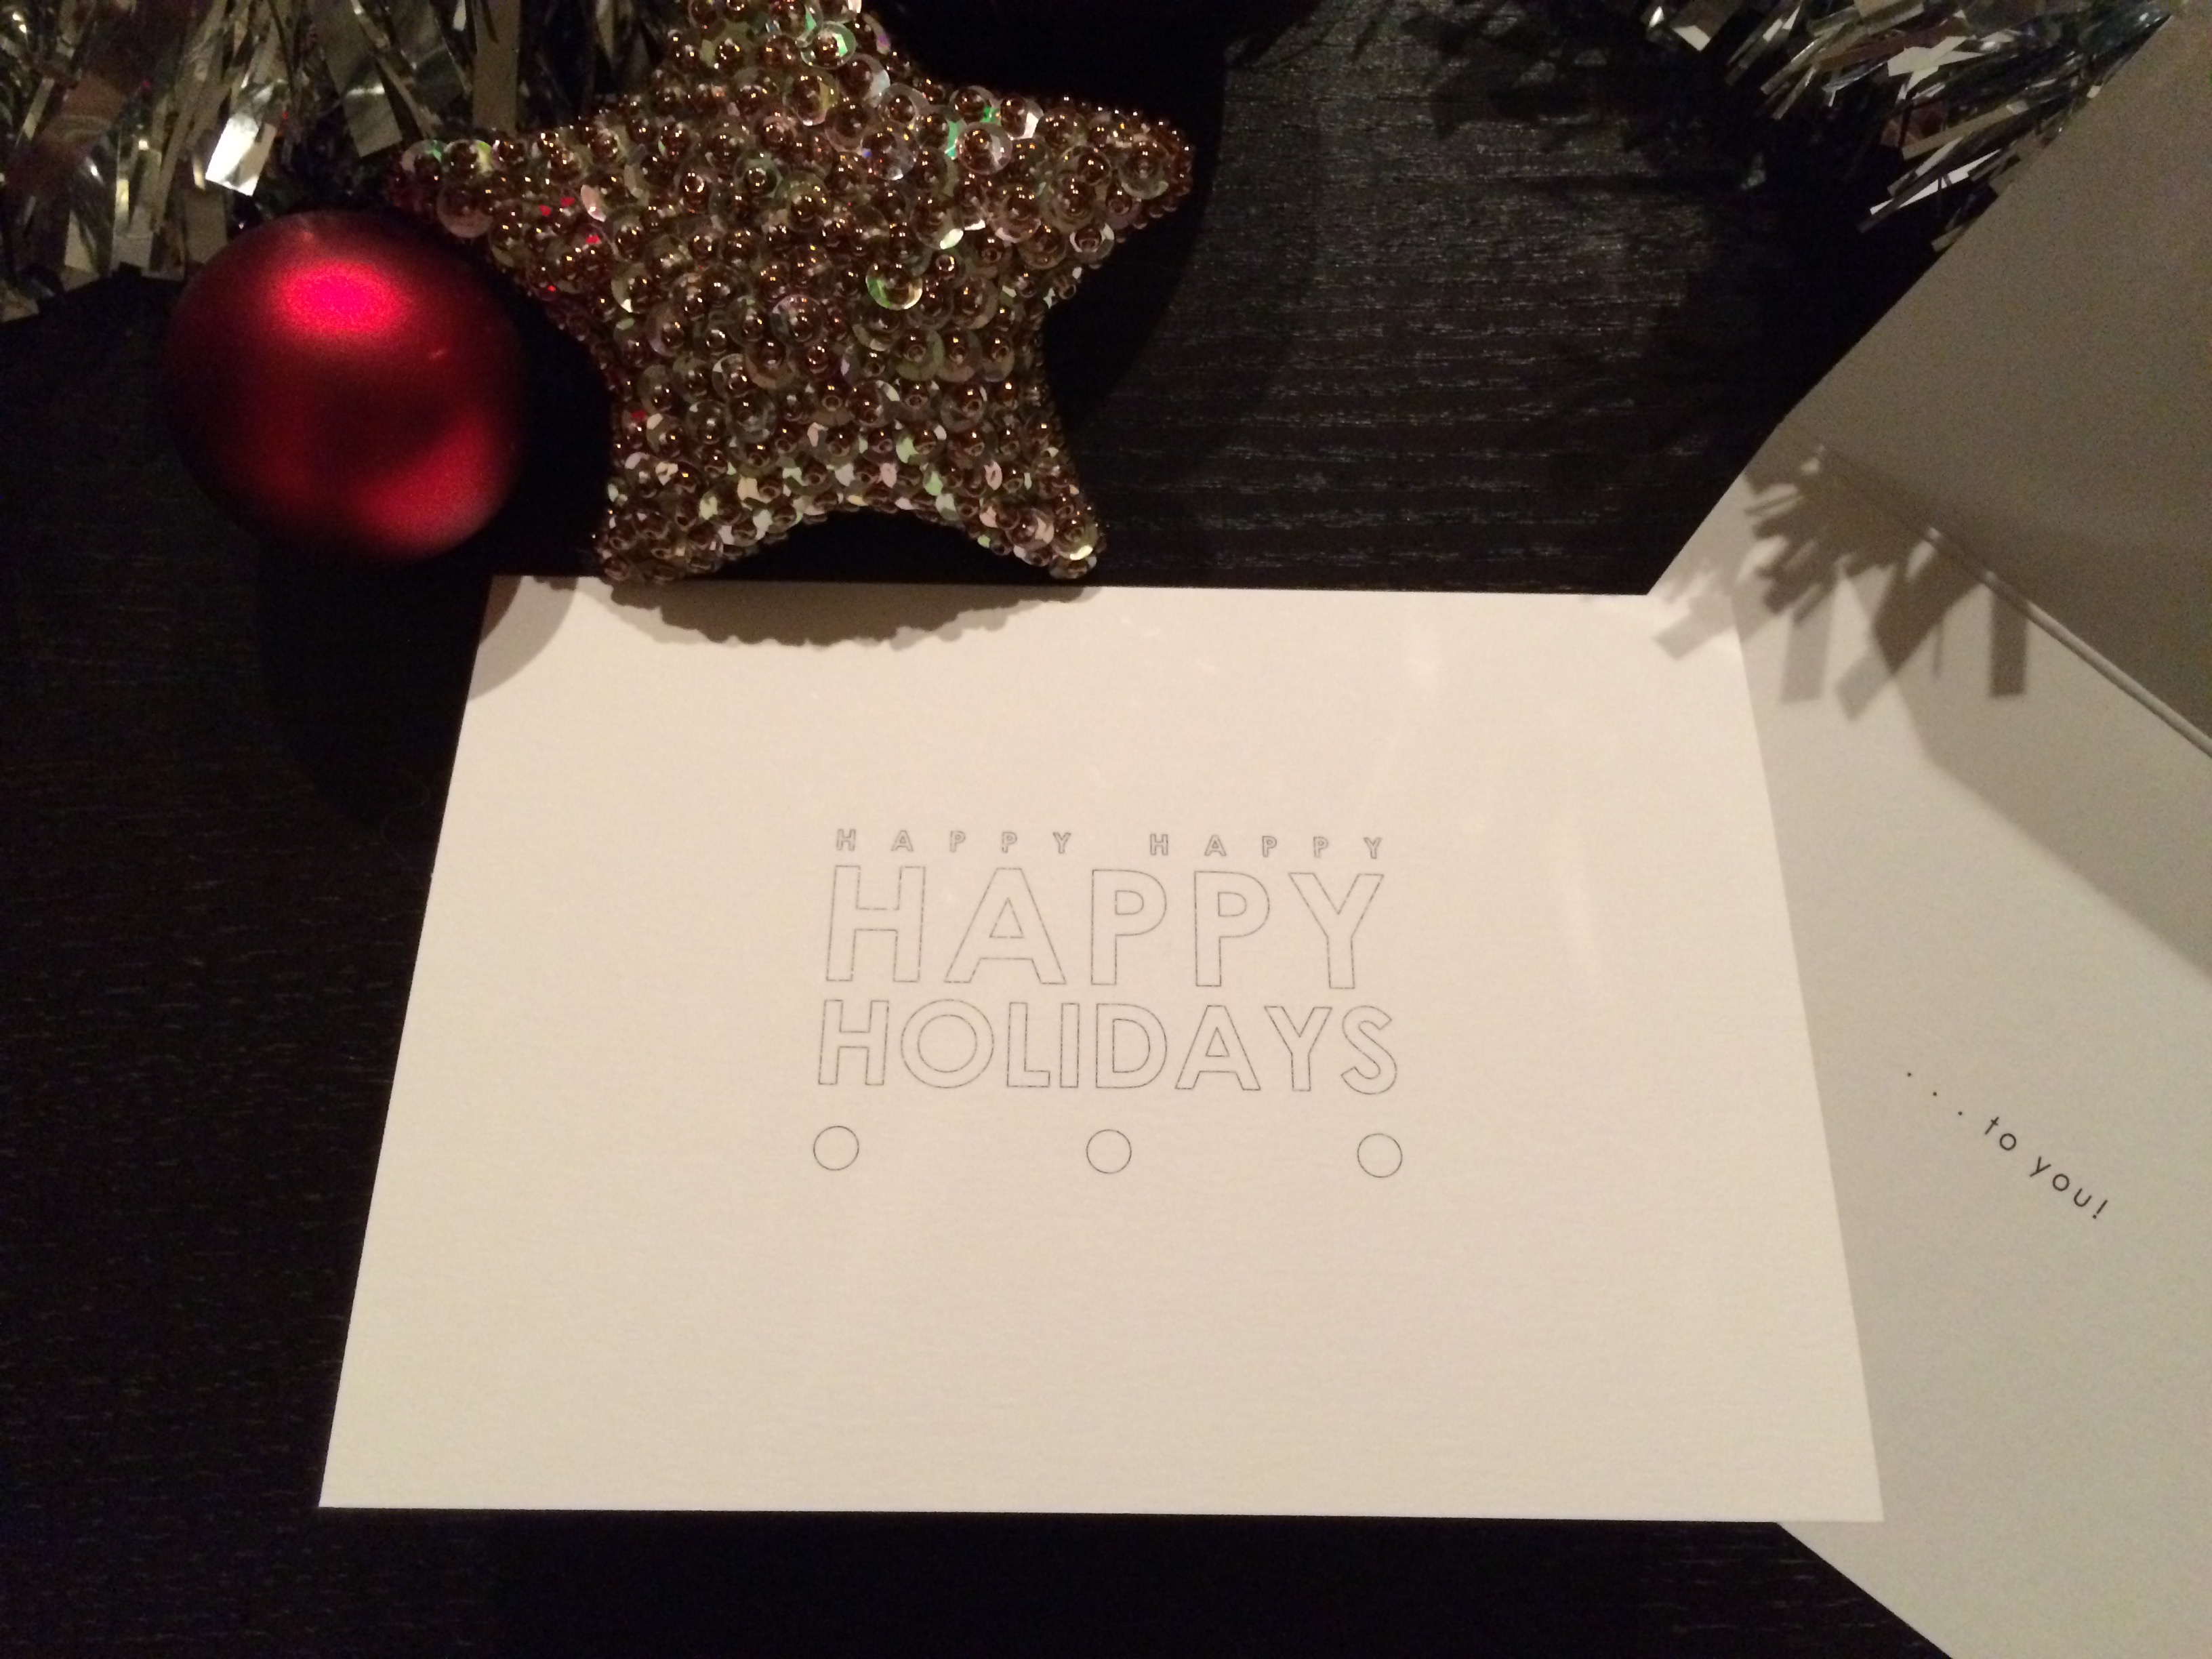
after a whirlwind of a year, christmas night is almost through, and the new year just ahead. this year’s holiday season greeting cards were a simple dedication to my tokyo life.
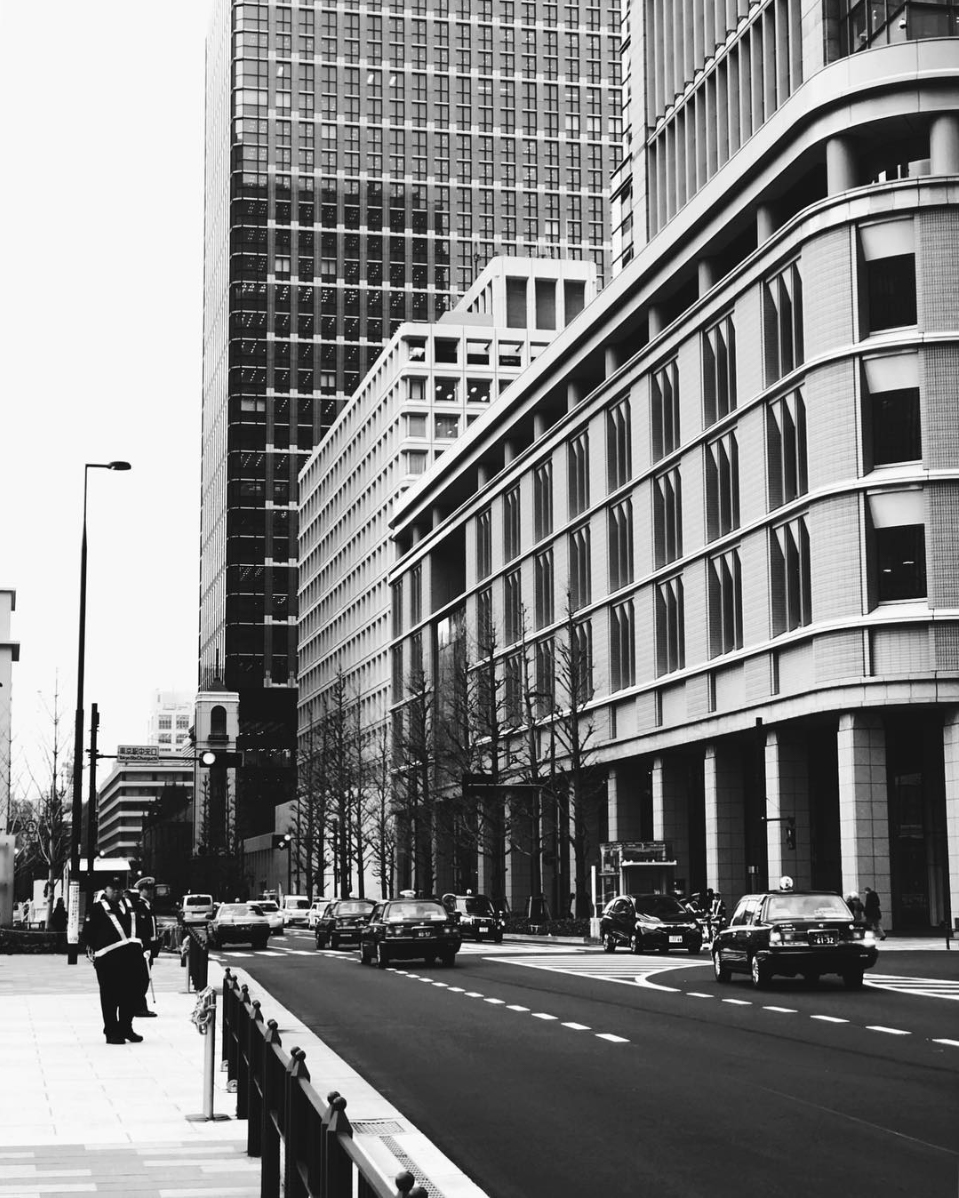
m a r u n o u c h i , t o k y o | j a n u a r y 2 0 1 8
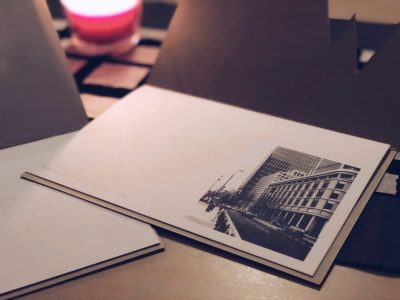
the inspiration came from this photo i took in marunouchi, this past january. which reminds me of when i lived in wall street, nyc.
1月に撮った東京駅、丸の内の写真。学生時代に住んでいたニューヨークのウォール街を思い出させるこのショットが2018年を通して、一番お気に入りだったのです。
december is already halfway through! the past couple months has flown by faster than light years! exaggerating? yes, but really… i still had to squeeze in this batch of handmade holiday cards for friends and fam. once an idea comes to mind, i just must. do. it. here, i share the process!
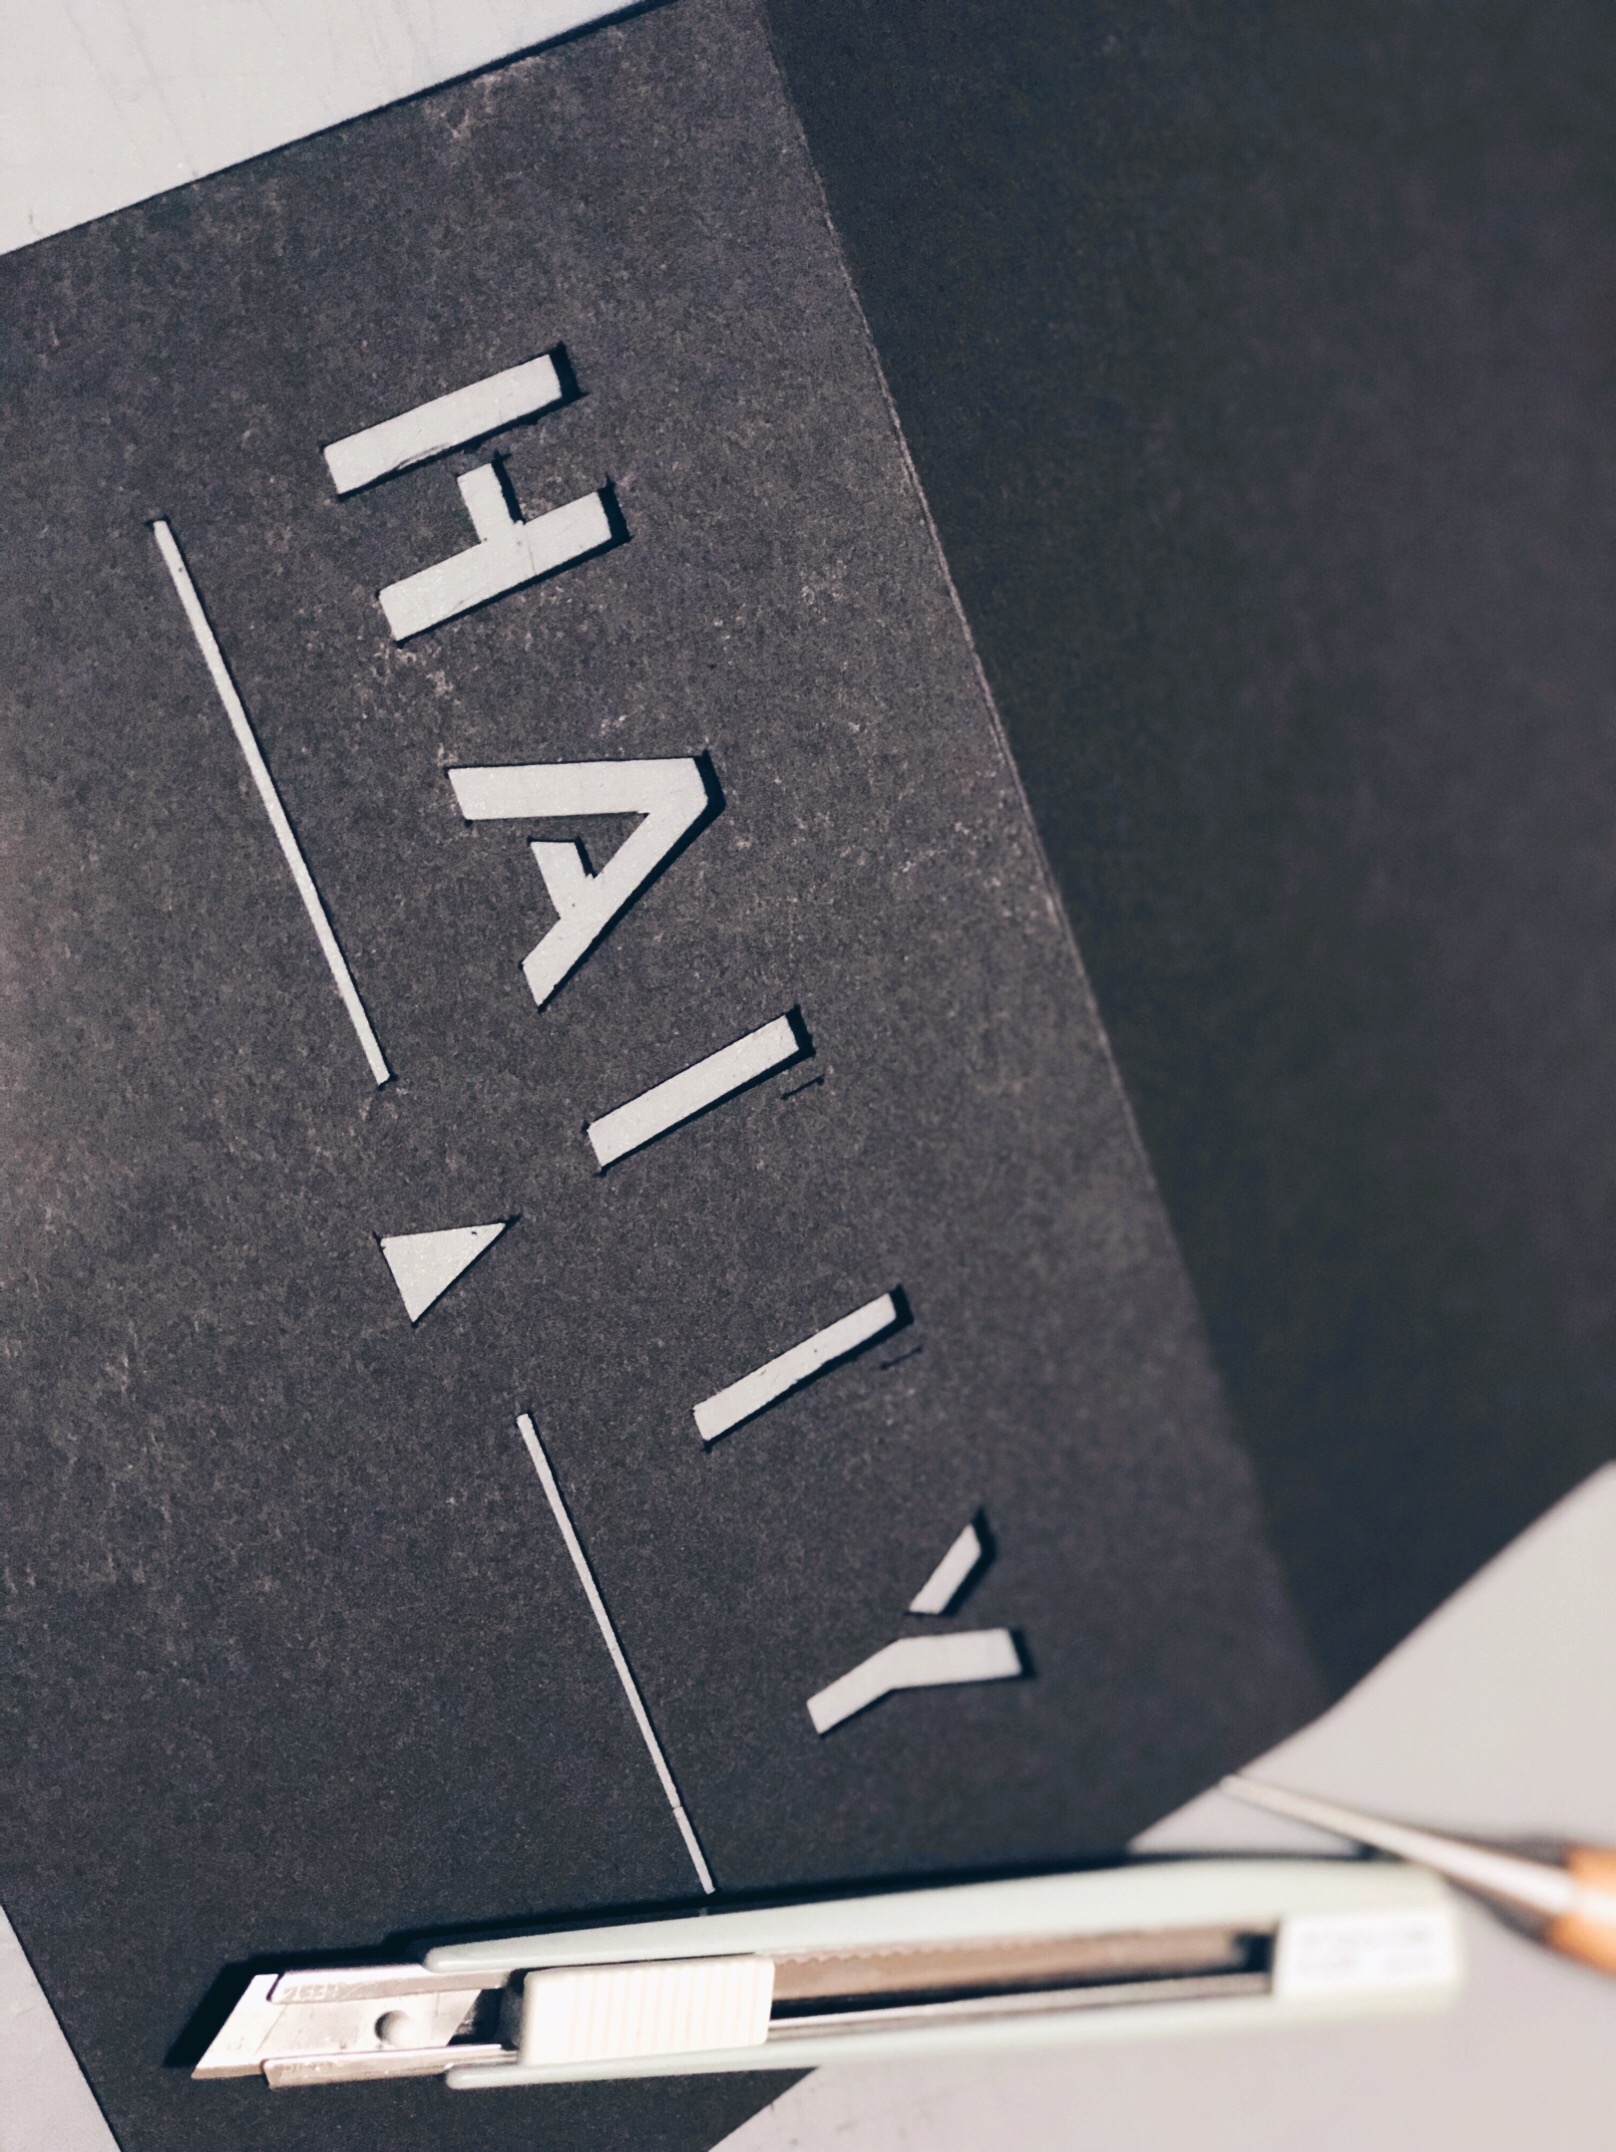
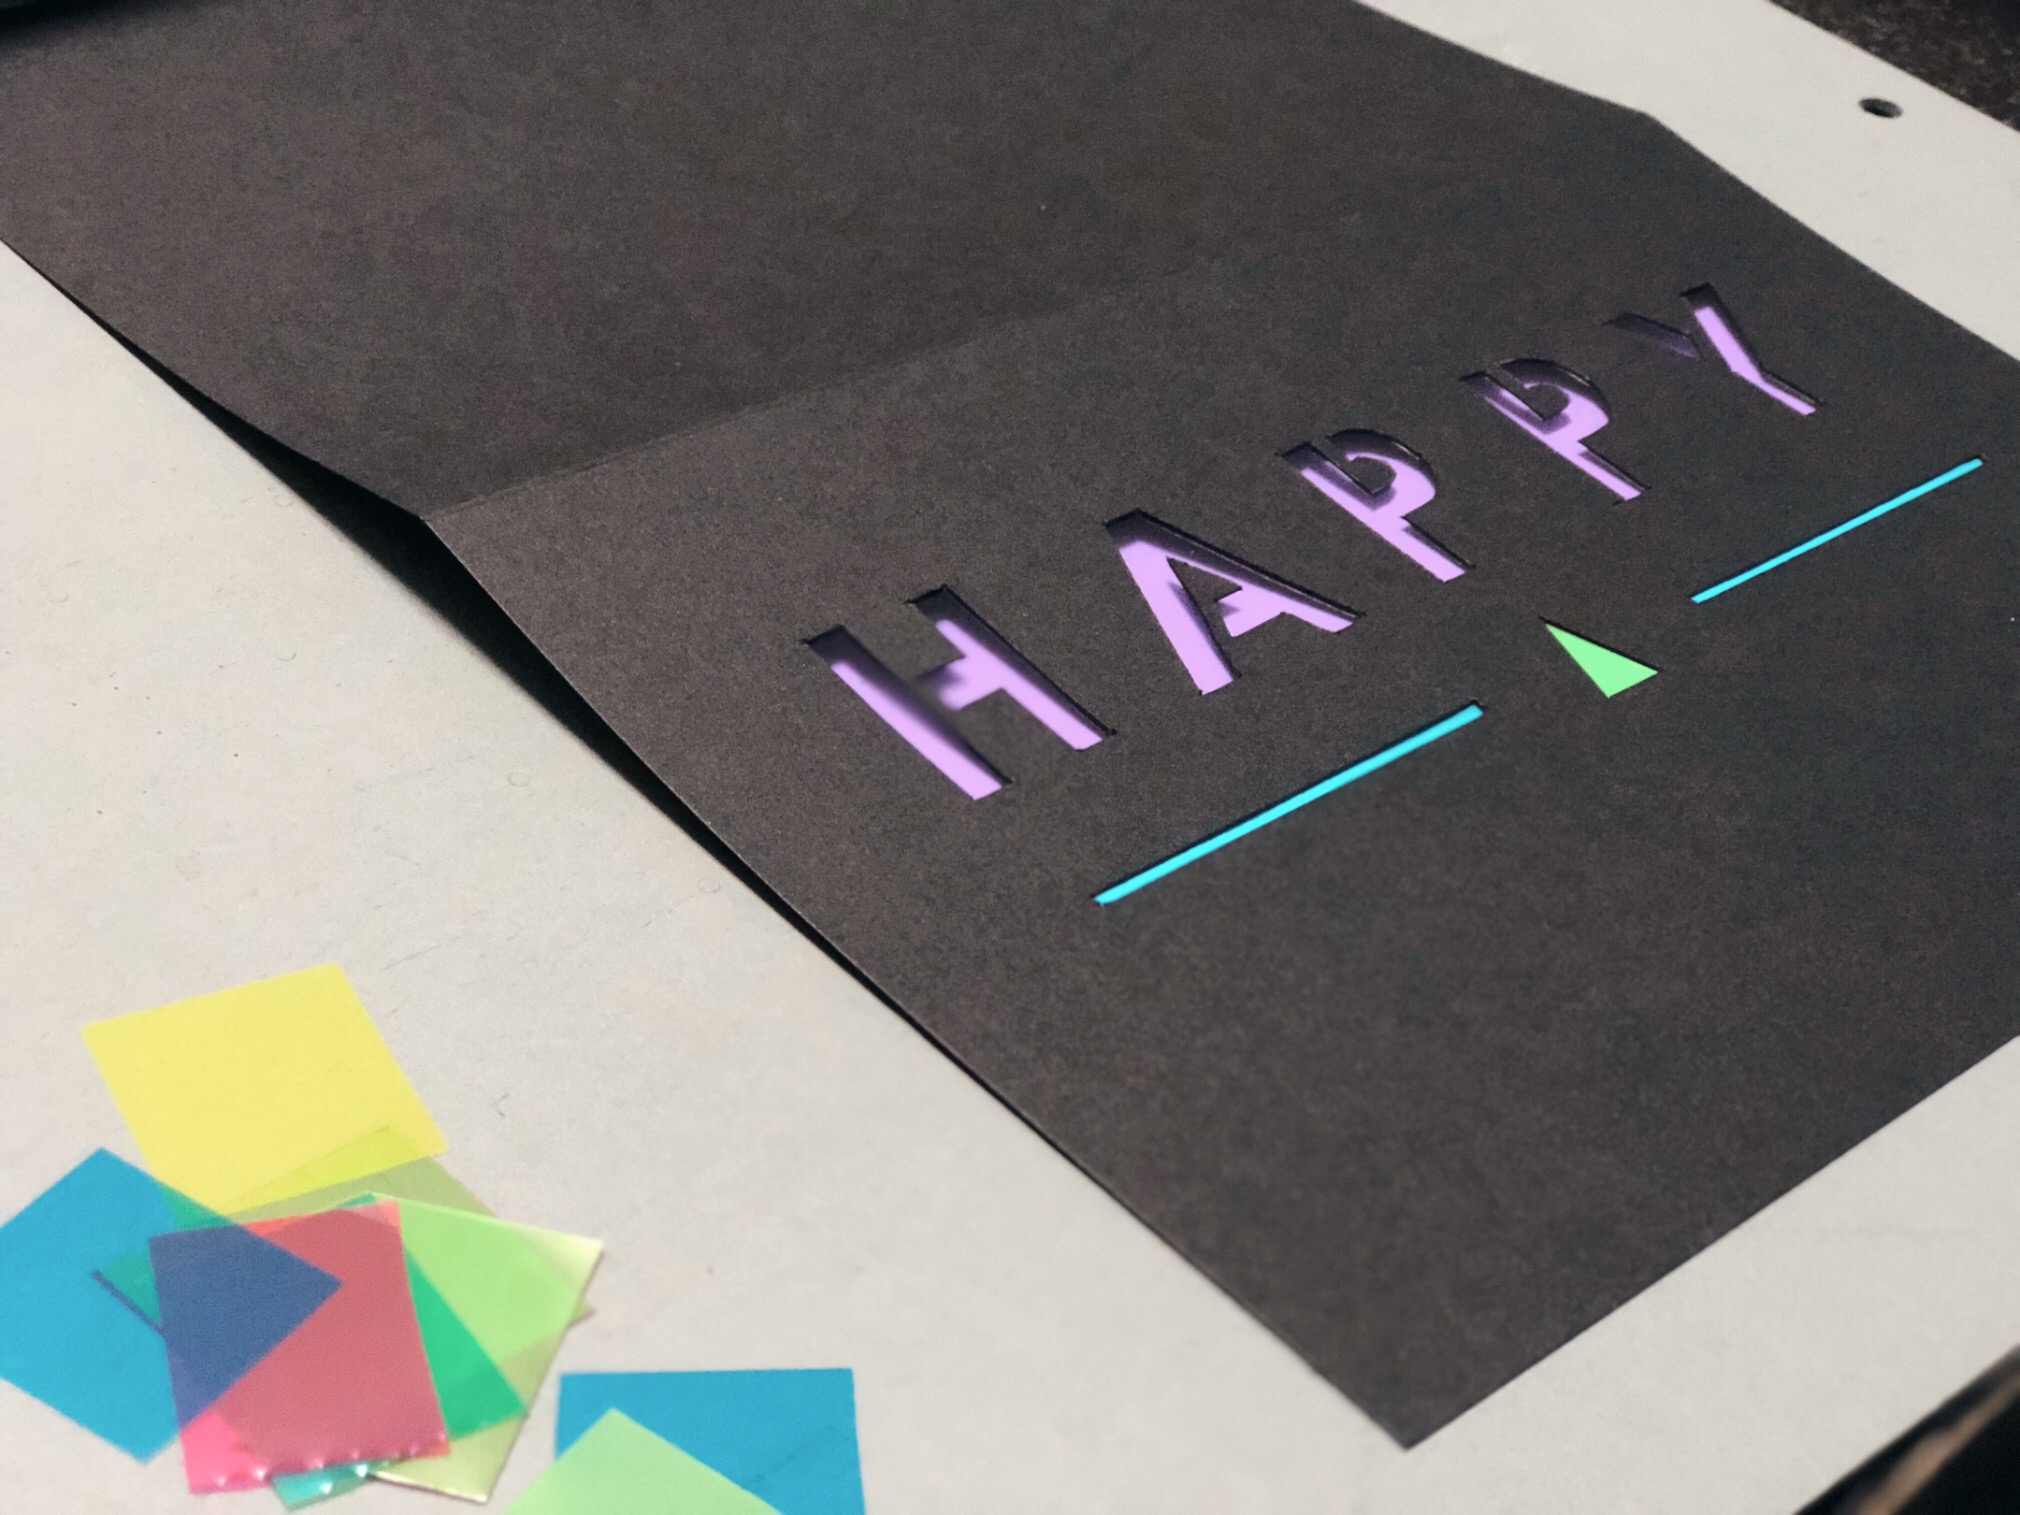
i started off by creating the layout on adobe illustrator
パソコンでレイアウトを作る
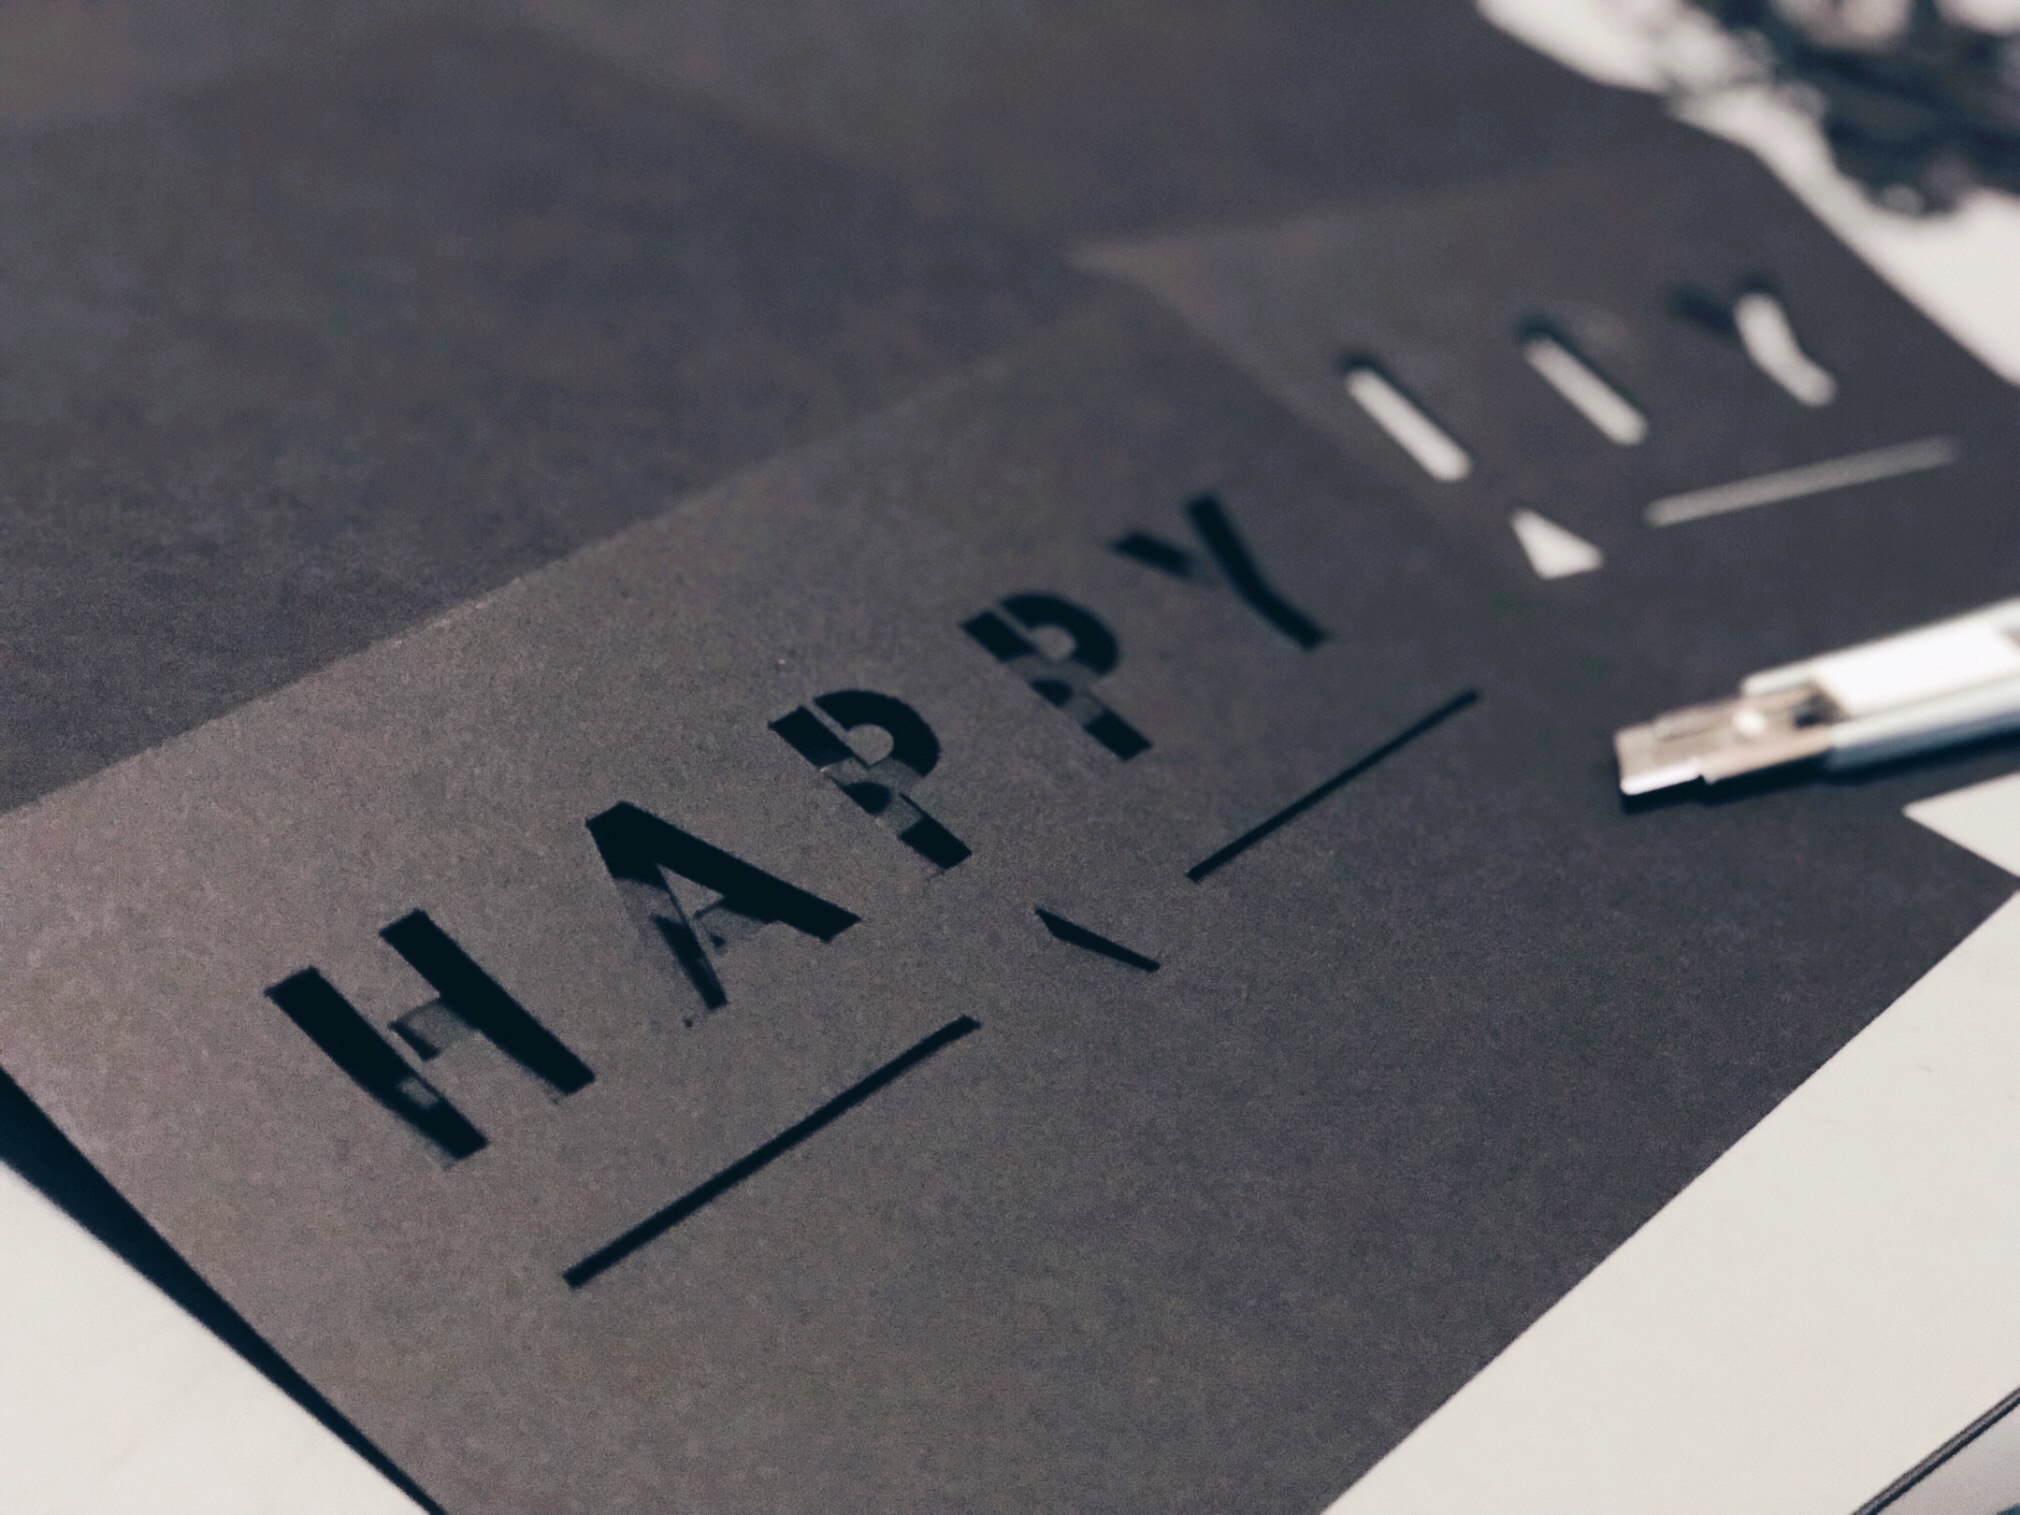
handcut letters
文字の切抜きはすべてハンドカット
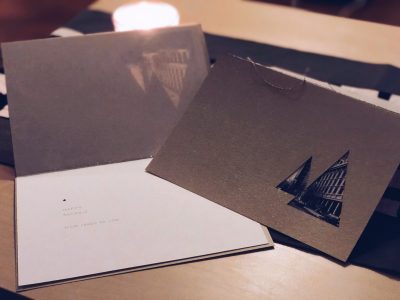
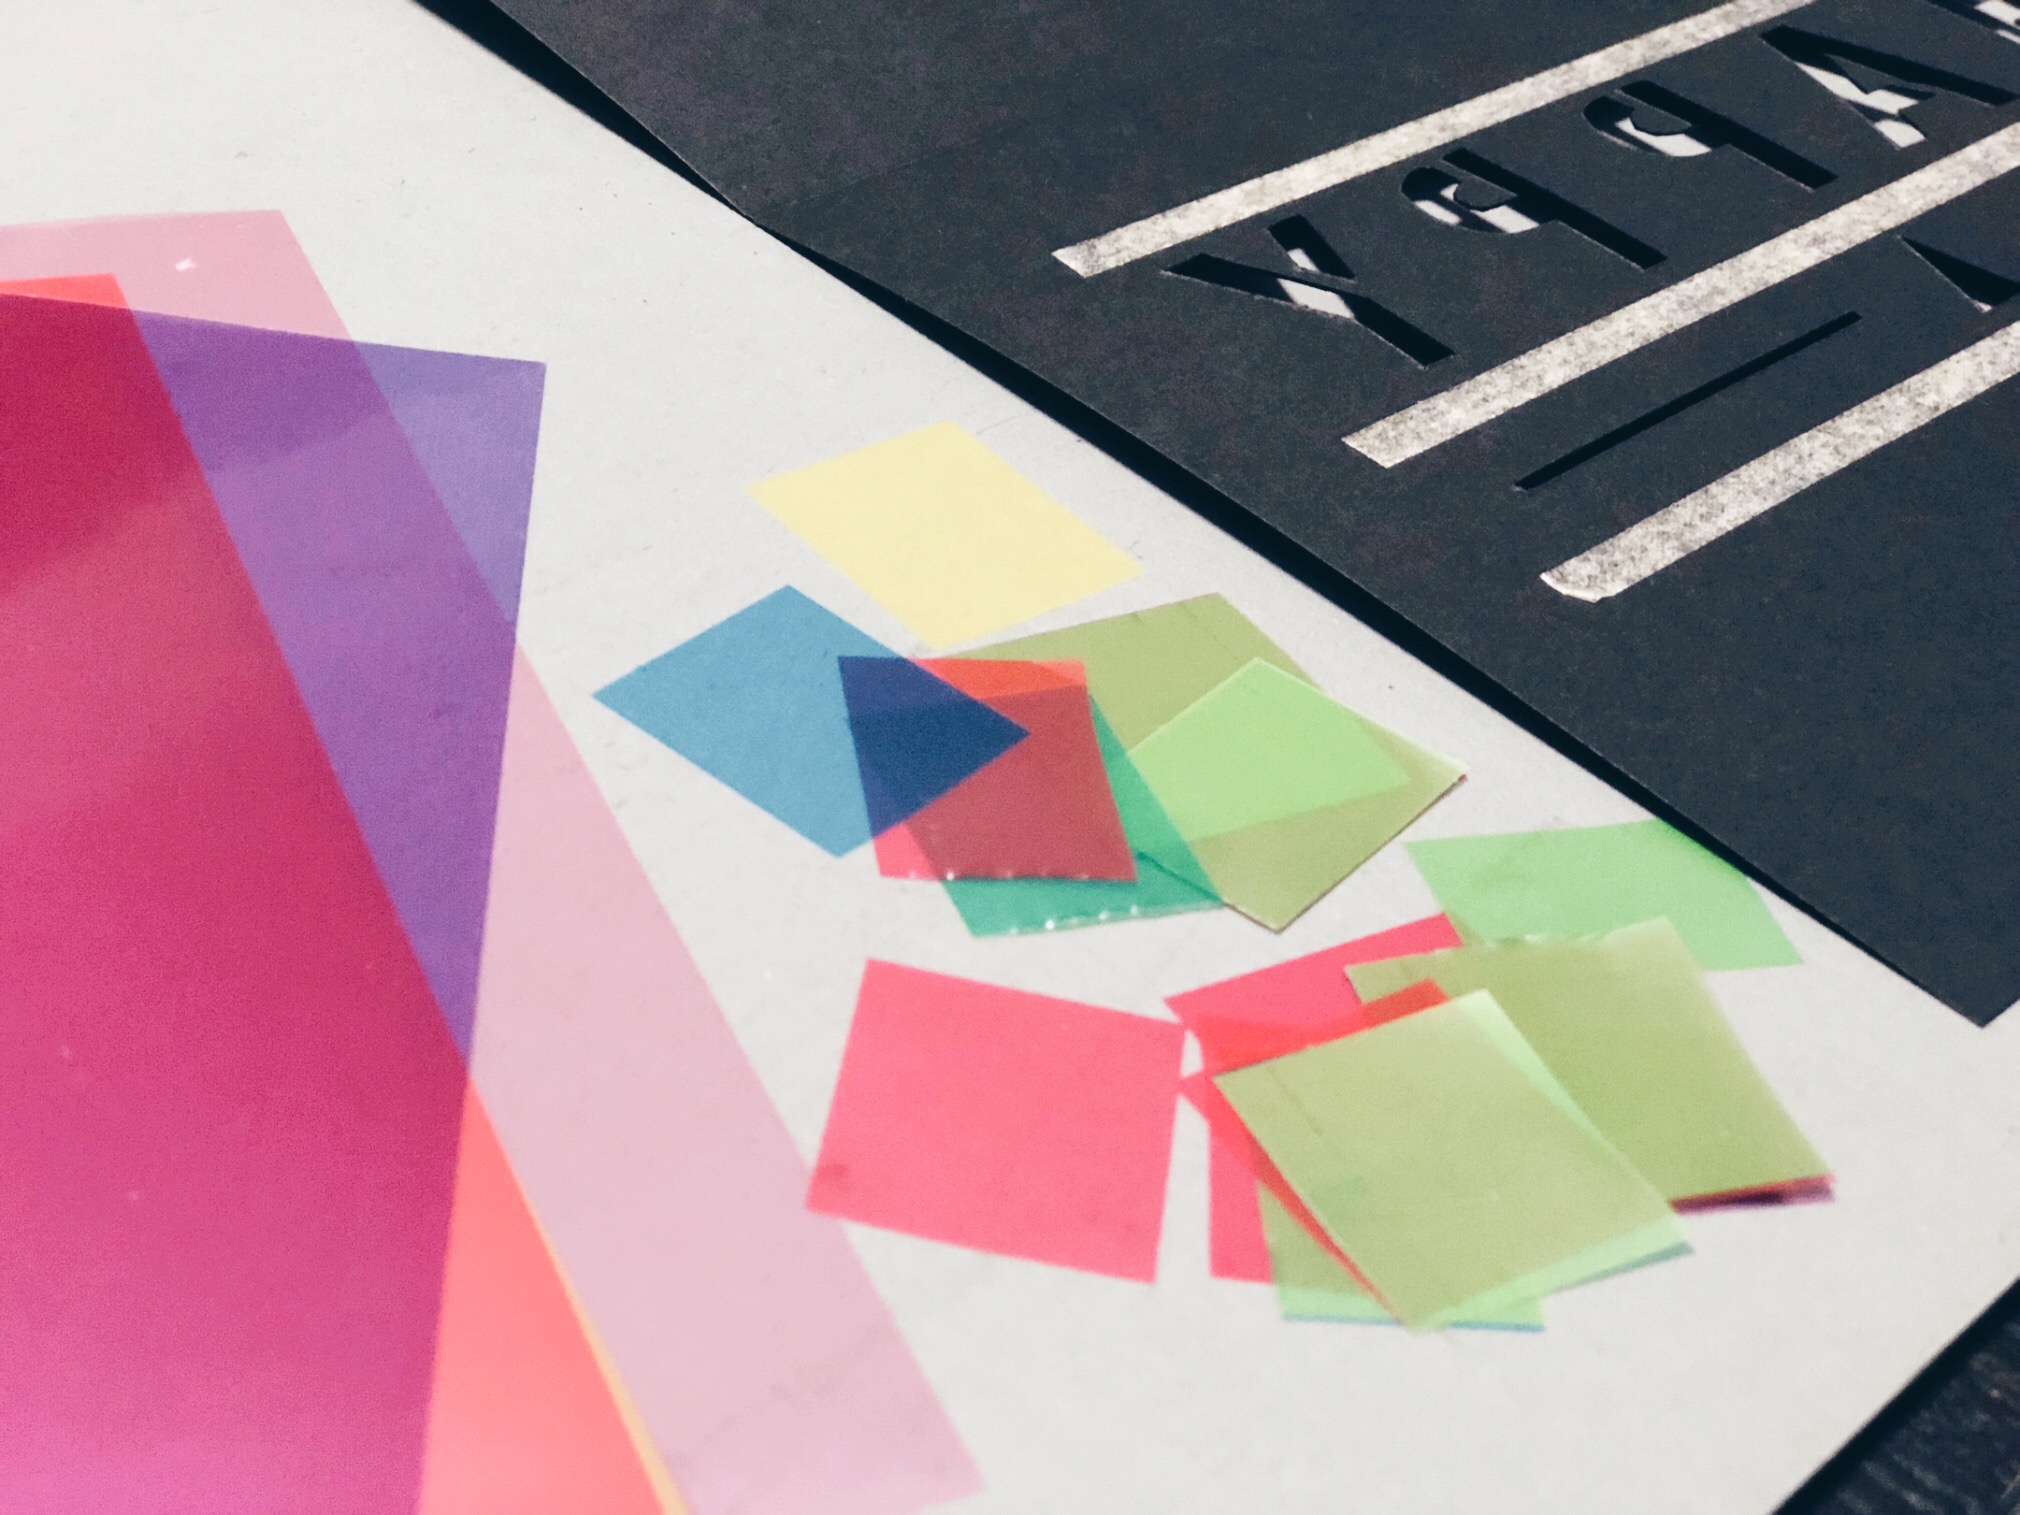
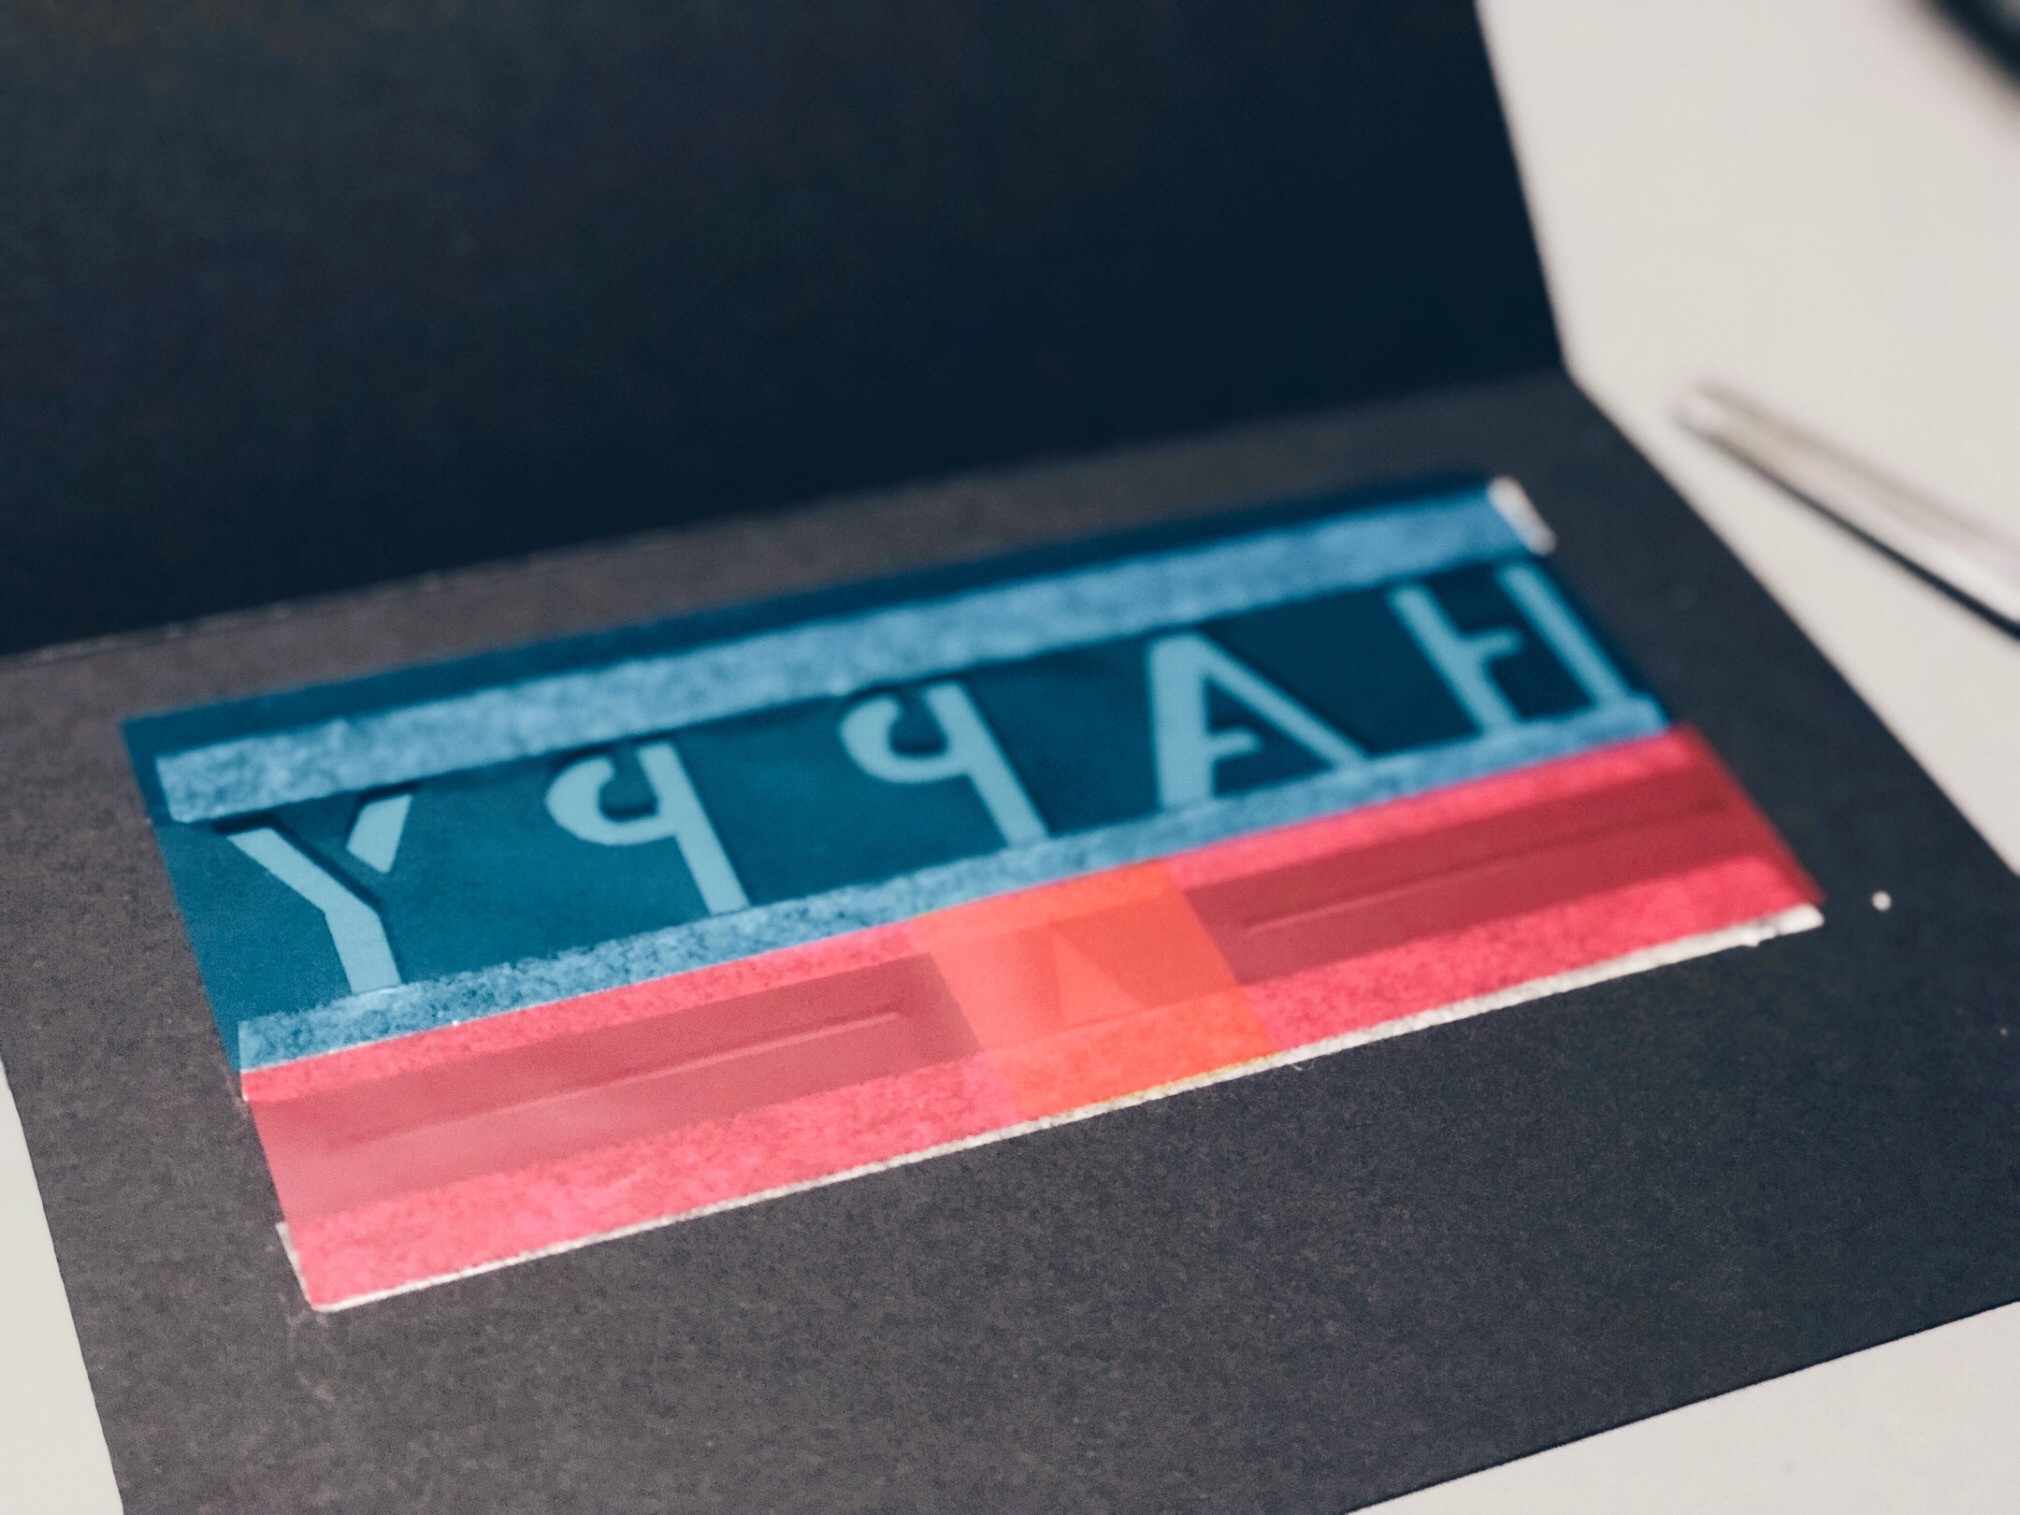
these transparent origami sheets are from daiso. i’ve been waiting for the perfect opportunity to use them! instead of using traditional christmas colors, i wanted to go with a “holiday neutral” color scheme. a bit of 90’s and a bit of neon and every bit pop!
以前にダイソーで一目惚れした透明のおりがみ。使う機会を待っていました〜!海外の友人でクリスマスを祝わない方もいらっしゃるので、あえて赤とグリーンにこだわらないカラーテーマを考えました。90年代風なネオン&ポップになりました!
after covering the backside of the transparent sheets, i wrote in the “holidays”. i’ve been practicing my lettering, and these are the perfect opportunities to put them to use!
friends and family won’t judge 😉
おりがみの裏面をカバーし、手書きで 『holidays』 を入れました。最近レタリングに力を入れていて、家族や友人に贈るカードであれば、プレッシャーなく実践できます ^_^;
i switched the string to this glitter thread i found at another 100yen shop!
最後の最後に、キャンドゥーで見つけたラメ入り糸を見つけたので、こちらに変更!
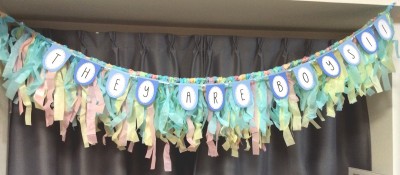
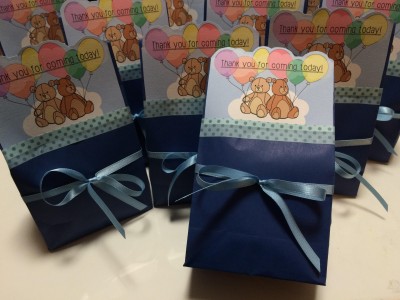
last month, i hosted a dual baby shower for two of my expecting friends. both of them are due around the same time, and both are boys! i was limited with set up time and decorations, so i made a volumy tassel garland that’s easy to put up and instantly brightens up any party space. i didn’t have time to take many photos but here’s what the garlands looked like.
now onto the MAIN subject of this post. a simple and easy baby shower favor d.i.y.! i know i do a lot of “simple and easy”, but seriously not many of us have all the time in the world, and efficiency is key. as long as your heart goes into making these favors, your guests will truly appreciate the gesture!
what you need / 材料:
small paper gift bags / ギフト用紙袋
chocolates, candies, or other small wrapped snacks / 個別包装されたチョコレート、キャンディー、お菓子
washi tape / 和紙テープ
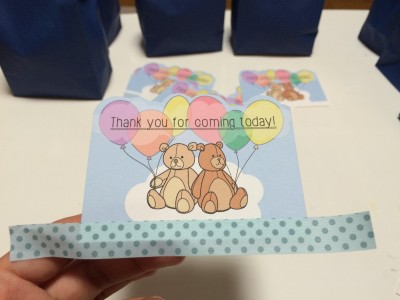
printed (or written) thank you message / 手描き、もしくは印刷されたサンキューメッセージ
scissors / ハサミ
ribbon / リボン
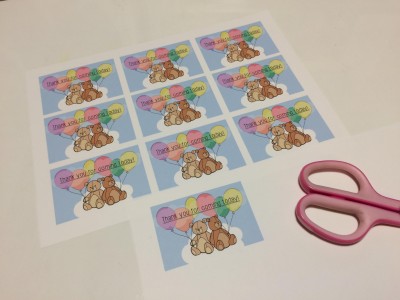
1. print and/or handwrite/draw a thank you message to match the width of gift bag. / 印刷もしくは手書き/描きのサンキューメッセージタグを作る。幅はギフトバッグに合わせて。
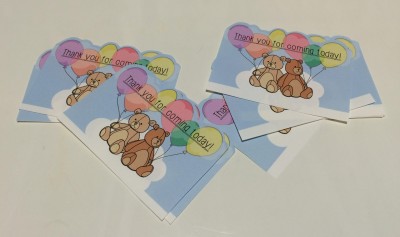
2. cut out thank you message tag. i left some white space at the bottom where the tape will go, but this is optional. for some extra fun details, cut top edges in a curved, scalloped, or zig-zag pattern! /
メッセージタグを切り抜く。下端の白紙部分はテープを貼るのり代として残しました。面白みを出すのに、タグの上端は、カーブやスカラップ、ジグザグで切り抜くと良いです⭐︎
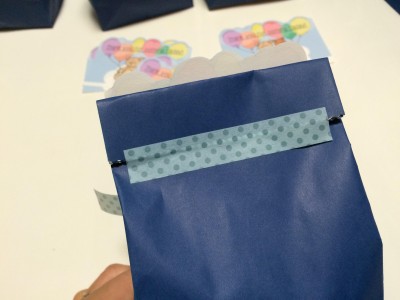
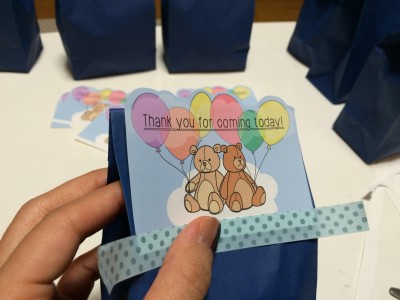
3. fill gift bag with candies and snacks and tape closed. / ギフトバッグにお菓子を詰めて、テープで閉じる。
4. tape washi-tape to the bottom edge of tag. make sure to leave about 1/3 inch of the tape from the bottom edge of the tag to attach to the gift bag. / メッセージタグの下端に和紙テープを貼る。ギフトバッグに貼り付ける分量を半分残す。
5. tape tag to gift bag. let the detailed top edge stick above the gift bag. / メッセージタグをギフトバッグに貼り付ける。先ほど不規則に切った上端は、紙袋の上から出るように配置してね♥
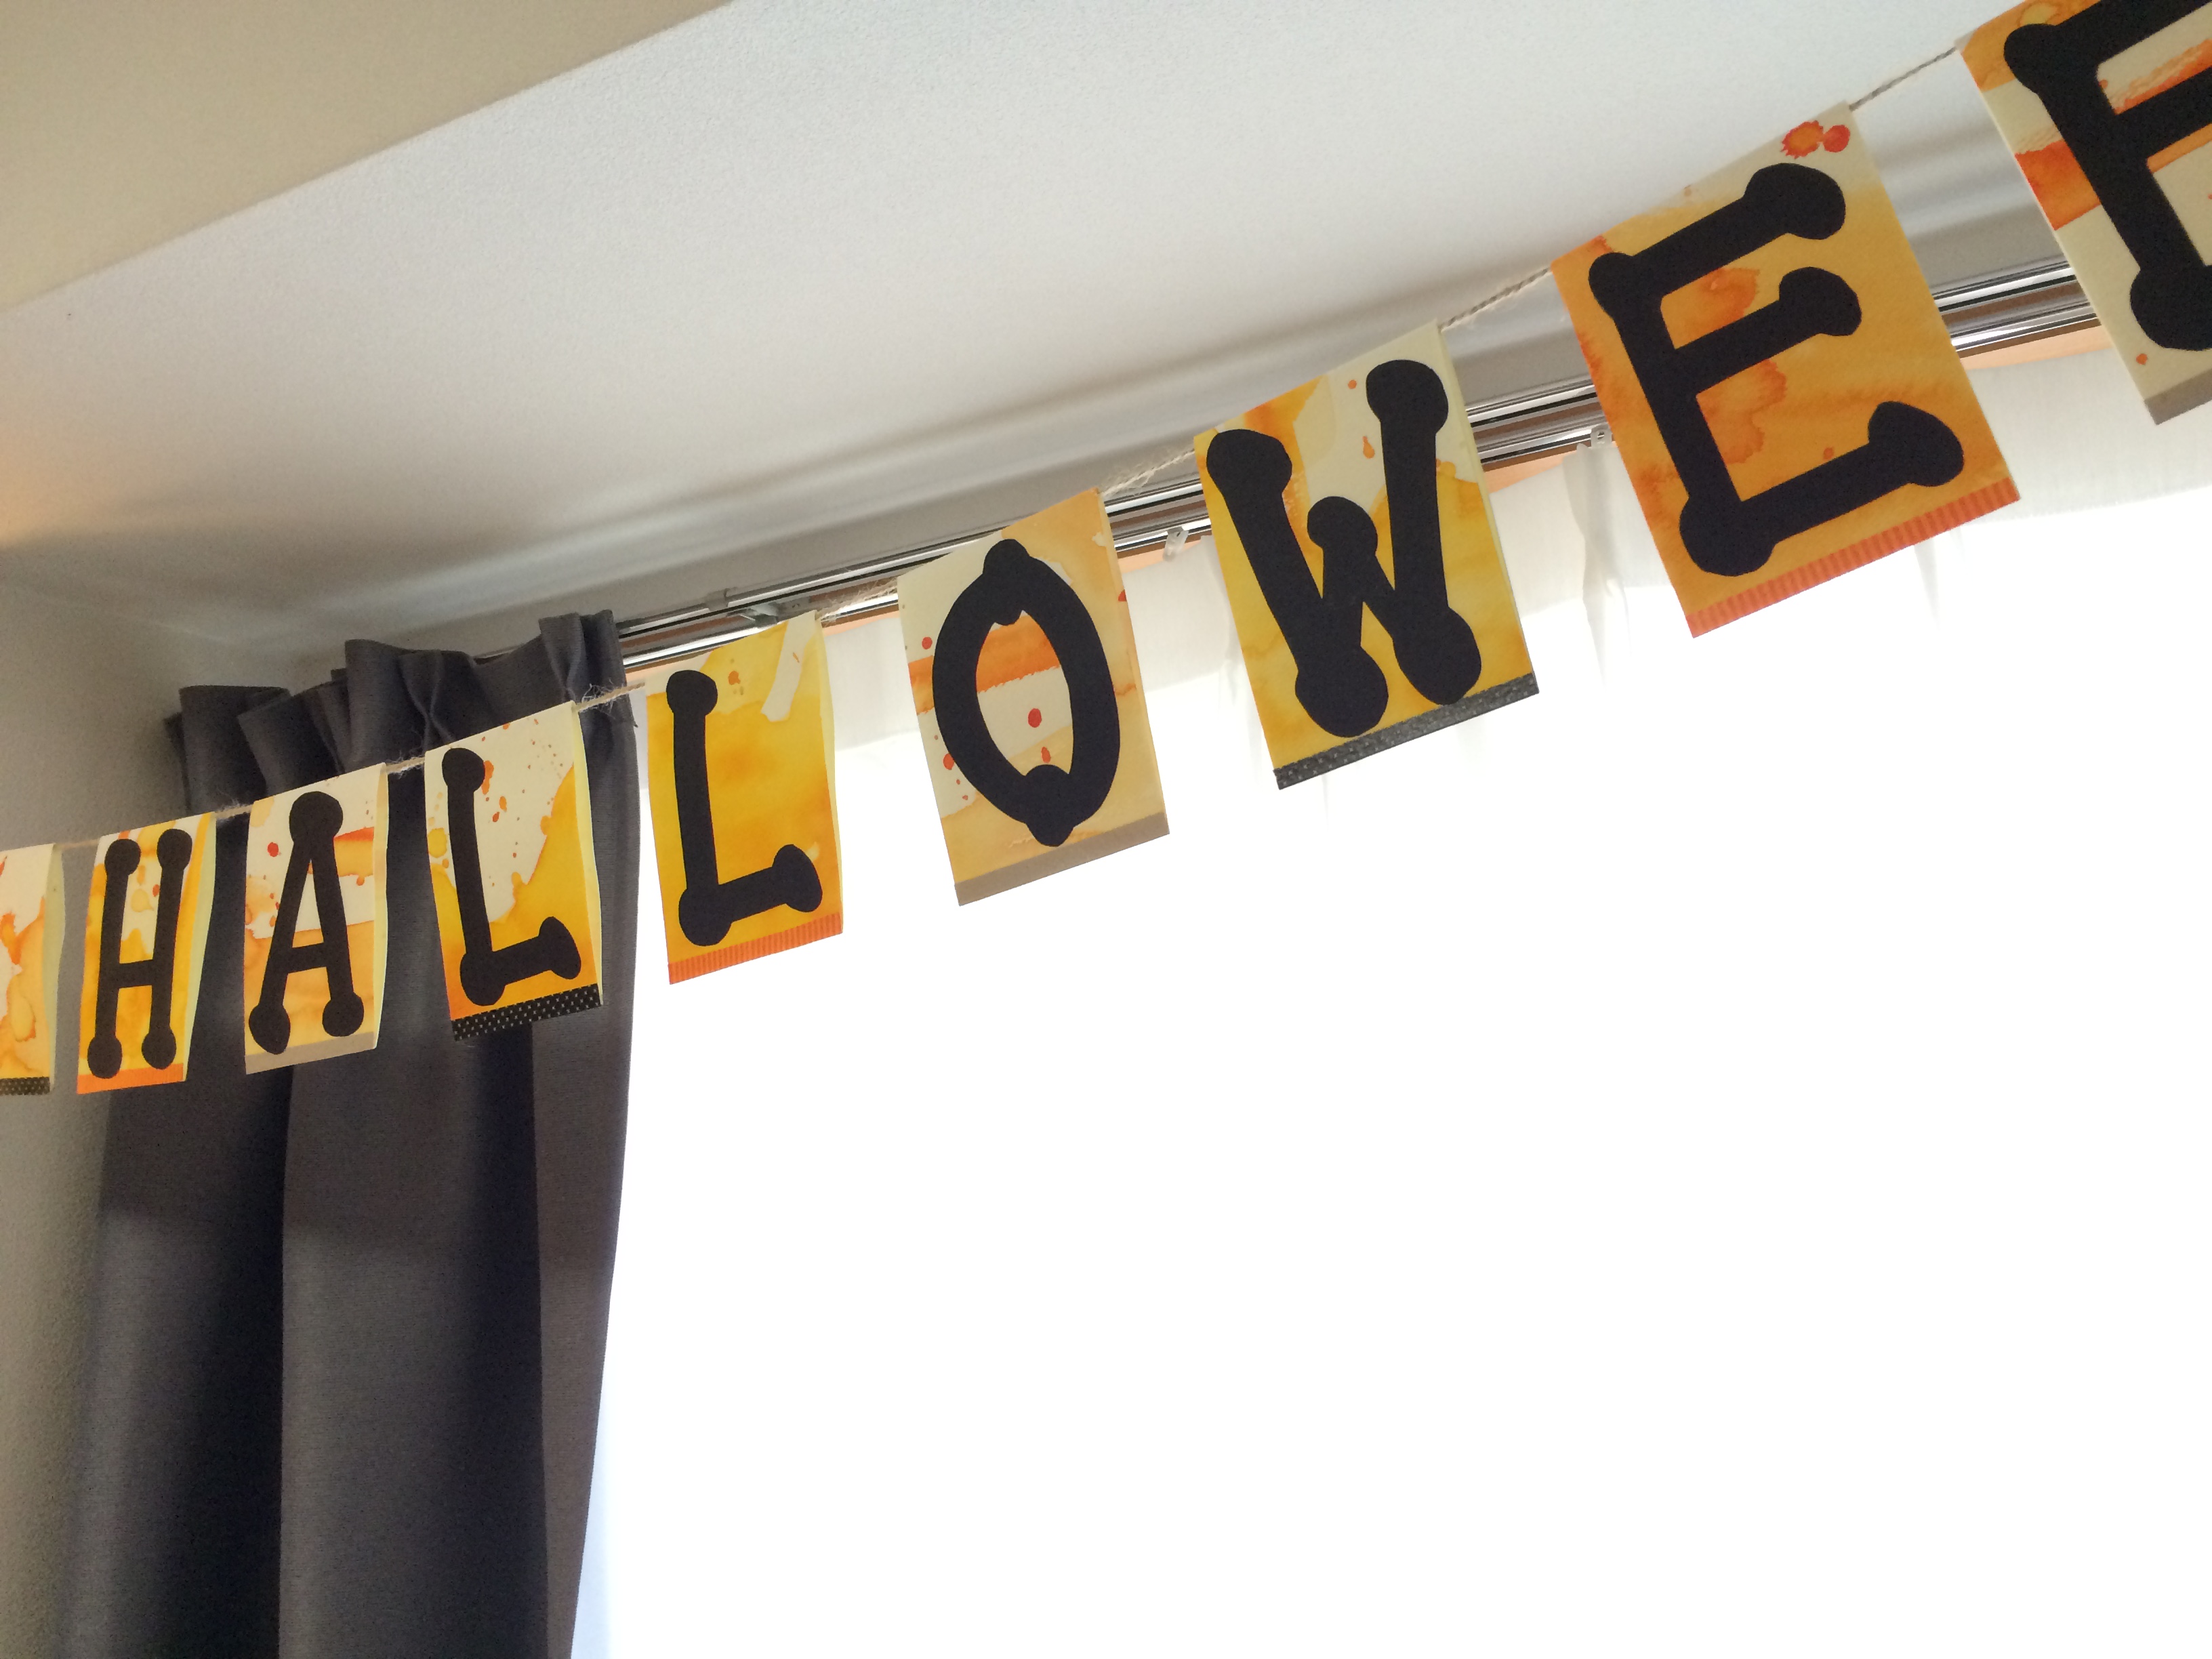
so Halloween this year is on a weekend… meaning a bigger turn out for your Halloween daytime parties… meaning after a week of work… you have pretty much zero time to prepare original decorations….. today, i myself in the same dilemma came up with a easy DIY for a Halloween garland, to make your holiday home feel a little more festive with a little effort. (see parentheses for simpler options to make life a little easier for you!)
what you need / 材料:
orange patterned card stock (B4 size) x 5 / オレンジ色の柄の厚紙 (B4 size) x 5 (as long as it’s a rectangular shape, size is not essential. smaller paper will result in smaller flags. /
紙は、長方形であればいいです。サイズが小さければ、フラグが小さくなります。) if you have extra time you can make your own patterned card stock:
時間があればオリジナルの柄をお作りください:
B4 size water color paper × 5 / B4 水彩画用紙 × 5
newspaper / 新聞紙
water colors (i used acrylic) / 水彩絵具(アクリル)
ruler / 定規
scissors / ハサミ
halloween colored washi tape (or black colored tape) / ハロウィン色和紙テープ適量 (もしくはシンプルに黒色テープ)
black card stock (or black marker) / 黒い厚紙 (もしくは、黒いマーカー)
glue / のりやボンド
twine / 麻紐
// makes 20 flags (14 for H A P P Y H A L L O W E E N + 1 between the two words + 2 for beginning + 2 for end = 19 plus 1 left over)
計 20 フラグ (H A P P Y H A L L O W E E N で 14枚 + 間に 1枚 + あたまの 2枚 + おわりの 2枚 = 19枚 と あまり1枚) //
(SKIP THIS PROCESS IF YOU HAVE ORANGE PATTERNED PAPER / オレンジ色の柄の厚紙のご用意があれば、こちらを飛ばしてください)
1. if you decided to use water colors, dry the paint. / 水彩画で柄を作られた場合は、十分乾かしてください。
the first d.i.y flag garland i did also used water colors, for a softer feel. this time, i’m using water colors to play with the bold and soft contrasts. / 初めて作ったガーランドは、優しい印象のため水彩柄にしましたが、今回はカラーの強弱をつけるために水彩にしてみました。
2. once your paper is dried and ready, fold them length-wise (hot dog style). / 紙が乾きましたら、長い辺に沿って半分に折る。
3. measure and cut the folded paper into fourths. / 長い辺に沿って4当分に紙を切る。
4. washi-tape (or black tape) the edges opposite of the folded side. / 短い辺同士を和紙テープ(もしくは、黒色テープ)で止める。
(SKIP THIS PROCESS IF YOU HAVE A BLACK MARKER / 黒いマーカーのご用意がある場合はこちらを飛ばしてください)
5. sketch letters on black card stock. if using a pencil to sketch, i recommend drawing the letters (flip the letters horizontally for P, L, E, N) on the back so as not to leave pencil marks on the front side. / 黒い厚紙に文字を描く。できれば、裏面に描いた方が、仕上がり面に出ないのでよりきれいに仕上がります。(P、L、E、Nは、左右を逆に!)
6. cut out and glue letters onto flags. if you have a black marker, draw your letters directly onto flags. / 文字を切り抜き、フラグにのりで貼る。マーカー使用の場合は、直接フラグに描く。
7. thread the flags with twine. / 麻紐を通す。
8. tape the twine to the inside of the flags on the folded side. / フラグの折れ目の内側に麻紐をテープで止める。
(without the tape on the inside, the flags will go haywire… / テープで止めないと、フラグが重なって大変なことに…)
FINISHED! / 出来上がり!
fast, easy, simple! i hope this helps to make Halloween preparations slightly easier for you! / 簡単、早い、シンプル!これで、少しでもハロウィンの飾り付けの準備が楽になるといいです〜
yes it’s that time of week! #tbt #fbf! it came so soon that i didn’t even realize the new month started with friday! this week i bring to you letterpress programs from the S+H custom logo wedding.
mr and mrs S+H especially wanted to incorporate letterpress items into their wedding. i’d always been interested in letterpress since i was young, for that special feel and the warmth, and the extra love that goes into the printing process. however, i never realized that letterpress printers were even in japan. had i not worked with mr & mrs S+H, i may not have found there are letterpress printers here! (but as they are not as common as they are in the west, they tend to be quite pricey here in japan.)
we decided to letterpress the outside “cover” of the program and bound the inside pages with the cover using chord.
プログラムのカバーを活版印刷で作りました。それをたたみ、中に式次第のページを差し込んで、コードで結びました。
on the back cover is the S+H logo, on the inner cover is Corinthians 13.
裏表紙にはロゴ、内側には「第1コリント13章」を活版印刷しました。
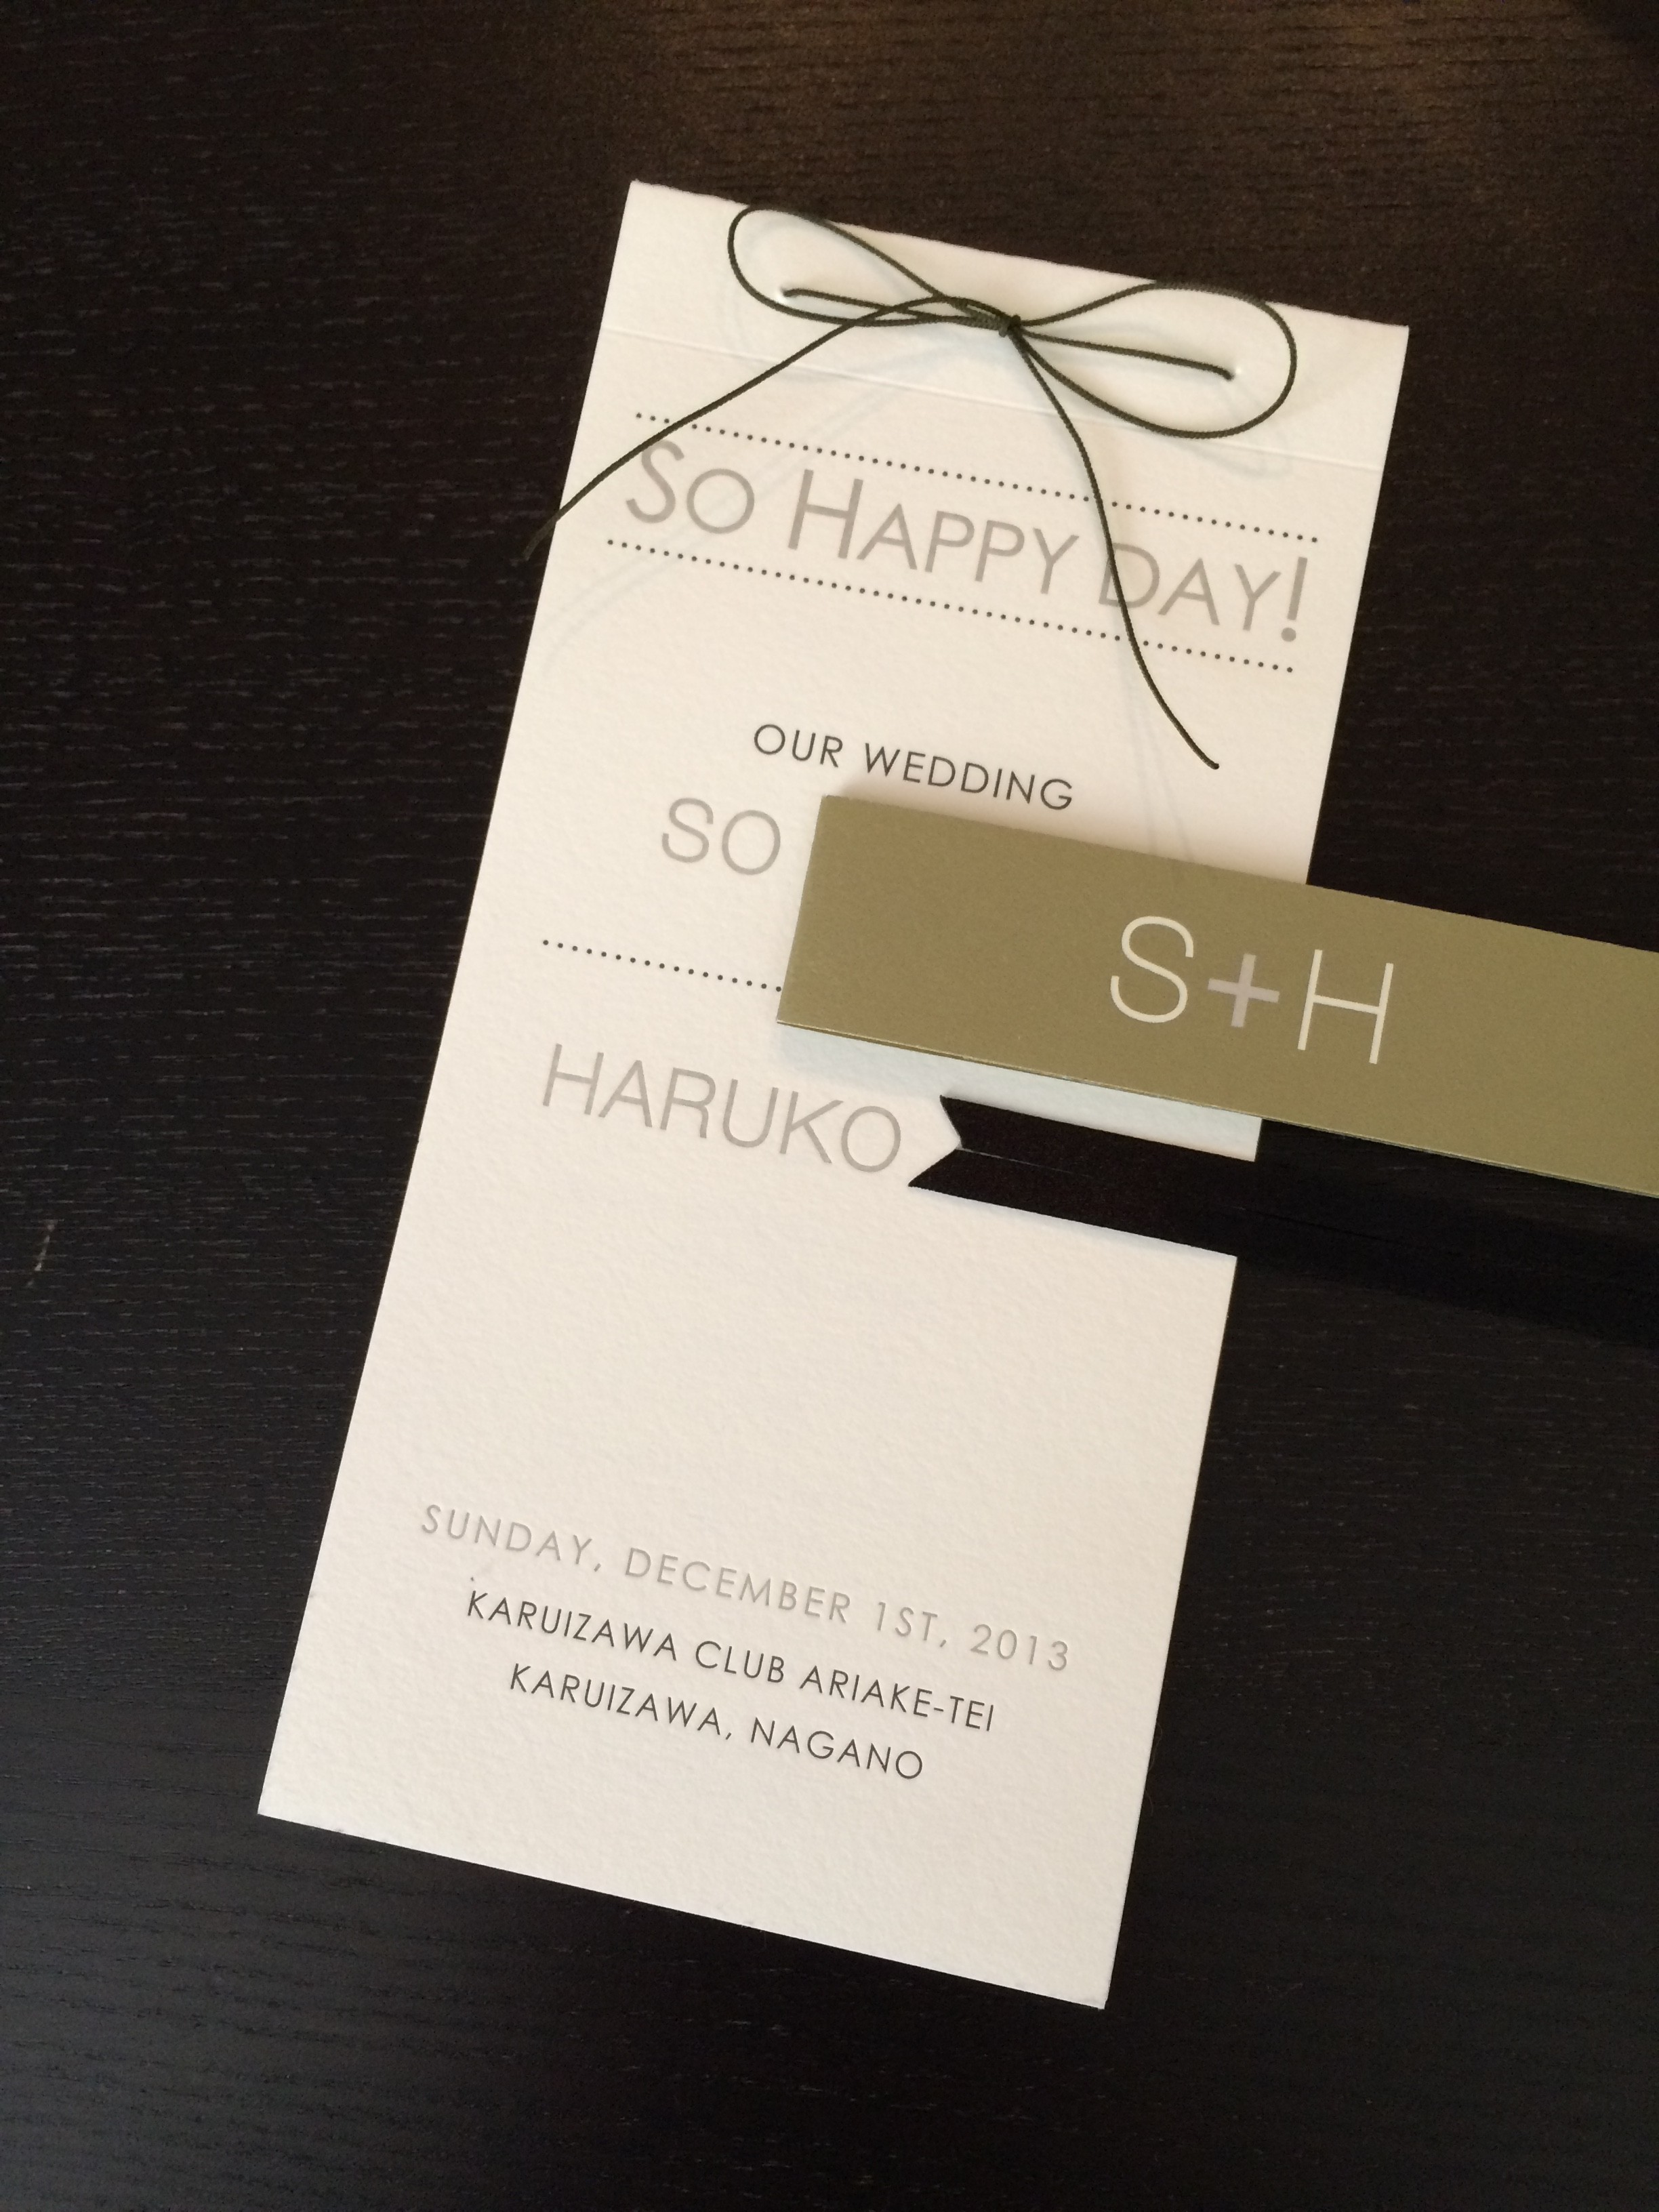
this week on the #tbt #fbf blog, i bring to you a custom logo wedding invitation. it was an absolute pleasure to work with this couple, as they share the same taste as myself when it comes to colors, fonts, and simplicity.
the key points of this invitation’s design / デザインのキーポイントは:
1. wedding colors: olive, orange, and natural colored paper
ウェディングカラー:うぐいす、橙色、ナチュラルな紙色
2. a letterpress friendly design (the main invitation is printed with letterpress)
活版印刷(招待状本状が活版印刷)
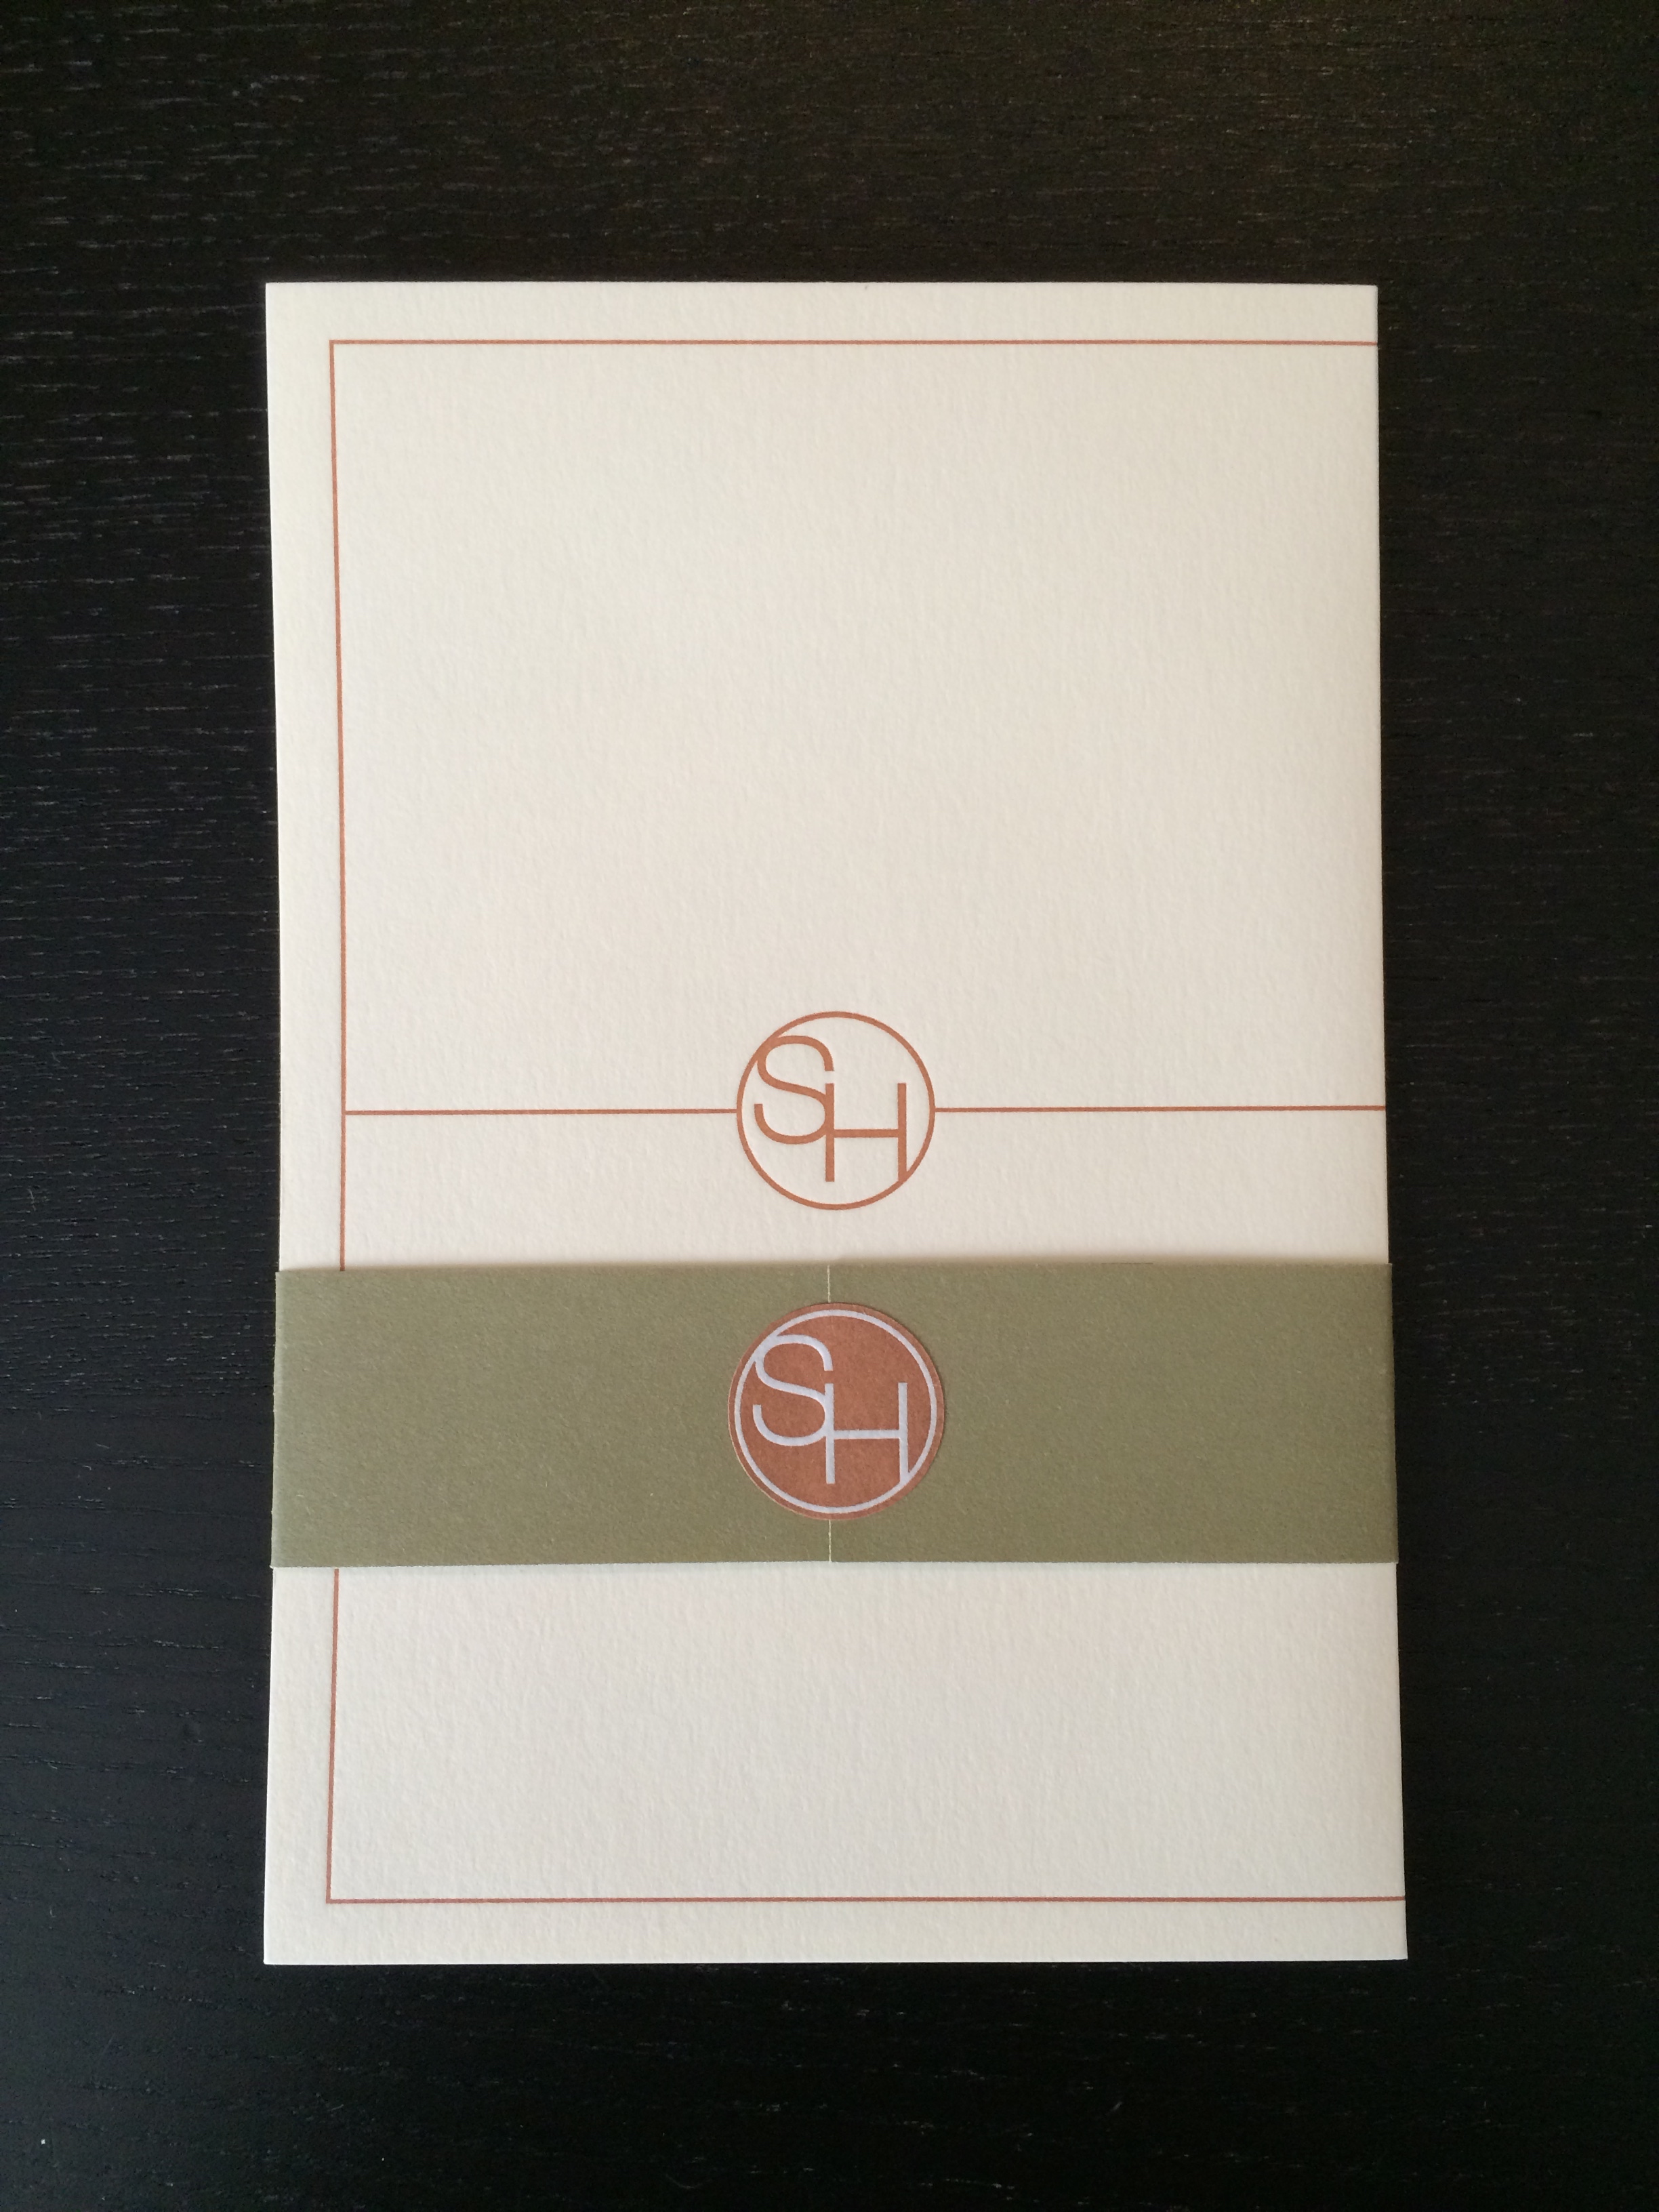
3. a simple logo for the “title” of their wedding “S+H”
“S+H” ウェディングのシンプルなロゴ
the couple loved the logo!! so they used it every chance they could throughout their wedding, which i will introduce in the coming weeks. since the actual invitation was printed in letterpress, i decided to take advantage of the depth and expanded the logo to cover the whole background of the inside. by using a lighter color, bolder line, and bigger size it allows the eye to focus on the front dimension (the invitation details).
when i work with invitation sets, i like to think of how the entire set looks put together. each individual card is important on it’s own (and can have varying design elements), but it’s like an equation that needs to add up to 100 in terms of color, layout, and especially in this case, geometric elements.


![[ETSY] HAPPY HOLIDAYS 2015](http://www.peacelovetokyo.com/home/wp-content/uploads/2015/11/image5-400x300.jpg)
![[ETSY] HAPPY HOLIDAYS 2015](http://www.peacelovetokyo.com/home/wp-content/uploads/2015/11/image4-400x300.jpg)
![[D.I.Y.] HALLOWEEN GARLAND](http://www.peacelovetokyo.com/home/wp-content/uploads/2015/10/unnamed-18-300x400.jpg)
![[D.I.Y.] HALLOWEEN GARLAND](http://www.peacelovetokyo.com/home/wp-content/uploads/2015/10/unnamed-13-400x300.jpg)
![[D.I.Y.] HALLOWEEN GARLAND](http://www.peacelovetokyo.com/home/wp-content/uploads/2015/10/unnamed-101-400x300.jpg)
![[D.I.Y.] HALLOWEEN GARLAND](http://www.peacelovetokyo.com/home/wp-content/uploads/2015/10/unnamed-400x300.jpg)
![[D.I.Y.] HALLOWEEN GARLAND](http://www.peacelovetokyo.com/home/wp-content/uploads/2015/10/IMG_7351-400x300.jpg)
![[D.I.Y.] HALLOWEEN GARLAND](http://www.peacelovetokyo.com/home/wp-content/uploads/2015/10/unnamed-3-400x300.jpg)
![[D.I.Y.] HALLOWEEN GARLAND](http://www.peacelovetokyo.com/home/wp-content/uploads/2015/10/IMG_7350-400x300.jpg)
![[D.I.Y.] HALLOWEEN GARLAND](http://www.peacelovetokyo.com/home/wp-content/uploads/2015/10/IMG_7358-400x300.jpg)
![[D.I.Y.] HALLOWEEN GARLAND](http://www.peacelovetokyo.com/home/wp-content/uploads/2015/10/IMG_7359-400x300.jpg)
![[D.I.Y.] HALLOWEEN GARLAND](http://www.peacelovetokyo.com/home/wp-content/uploads/2015/10/IMG_7360-400x315.jpg)
![[d.i.y.] halloween flag garland // ハロウィンフラグガーランド](http://www.peacelovetokyo.com/home/wp-content/uploads/2015/10/unnamed-のコピー-400x188.jpg)
![[WEDDING] S+H LOGO WEDDING CEREMONY PROGRAMS](http://www.peacelovetokyo.com/home/wp-content/uploads/2015/05/IMG_5073-e1430452608871-300x400.jpg)
![[WEDDING] S+H LOGO WEDDING CEREMONY PROGRAMS](http://www.peacelovetokyo.com/home/wp-content/uploads/2015/05/IMG_5071-e1430452562736-300x400.jpg)
![[WEDDING] S+H LOGO WEDDING CEREMONY PROGRAMS](http://www.peacelovetokyo.com/home/wp-content/uploads/2015/05/IMG_5108-300x400.jpg)
![[WEDDING] S+H LOGO WEDDING CEREMONY PROGRAMS](http://www.peacelovetokyo.com/home/wp-content/uploads/2015/05/IMG_5074-e1430452627375-300x400.jpg)
![[WEDDING] S+H LOGO WEDDING INVITATIONS](http://www.peacelovetokyo.com/home/wp-content/uploads/2015/04/FullSizeRender-2-400x300.jpg)
![[WEDDING] S+H LOGO WEDDING INVITATIONS](http://www.peacelovetokyo.com/home/wp-content/uploads/2015/04/IMG_41981-400x300.jpg)
![[WEDDING] S+H LOGO WEDDING INVITATIONS](http://www.peacelovetokyo.com/home/wp-content/uploads/2015/04/IMG_41971-300x400.jpg)
![[WEDDING] S+H LOGO WEDDING INVITATIONS](http://www.peacelovetokyo.com/home/wp-content/uploads/2015/04/FullSizeRender-400x290.jpg)