
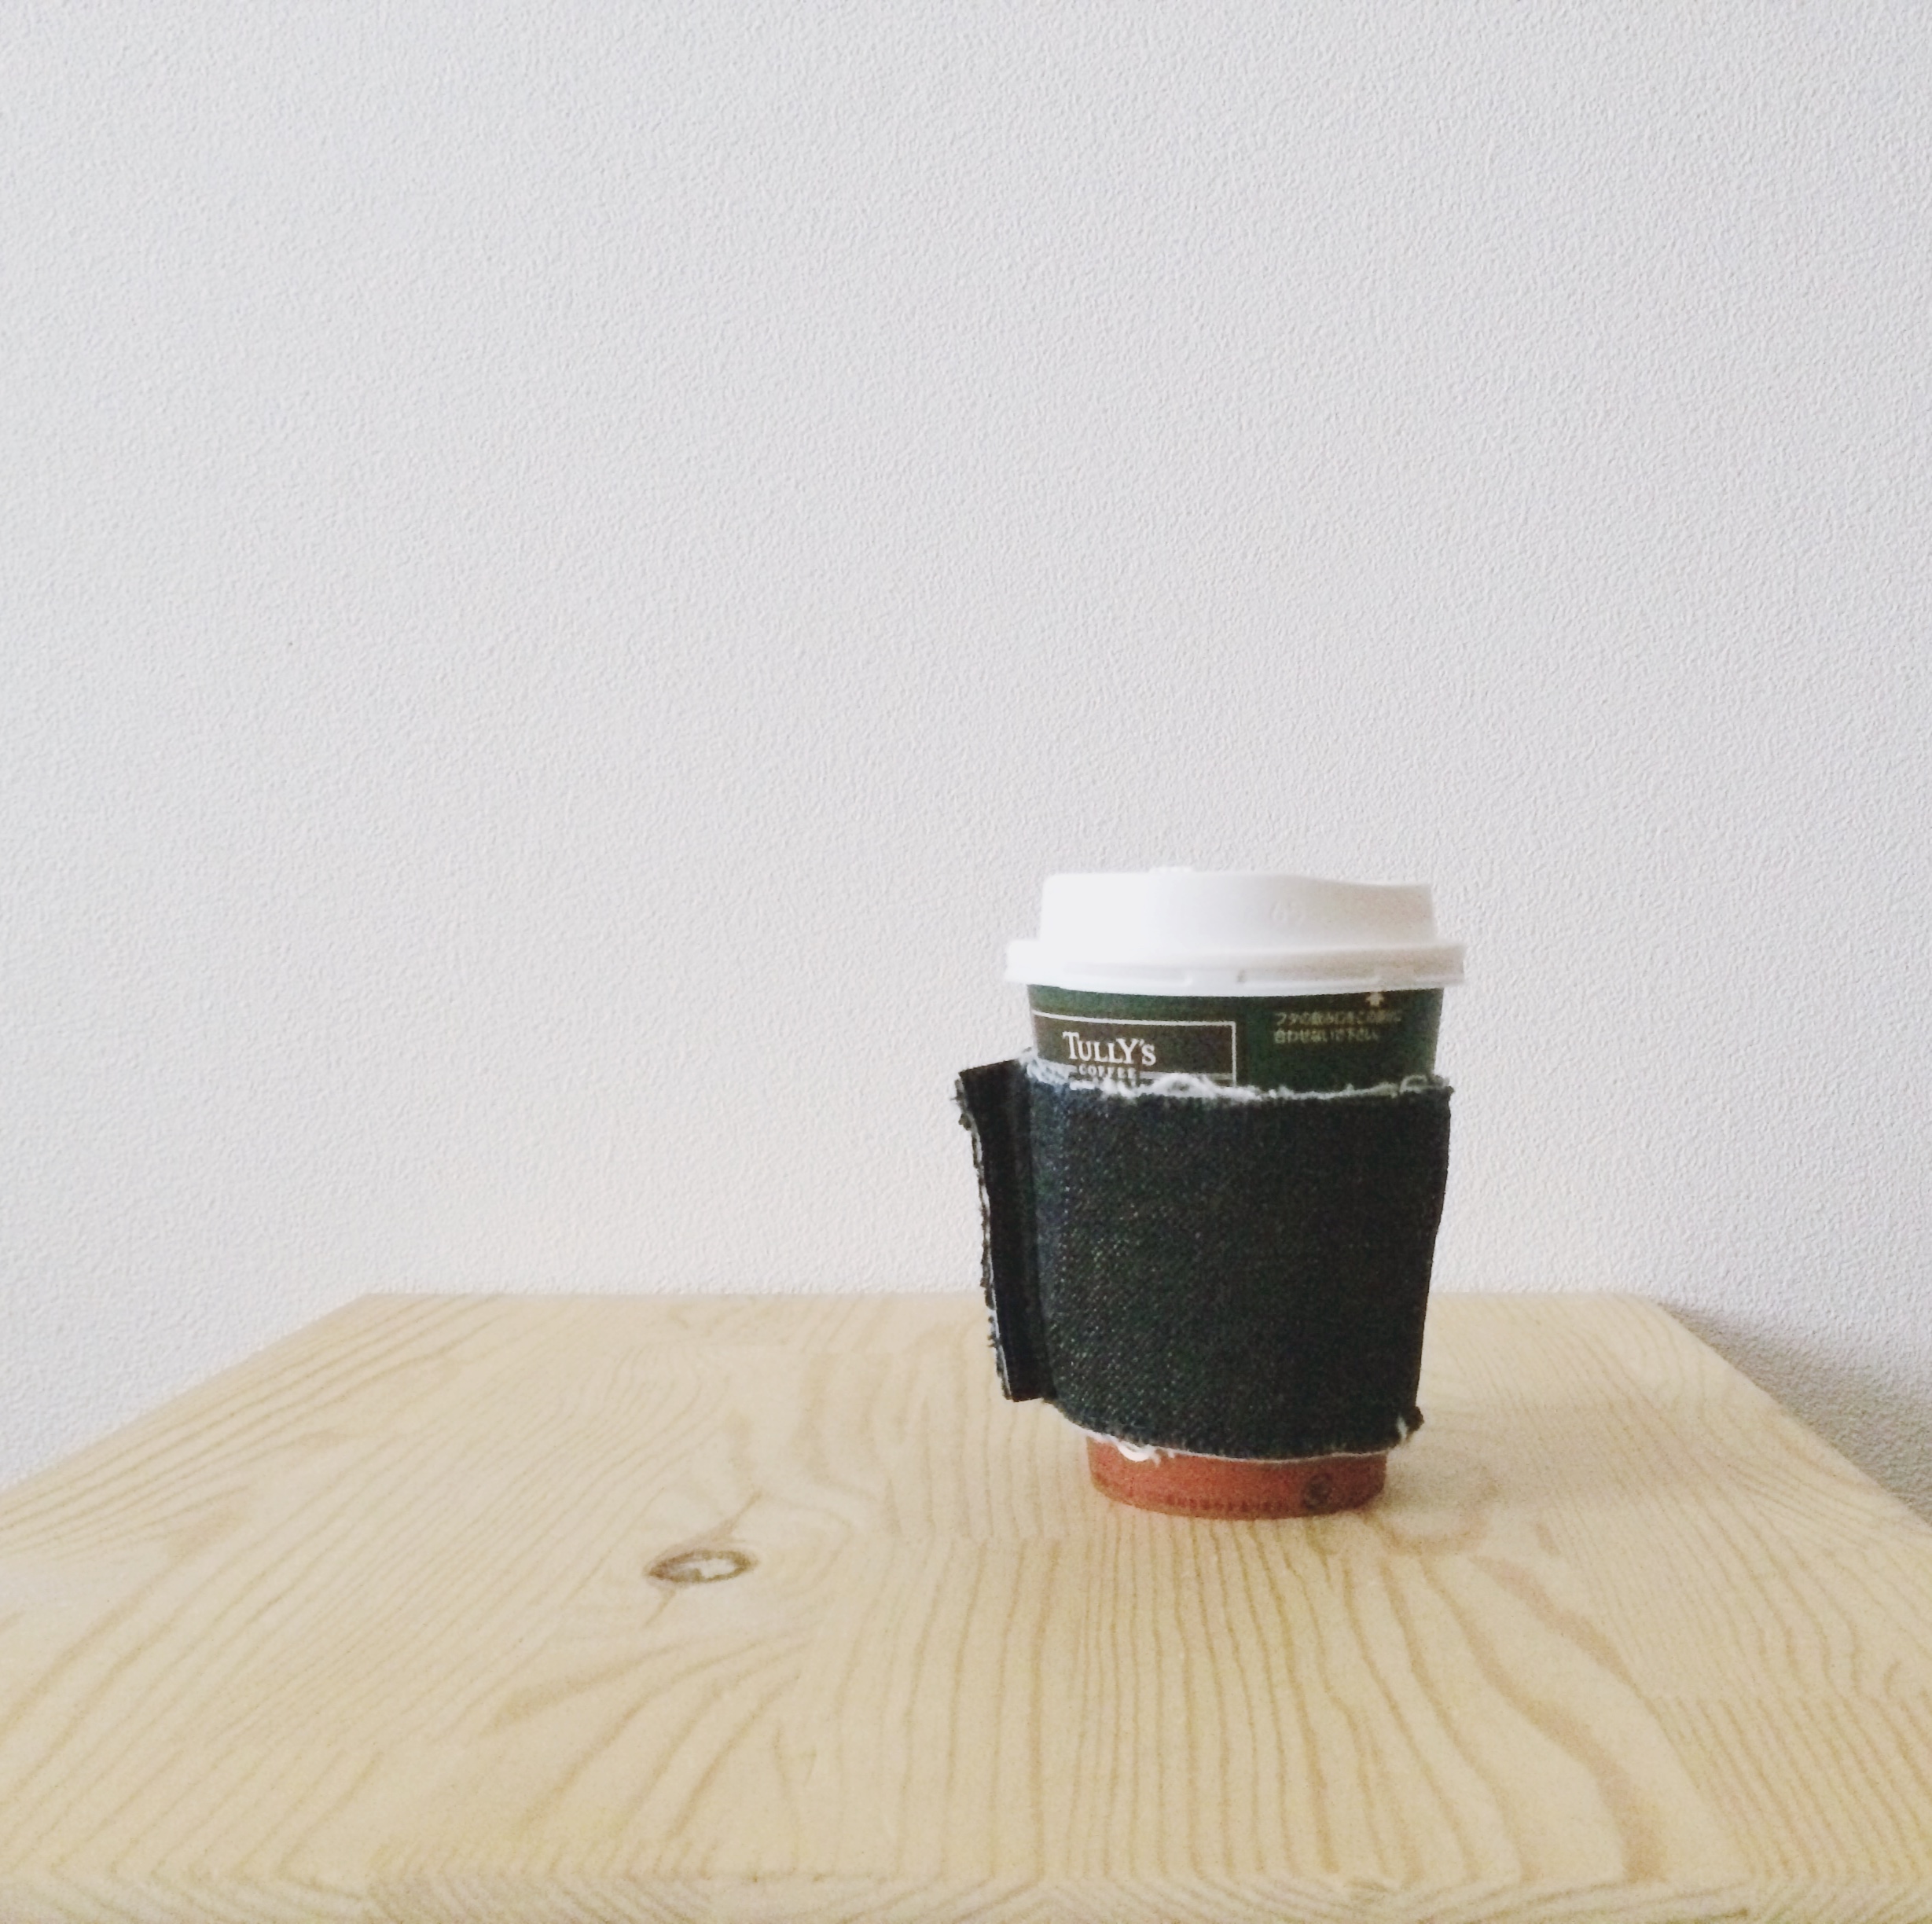
handmade denim sleeve
i’ve been spending the past couple of months going through my stock of fabrics and materials, and boy do i have lots of them that have accumulated over the years since fashion school. i had been putting off tons of projects that i bought fabric for and never got through to realizing. some projects i have finished, some have become things of my mind’s past, and in their place new ideas have formed–one of them being this denim sleeve.
この数ヶ月間、服飾学校時代から溜めてきたたくさんの生地や材料を整理していました。その量も半端ではありません。。。^_^;; やっと完成したアイデアもあれば、もう作らないであろう物もあったり、代わりになる新しいアイデアもたくさん考えています!完成した物の中で、今日はこのデニムのスリーヴを紹介しま〜す。
having been raised in seattle, i have a soft spot for starbucks and tully’s coffee, which are both found in tokyo. unlike in the states, most people use public transportation in this country. thus, our love for bags that are just big enough to cram all of our essentials in (representing people like moi). granted, there are many a cool, stylish girl that can seem to leave the house with a compact clutch holding just a smartphone (in a smart case that carries their train passes and credit cards all-in-one, or even better–apple pay), a tiny wallet, and lip tint. i mean, what about 3 packs of tissue, water bottle, makeup bag, notepad, pen, handkerchief, ipod, extra smartphone charger, etc….?? my point being: having to carry a personal tumbler or mug to my local caffeine joint, is way too much luggage than i already have to carry–especially for that unplanned stop-in to kill time.
私は、シアトル出身なのですが、「シアトルと言えば!」と言うとスターバックスがほぼ第一にあがりますよね?実は、タリーズ・コーヒーやシナモンロール専門店のシナボンなどもシアトル発なんですよ(シナボンがシアトル発とは、恥ずかしながら今年初めて知りました。。。)!どれも日本で楽しめるお店で、シアトル愛が熱いのか(ただのトレンド好きなのか?)どれも大ファンなんです♡
このように、レギュラーでコーヒー店に通っていたらどうしてもエコフレンドリーさを考えると、「手持ちのマグやタンブラーを使用したいなー」と思うことが多々あります。ですが、打ち合わせや待ち合わせで急遽立ち寄る場合があると考えると、普段からただでさえ荷物が多い私にとっては、持ち歩くことは楽ではありません。
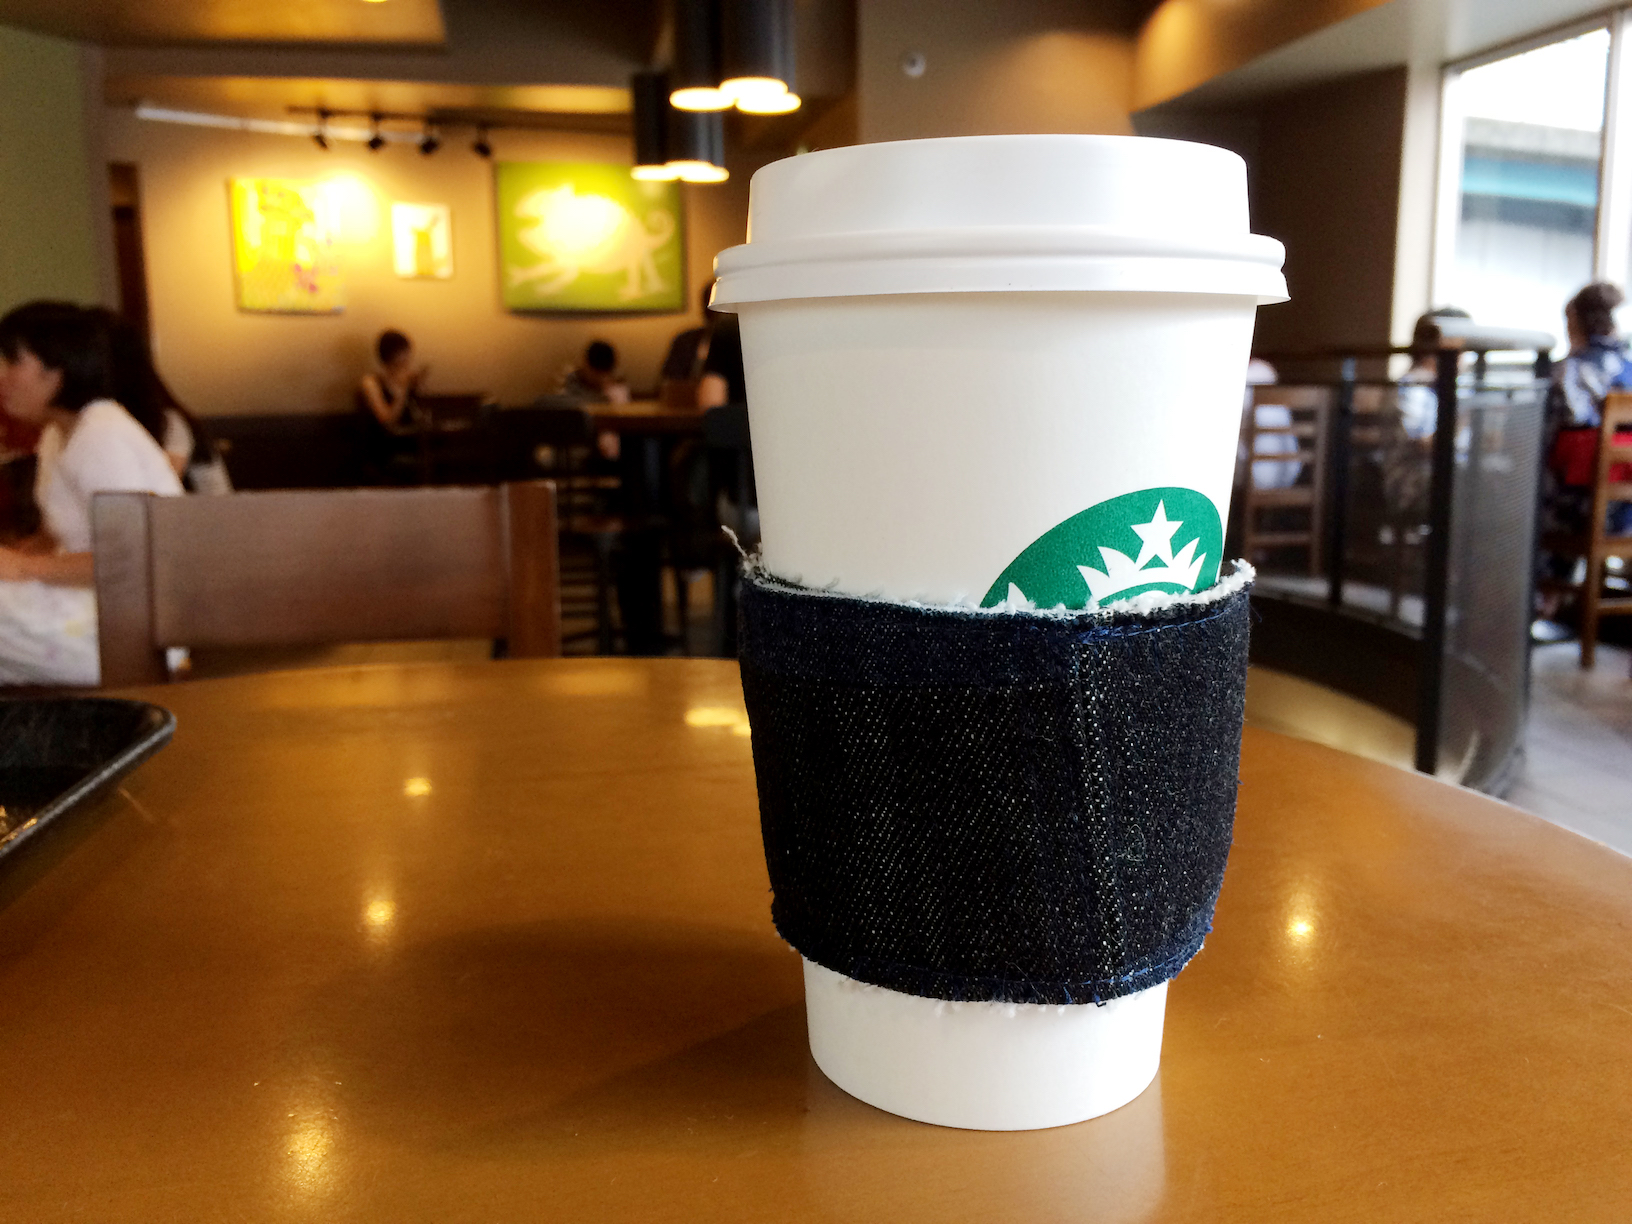
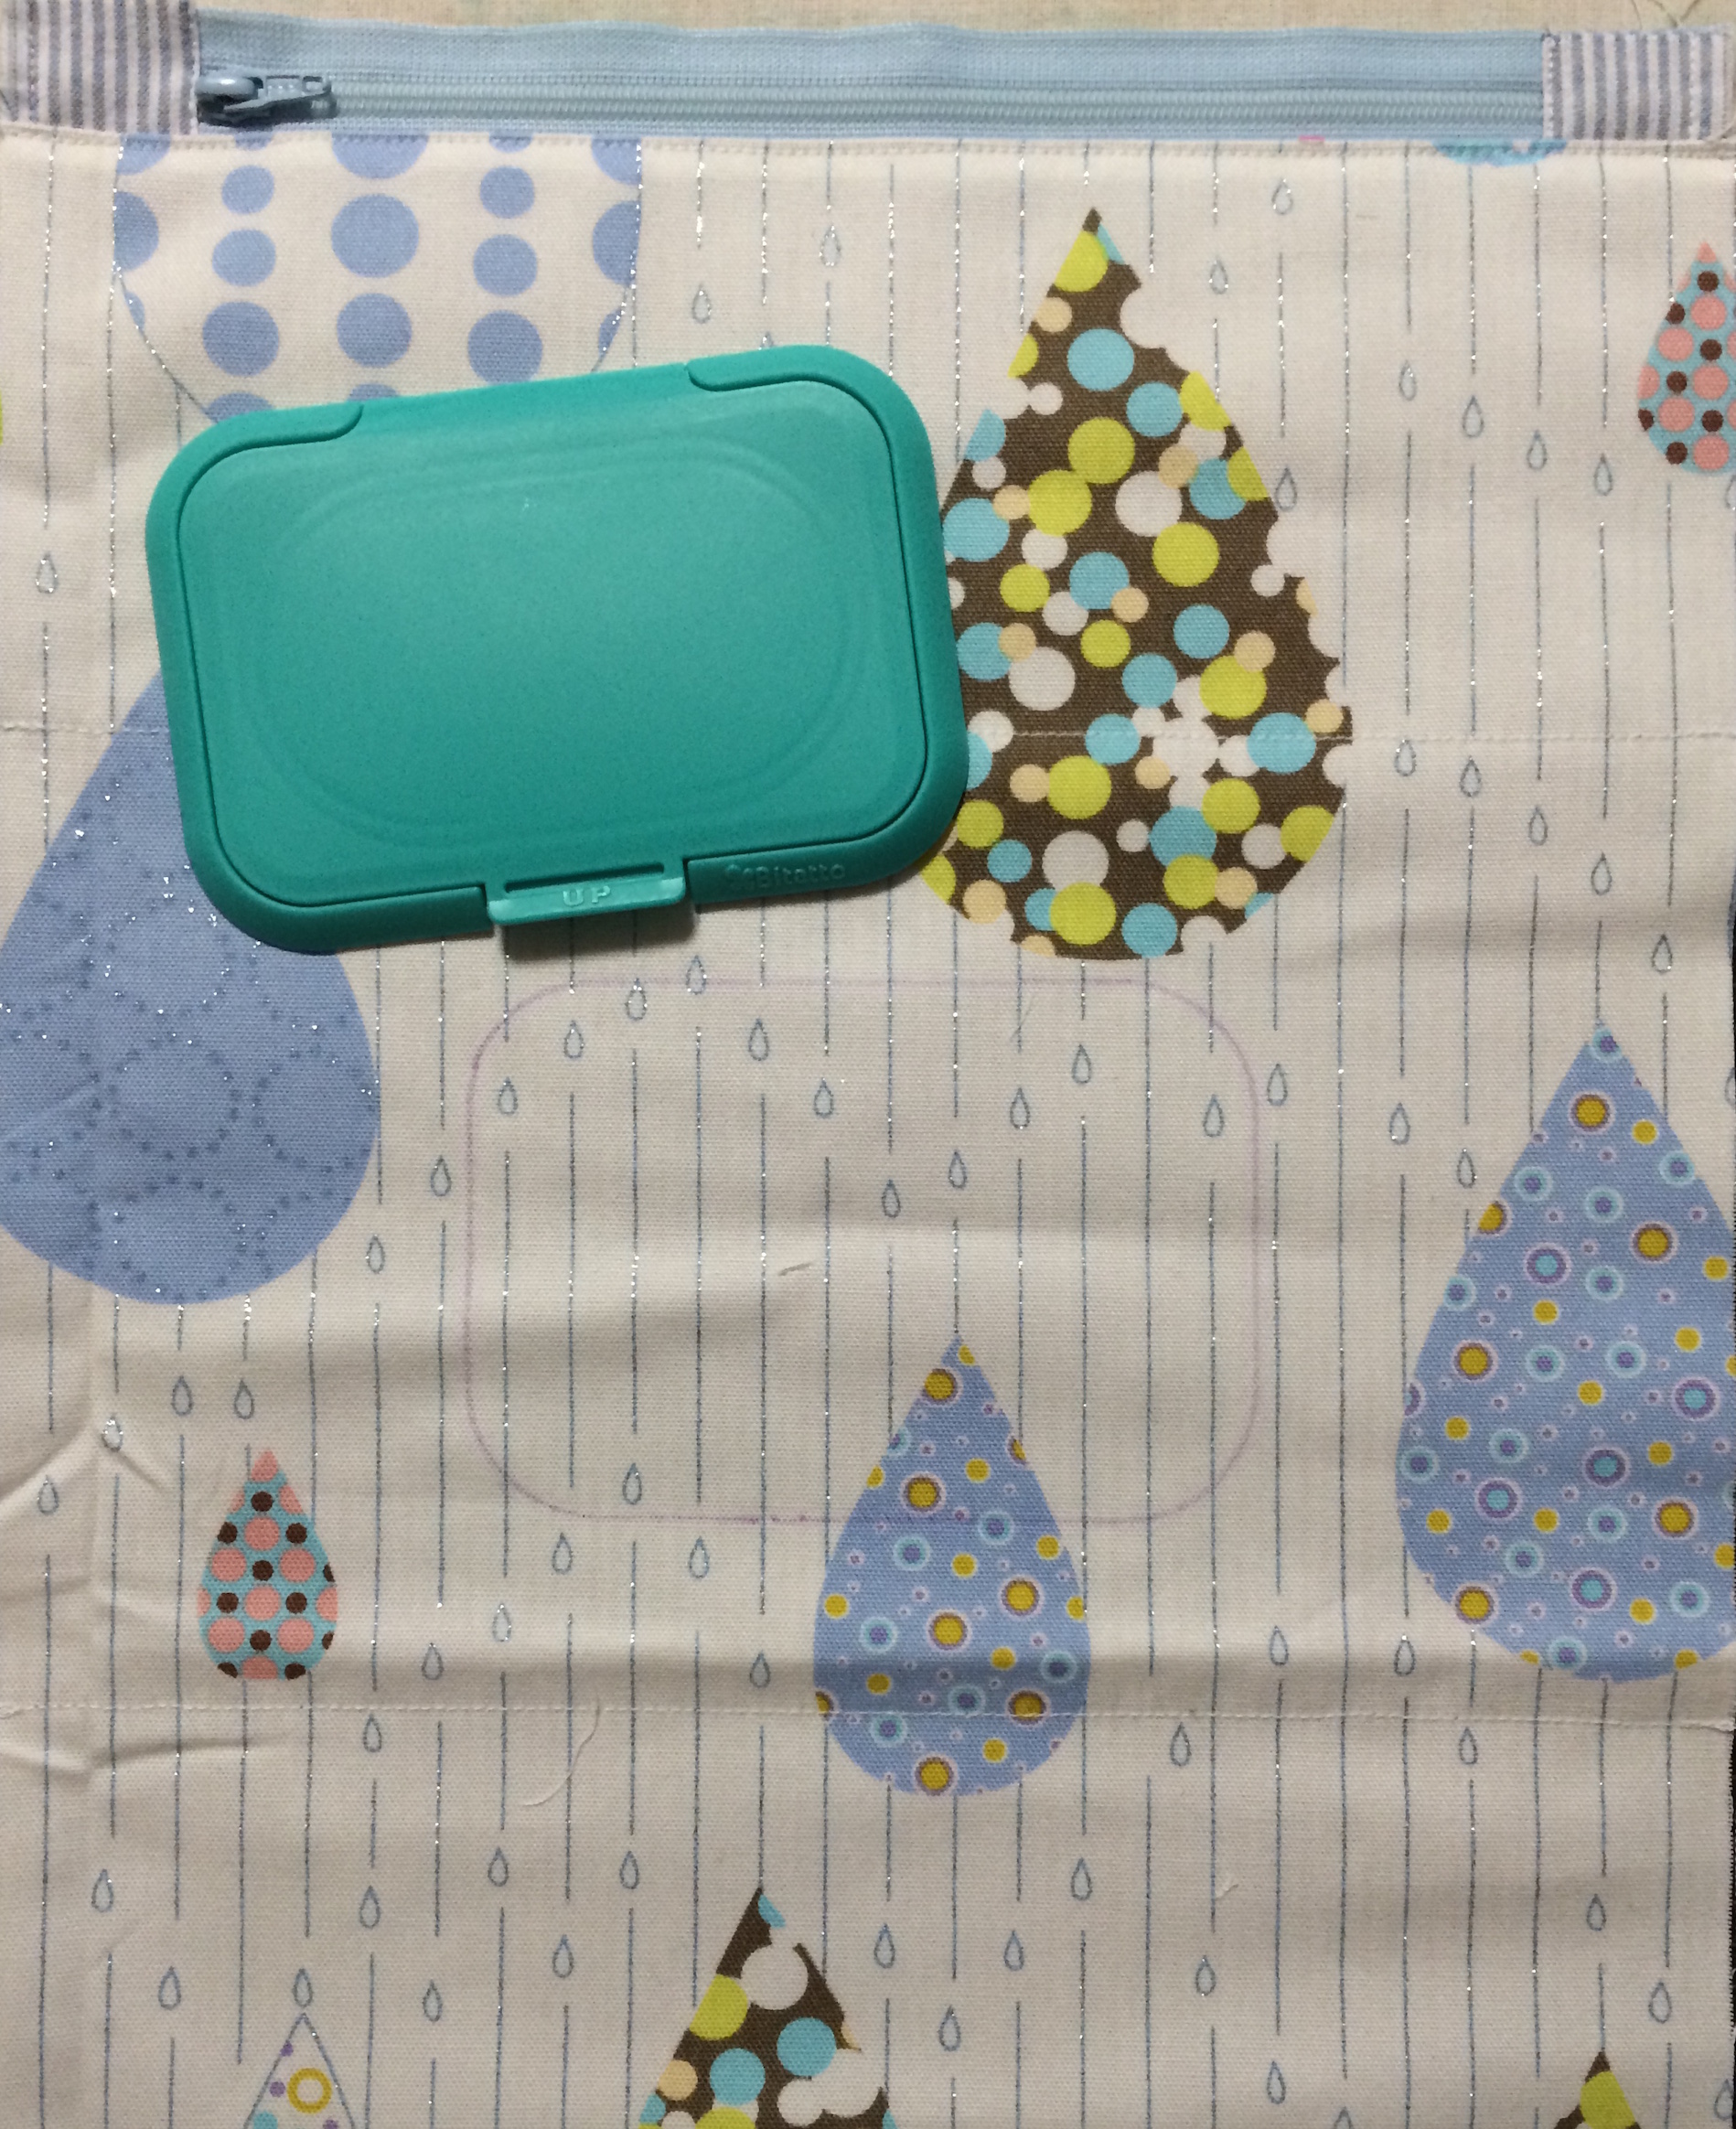
although it’s not as green as having a personal tumbler at hand, i decided to make this fabric sleeve to replace the brown cardboard sleeves made of recycled material. yes, they are eco-friendly, however, not so much if they’re going straight back to waste after a couple hours of usage. there was a time where i would hold onto the sleeves for next time, but starbucks and tully’s have differently shaped cups, and i order anywhere between a short and grande, which would result in carrying around 4 sleeves at a time (at least starbucks uses the same size for tall & grande #marketresearch). they all started cluttering my bag again and became inspiration to make an all-inclusive sleeve for 3 different sizes at two different cafe chains.
確かに、紙のカップを使う点から、手持ちタンブラーやマグほどエコではないかもしれませんが、数時間しか使わないダンボールの使い捨てスリーヴよりはだいぶマシです。一時期は、スタバやタリーズのスリーヴを使い回してバッグにずっと入れていました。ショート、トール、グランデサイズ、そしてスタバとタリーズではカップの形が違うので、それぞれのお店の物を集めていたら、普通に4〜5枚持ち歩くことになってしまい、諦めました。実は、これがきっかけでどちらのお店でも、どのサイズでも対応できる1枚のスリーヴを作りました。
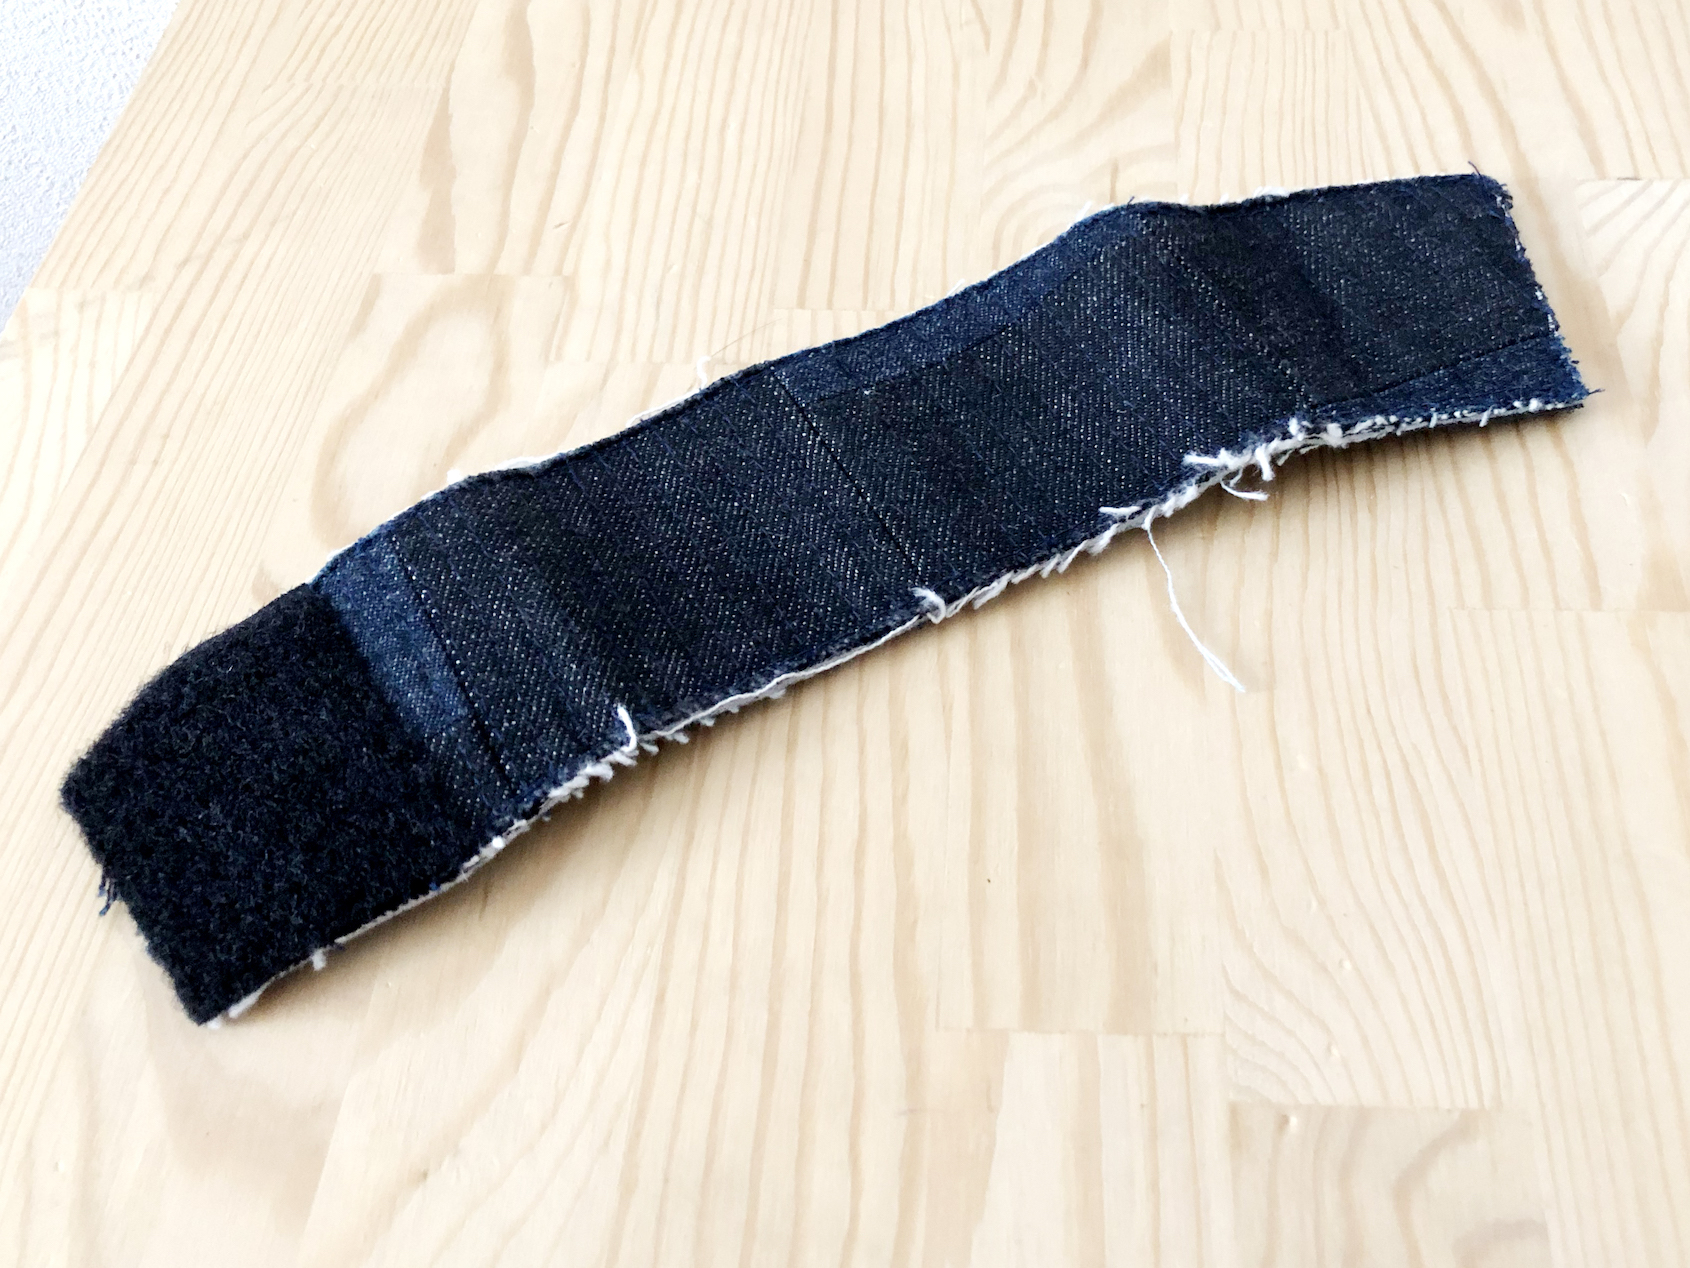
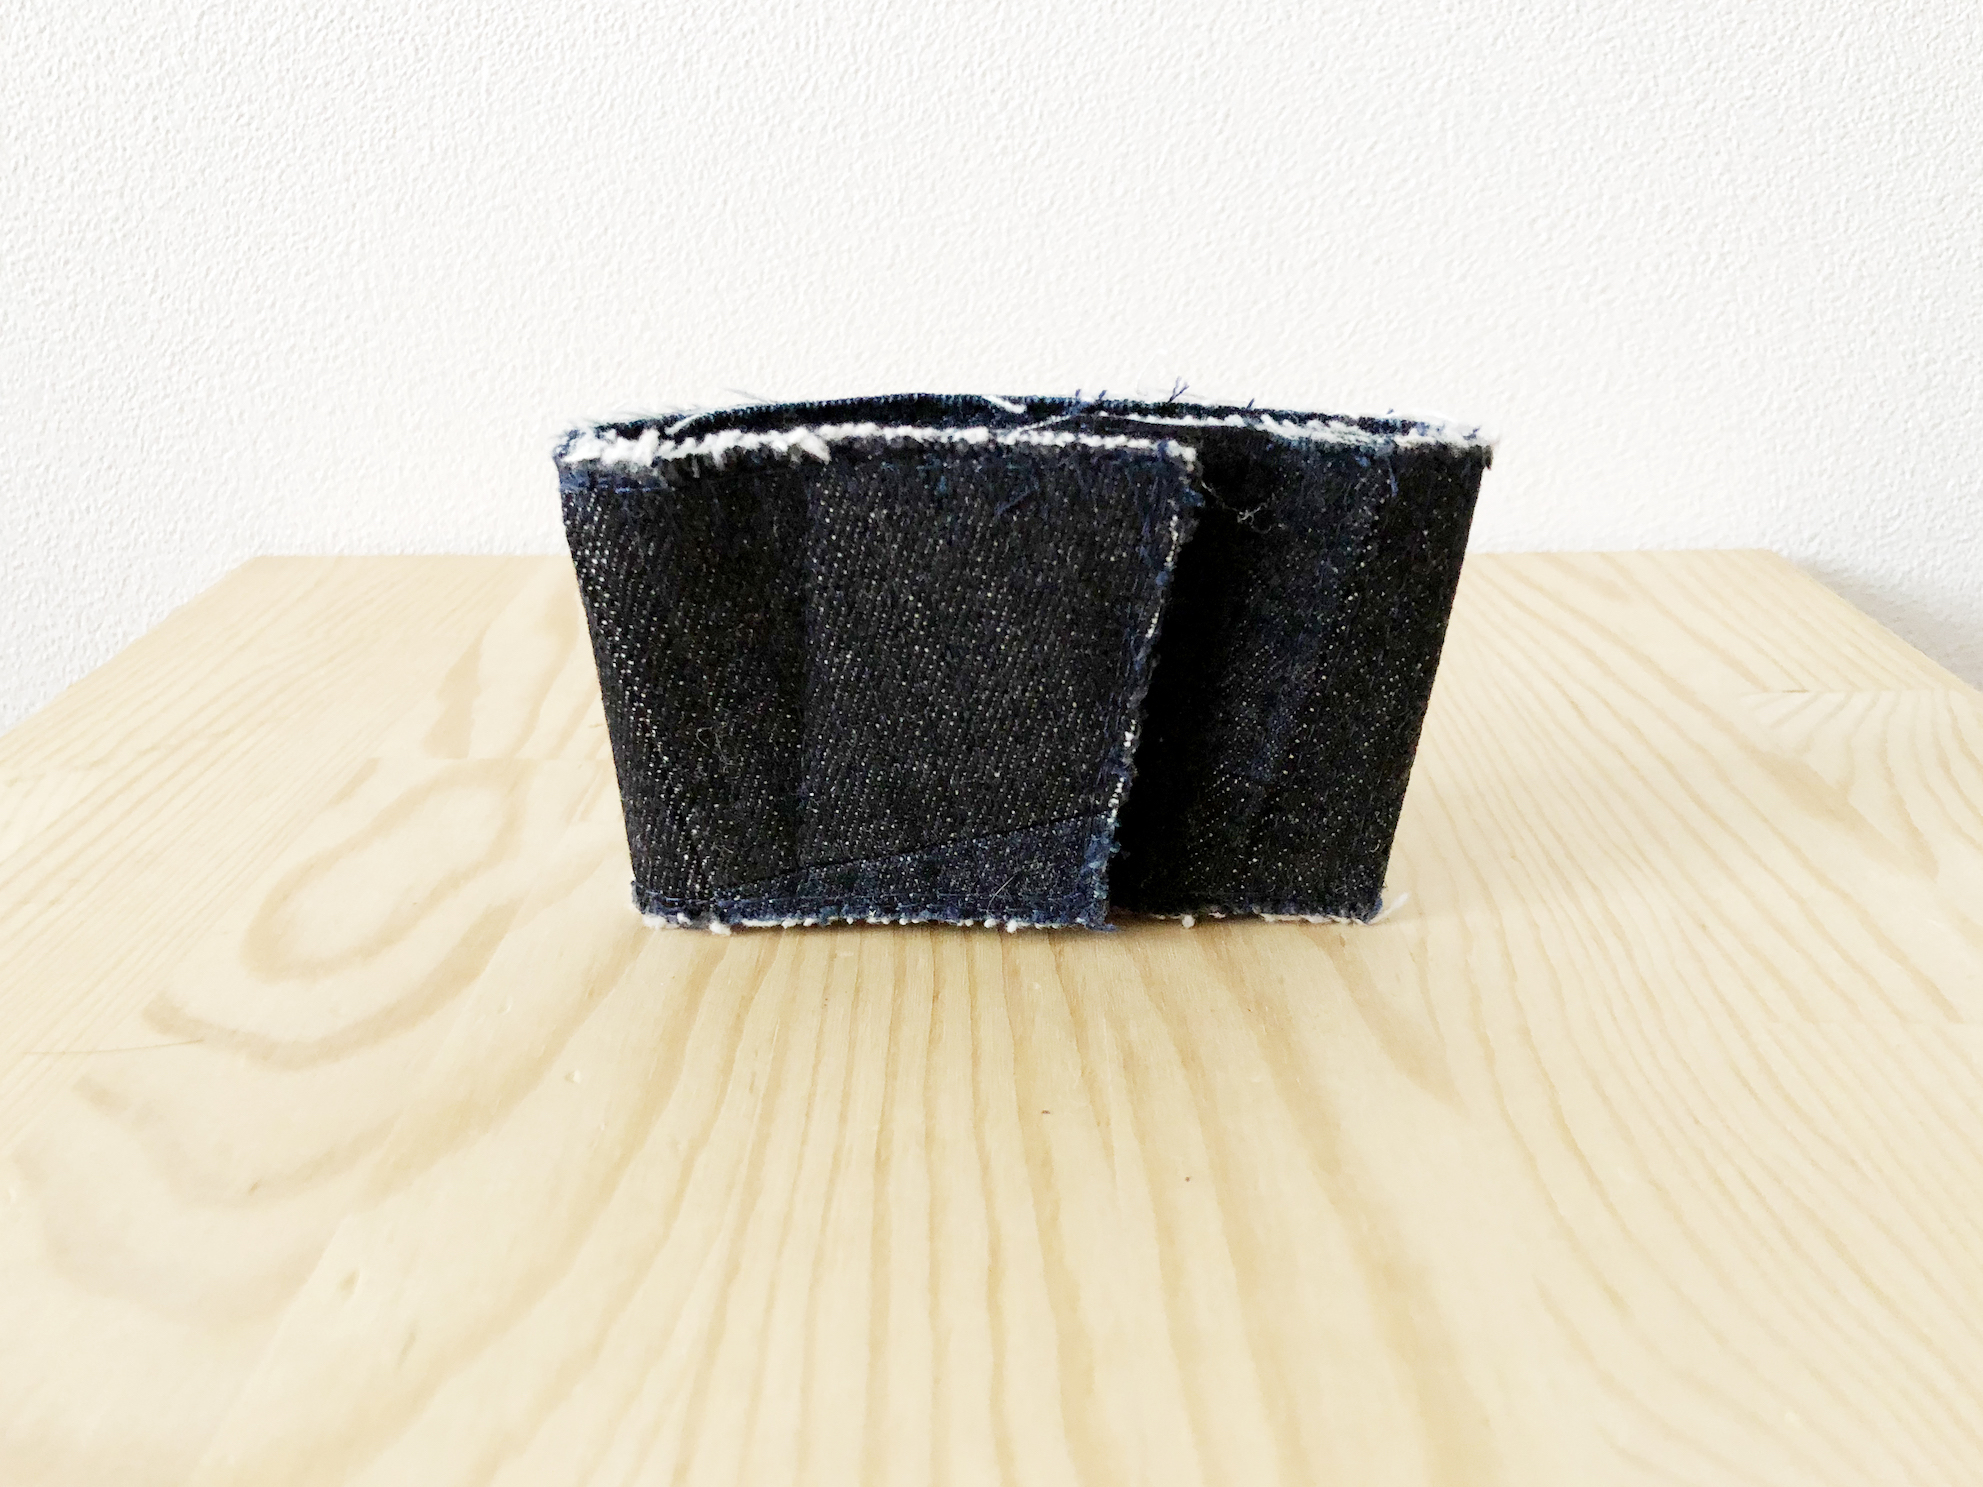
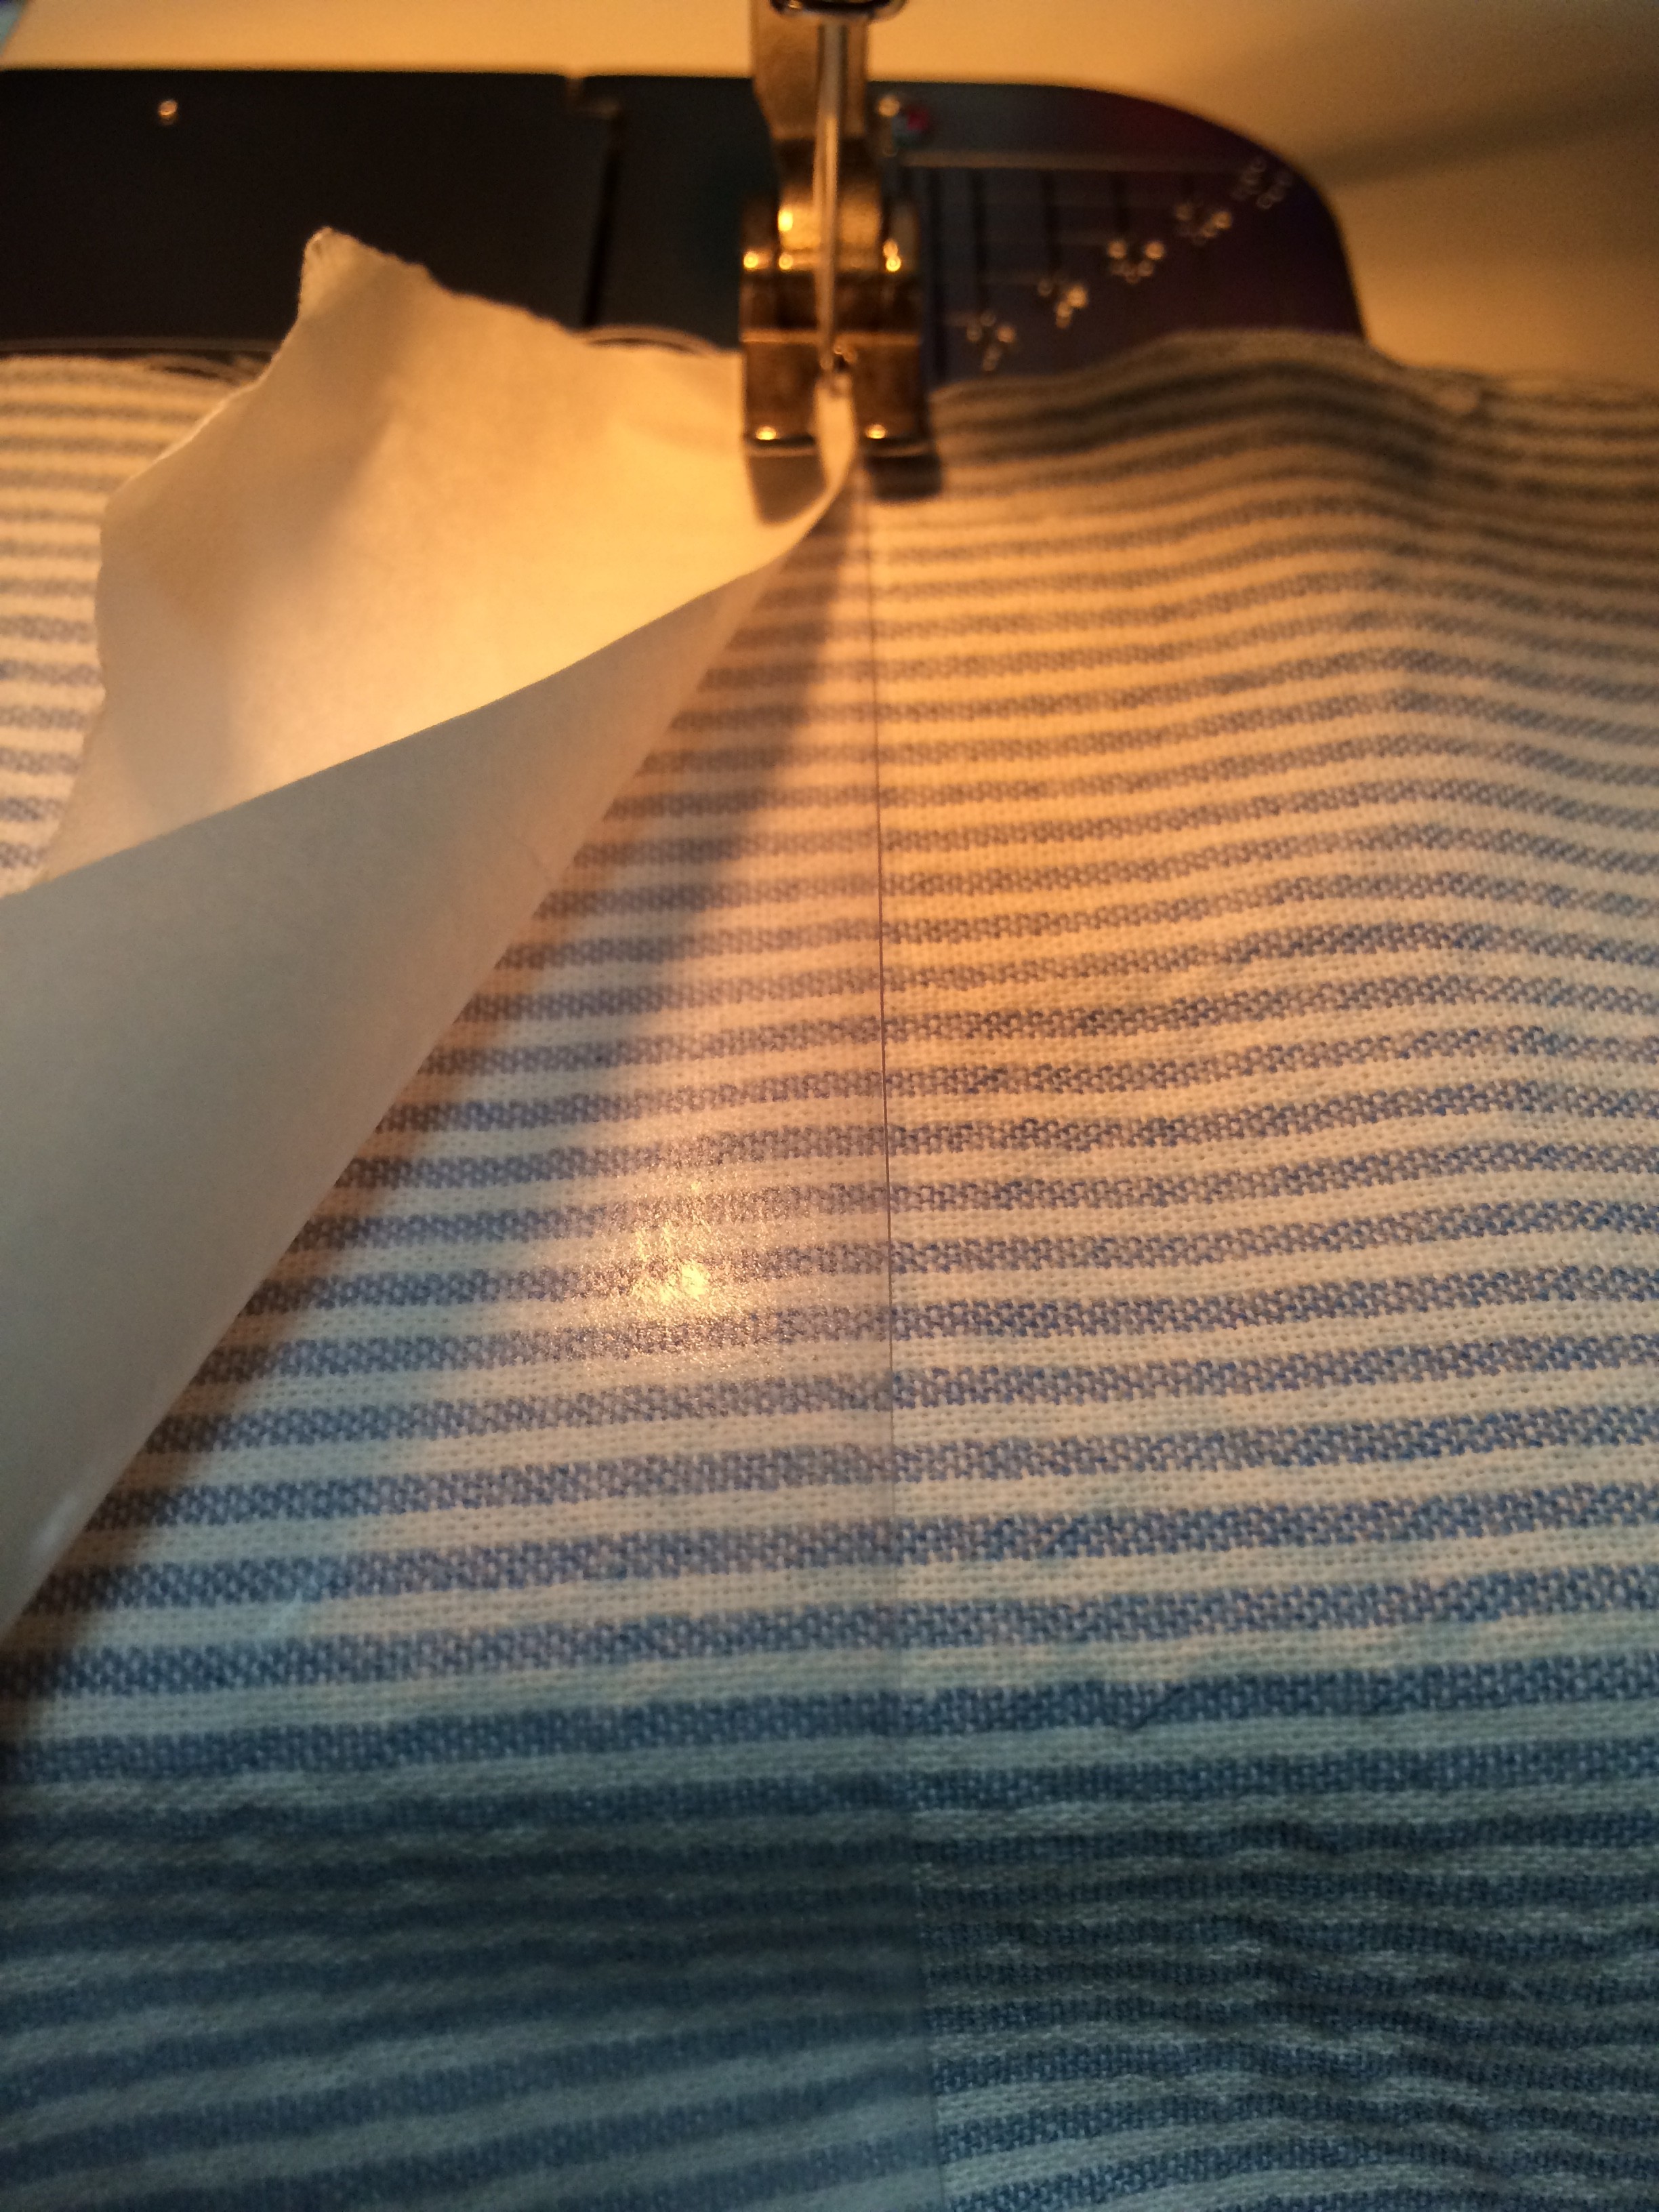
the result, i patched together some of my favorite leftover denim scraps (these are
another story on their own!) to sew up a denim sleeve that works for all three sizes at both stores (yay velcro!)! even more, i used quilting to function as insulation, working better than the cardboard.
たくさん余っていたデニムの残布(このデニムにも
ストーリーがあるんです!)をパッチワークにし、マジックテープを縫い付け、キルト芯を挟んで仕上げたらスリーヴとしての機能がしっかり実現できました。
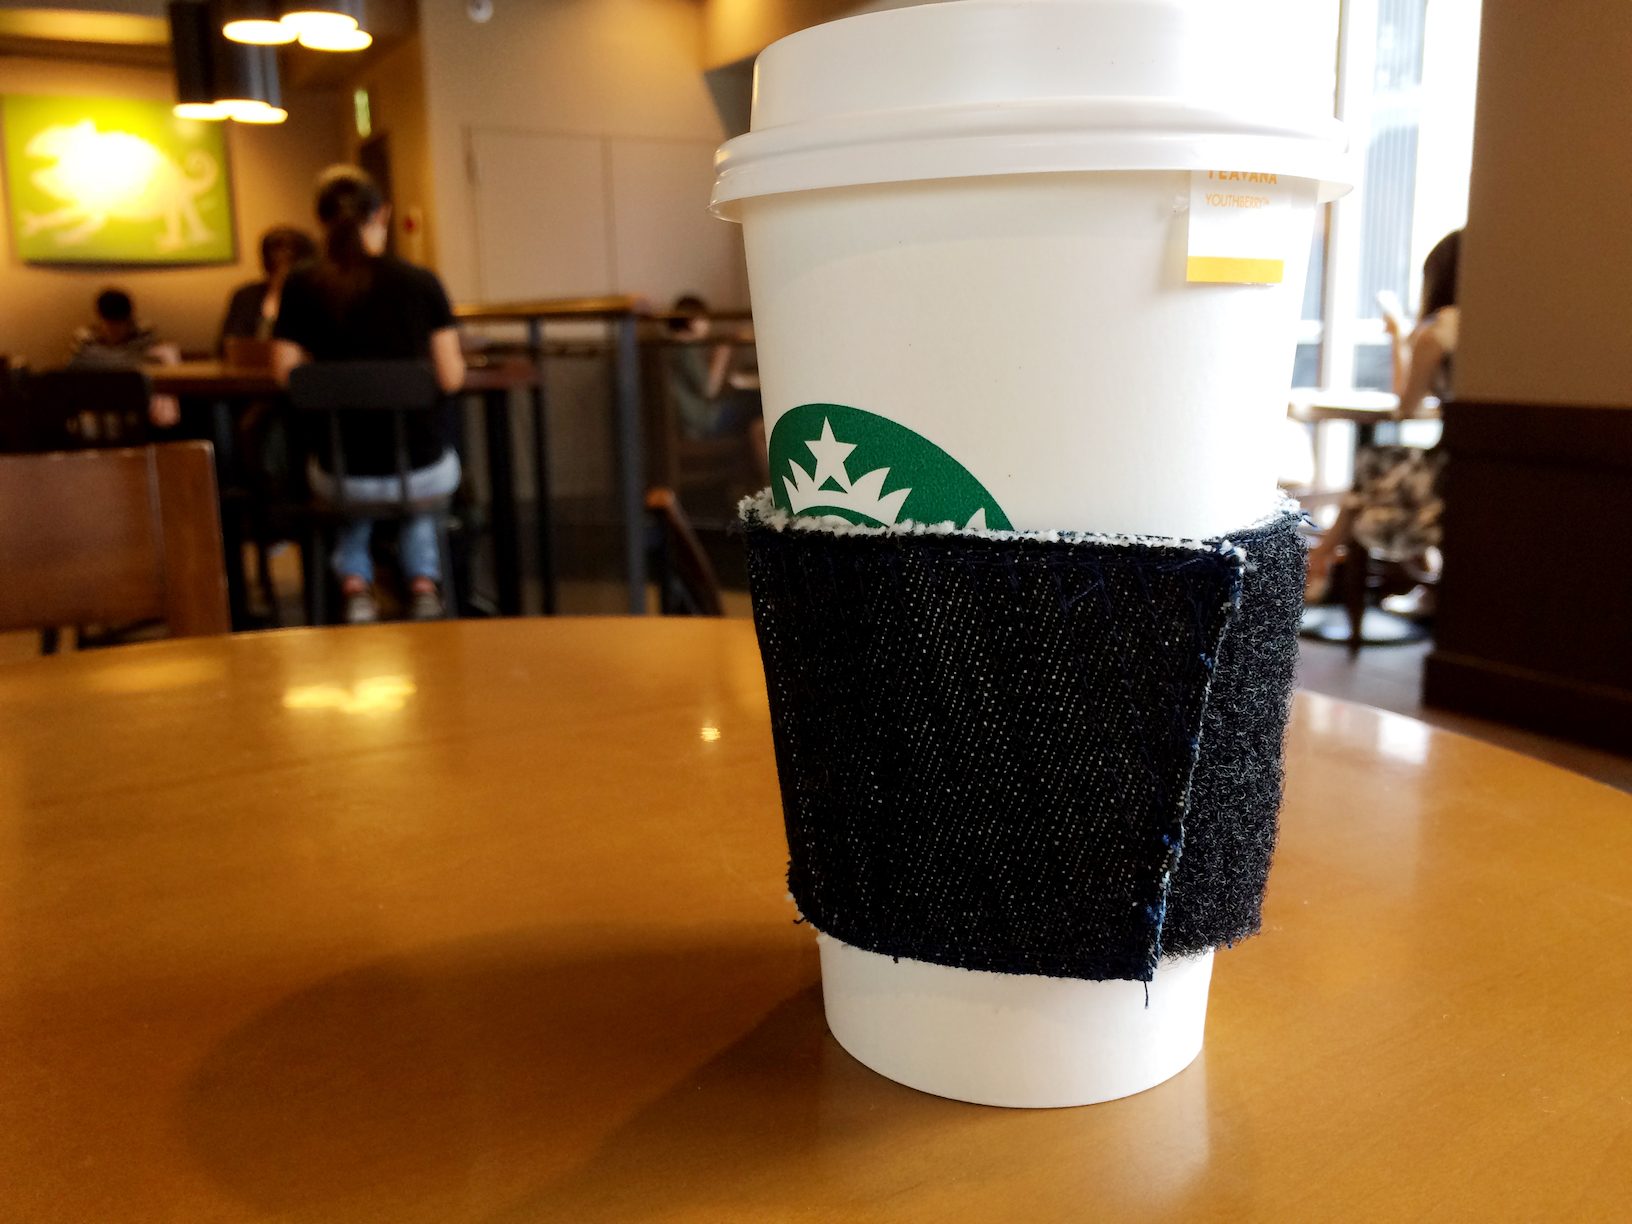
it’s pretty cool to say, “no sleeve please!” and the barista goes, “umm… please be careful, it’s very hot” and BAM! i flash my swanky chic denim sleeve (brush that dirt off my shoulder, uh huh). before it all goes to my head, i understand that my next step is to create a portable, collapsable cup that i can carry around (or someone else can do the work for me? kickstarter?)… in the meantime, i’ll happily flash my washable sleeve that will be reusable for years. =)
レジで、「スリーヴはいらないです」と伝えると、「ええ、とても熱いので気をつけてくださいね。。」とキョトンとされたり戸惑われたりされます。そういう時に、ランプの下でドリンクの受け取りを待って、自信たっぷりにスリーヴを広げるのが気持ち良いんです!笑 こんな小さな事で快感を得るような私ですが、確かに手持ちタンブラーを超すエコフレンドリーな事はないですよね。いつか、もっとコンパクトに手持ちできる入れ物ができるまでは、このスリーヴを自信満々持ち歩きます!
have a great cup of caffeine!
みなさん、今日も美味しい一杯をいただけますように!
p.s. please do let me know your thoughts about this sleeve and if i should sell it on either or both of my shops!
このスリーヴを商品化するか悩んでいます!ご意見、ご感想、ご質問などありましたら、お気軽にご連絡ください〜
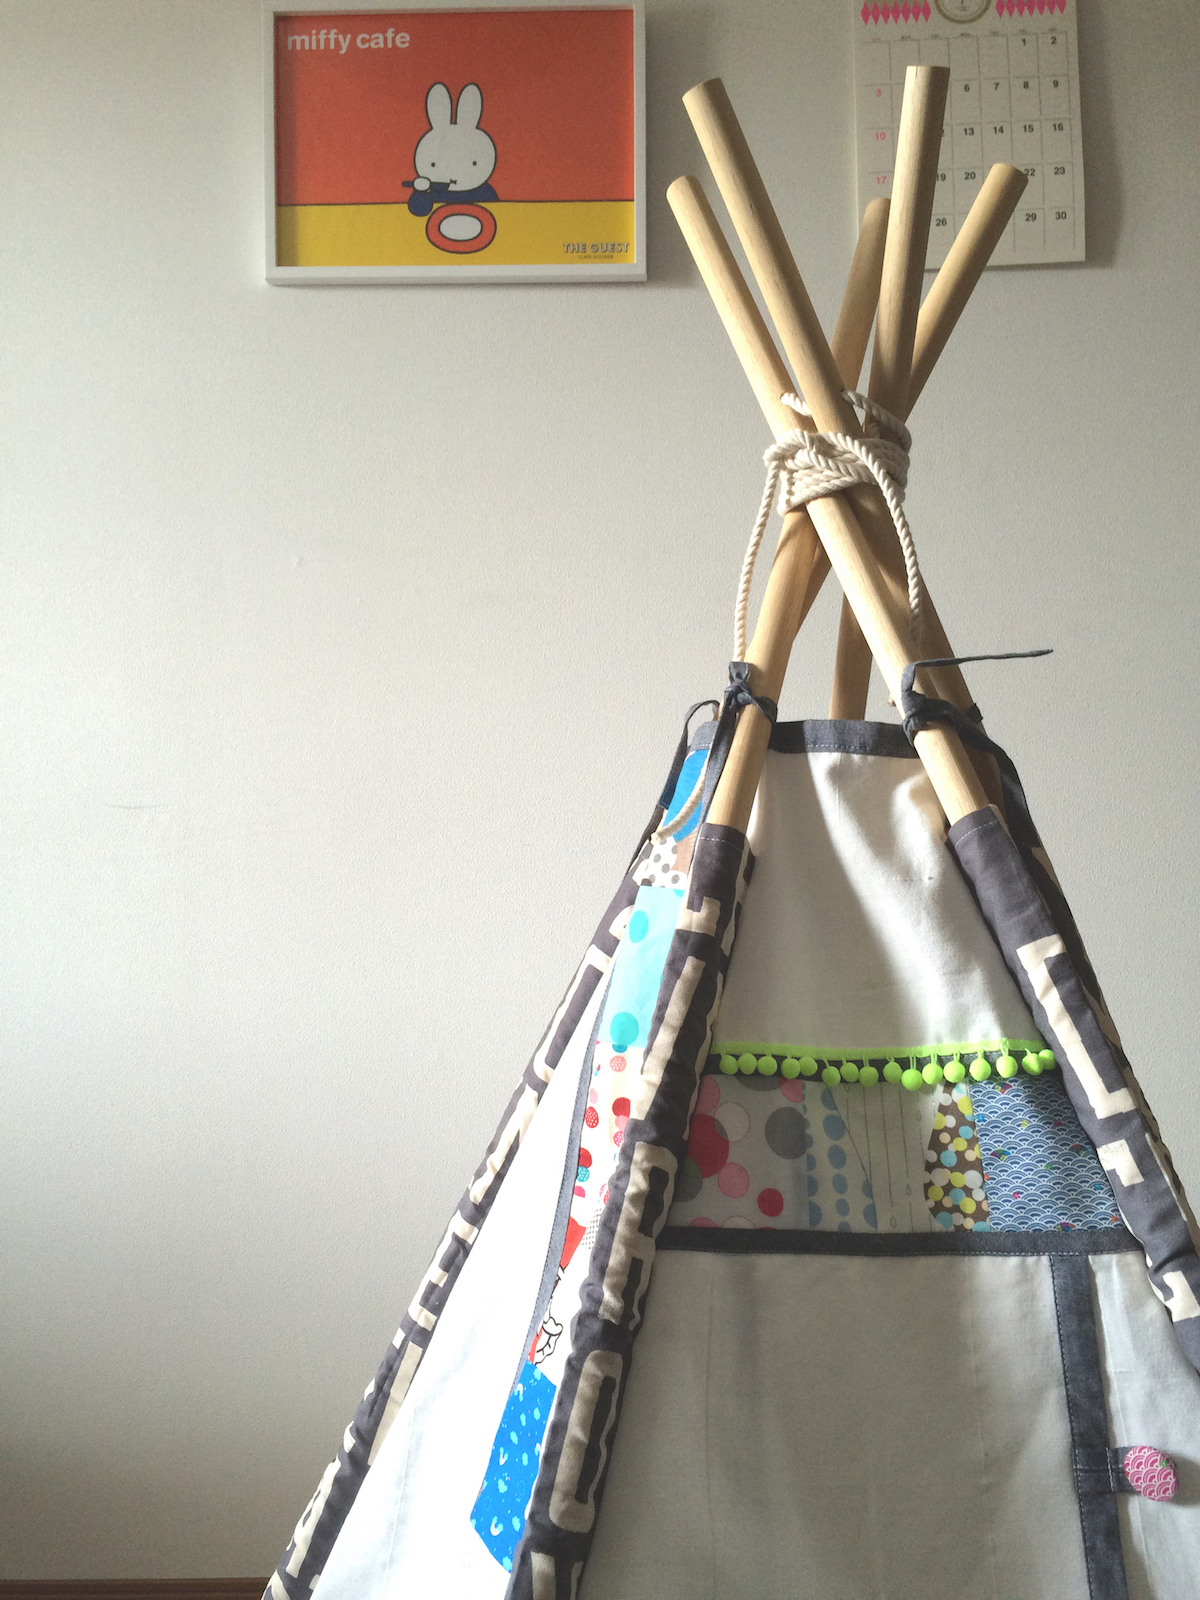
![[CREEMA] PATCHWORK TEEPEE](http://www.peacelovetokyo.com/home/wp-content/uploads/2016/06/IMG_0744.jpeg)
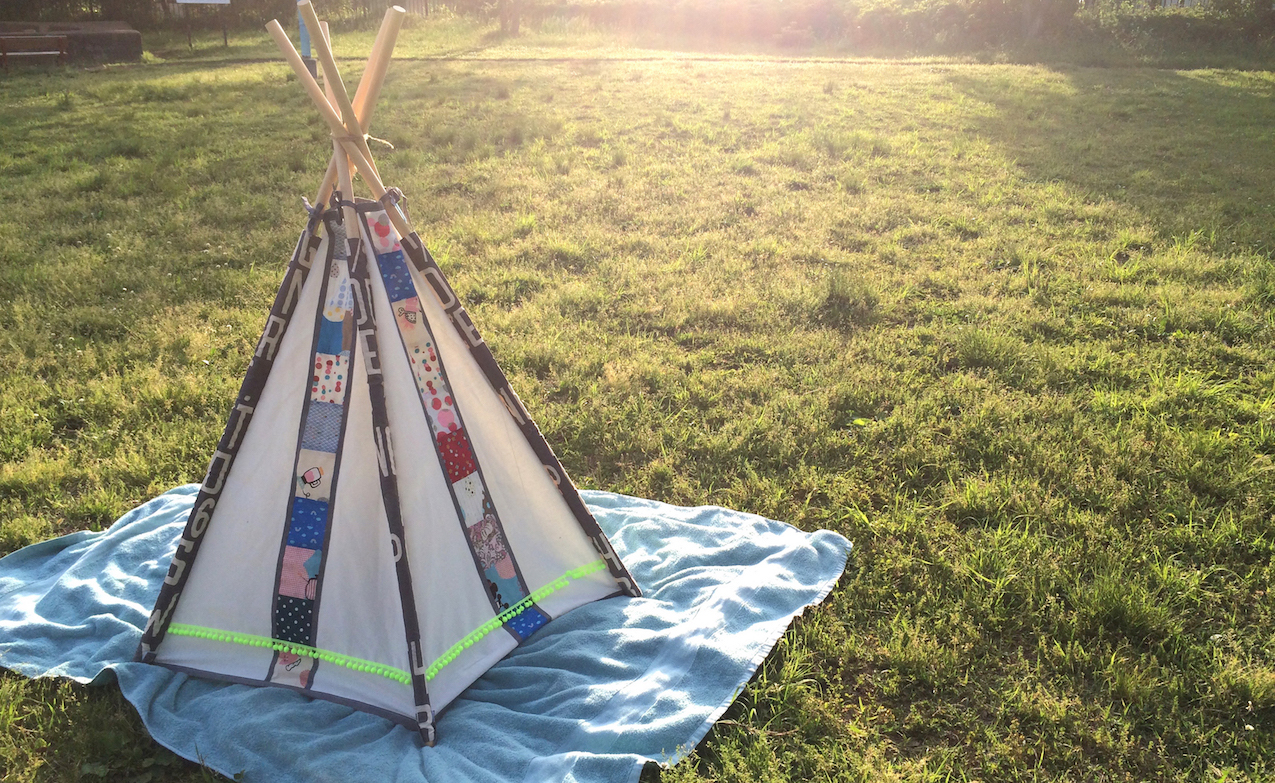
![[CREEMA] PATCHWORK TEEPEE MOCKUP](http://www.peacelovetokyo.com/home/wp-content/uploads/2016/07/teepeemockup.jpg)
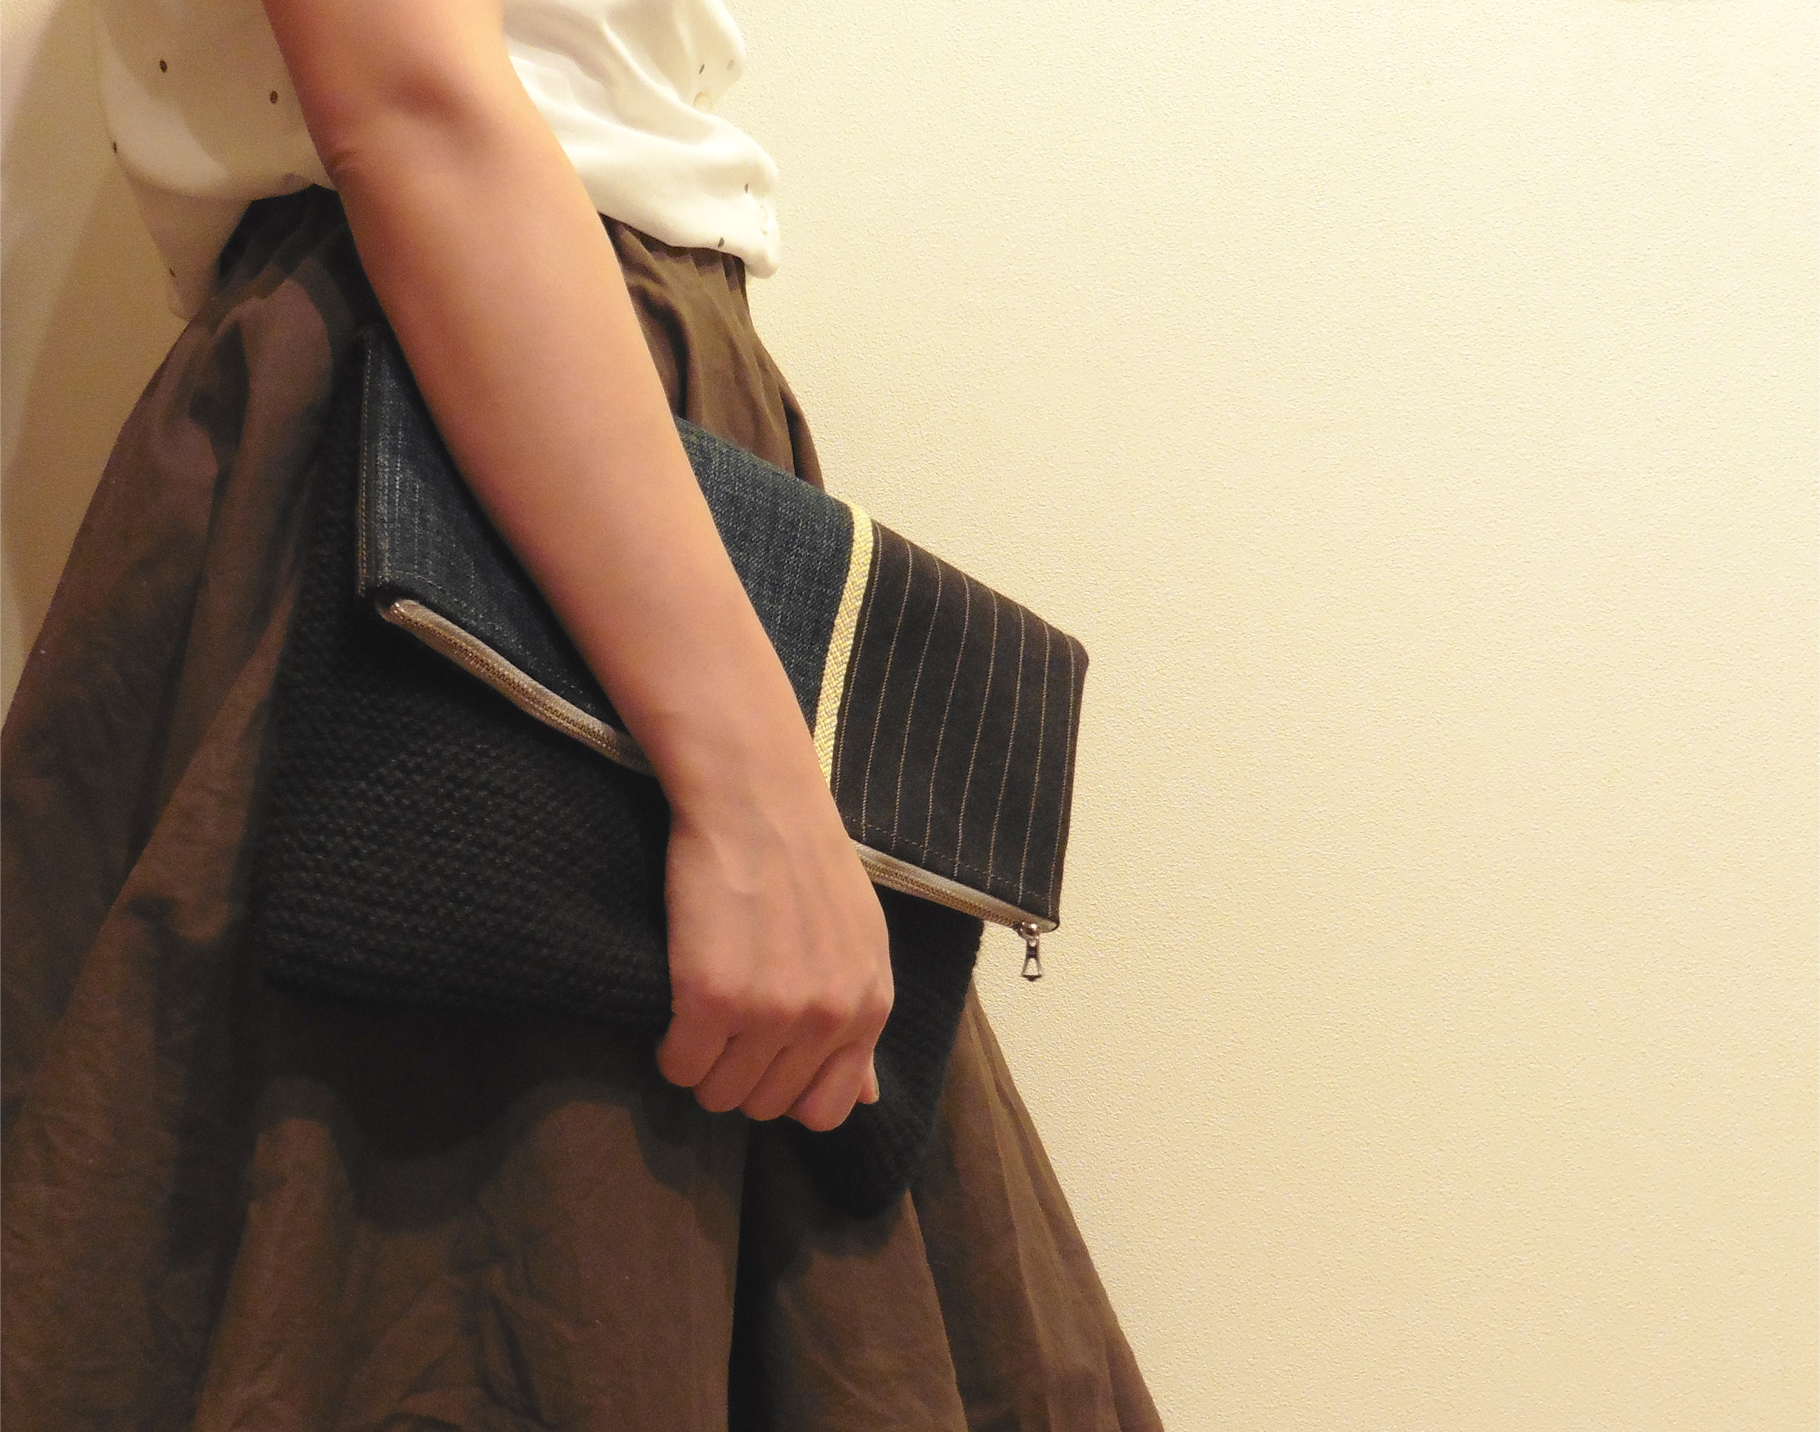
![[CREEMA] UPCYCLED CLUTCH](http://www.peacelovetokyo.com/home/wp-content/uploads/2016/03/knitclutchfinalcrop.jpg)
![[CREEMA] UPCYCLED CLUTCH](http://www.peacelovetokyo.com/home/wp-content/uploads/2016/03/unnamed-1.jpg)
![[CREEMA] UPCYCLED CLUTCH](http://www.peacelovetokyo.com/home/wp-content/uploads/2016/03/knitclutchfinalcropclose.jpg)
![[CREEMA] UPCYCLED CLUTCH](http://www.peacelovetokyo.com/home/wp-content/uploads/2016/03/knitclutchillustrationfinal.jpg)
![[CREEMA] UPCYCLED CLUTCH](http://www.peacelovetokyo.com/home/wp-content/uploads/2016/03/P1010133editsize.jpg)


![[WEDDINGS] TOOLS OF THE CRAFT (CUTTER CUTTING BOARD AWL](http://www.peacelovetokyo.com/home/wp-content/uploads/2015/06/IMG_7524のコピー-400x252.jpg)
![[WEDDINGS] TOOLS OF THE CRAFT (RULER & CUTTER)](http://www.peacelovetokyo.com/home/wp-content/uploads/2015/06/IMG_4834-300x400.jpg)
![[WEDDINGS] TOOLS OF THE CRAFT (SEWING)](http://www.peacelovetokyo.com/home/wp-content/uploads/2015/06/IMG_4476-300x400.jpg)
![[WEDDINGS] TOOLS OF THE CRAFT (GLUE)](http://www.peacelovetokyo.com/home/wp-content/uploads/2015/06/IMG_4380-279x400.jpg)
![[WEDDINGS] CAKE TOPPER BOAT](http://www.peacelovetokyo.com/home/wp-content/uploads/2015/06/IMG_4999-322x400.jpg)
![[WEDDINGS] CAKE TOPPER BOAT](http://www.peacelovetokyo.com/home/wp-content/uploads/2015/06/IMG_3889-400x247.jpg)
![[WEDDINGS] TOOLS OF THE CRAFT (GLUE)](http://www.peacelovetokyo.com/home/wp-content/uploads/2015/05/225679_202715119763614_7635963_n-e1432877311554-400x290.jpg)
![[WEDDINGS] TOOLS OF THE CRAFT (NAIL POLISH)](http://www.peacelovetokyo.com/home/wp-content/uploads/2015/05/227923_202715079763618_320469_n-e1432877376432-400x303.jpg)
![[WEDDINGS] GIFT DECORATION](http://www.peacelovetokyo.com/home/wp-content/uploads/2015/05/namilyfrogs2-293x400.jpg)
![[WEDDINGS] GIFT DECORATION](http://www.peacelovetokyo.com/home/wp-content/uploads/2015/05/CIMG2441-のコピー-e1432877234230-299x400.jpg)