
[d.i.y.] super easy necklace and earring holder
in addition to the ring & earring holder d.i.y. i posted earlier yesterday, i did this super easy three-step necklace & hook earring holder. this one is easily modifiable (i.e. adding a decorative frame, hanging on the wall or setting on the dresser) and worth every second to make it. check it out!
一つ前に載せたスタッズピアス+リングホルダーのd.i.y.と共に作ったもう一つのd.i.y.が『超簡単ネックレス+フックピアスホルダー』です!3ステップでできてしまう上に、フレームを加えたり、壁掛けにしたり、置き型にするなど使い方の自由がききます。どうぞご覧あれ〜
LET’S START! / 始めよう!
what you need / 材料:
cork board / コルクボード
fabric / 生地
ruler / 定規
scissors / ハサミ
glue gun / グルーガン
tacks / 画鋲
[optional / お好みで]
cardstock for stencil / ステンシル用の画用紙
compass / コンパス
fabric spray paint (i used Somay-Q in silver) / 生地用スプレーカラー染めQ エアゾール ギンギラ銀
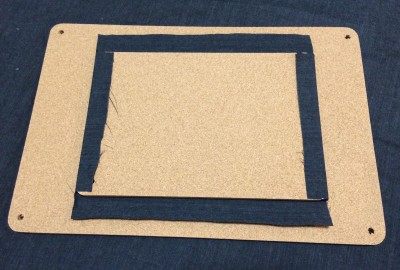
1. place cork board (the top one is MUJI’s M size for earrings and the bottom is the L size for necklaces) on fabric and cut about 1.5 inch/3~4cm around the board as seam allowance. fold and glue edges to the back side using a glue gun. (OPTIONAL: i cut/ripped a separate fabric slightly smaller than the cork board and glued it to cover the edges of the first fabric. i decided to leave them frayed since the glue would prevent further fraying.)
コルクボードを生地の中心に置く。(フック/フープピアス用には無印良品のMサイズ、ネックレスにはLサイズを使用しました。)コルクボードの厚みに合わせて縫い代を3~4cmで周囲をカット。縫い代を裏面に折り返してグルーガンで止める。(お好みで表地の縫い代を隠す為に裏にもお好きな生地を糊で止める。糊で生地が固まるので、私はあえて割いて裁断をし、端の始末をしていないです。)
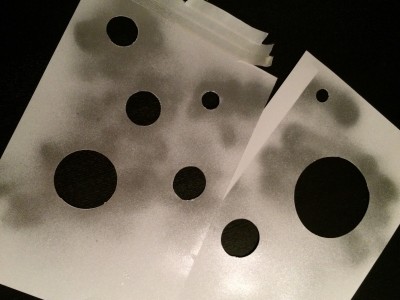
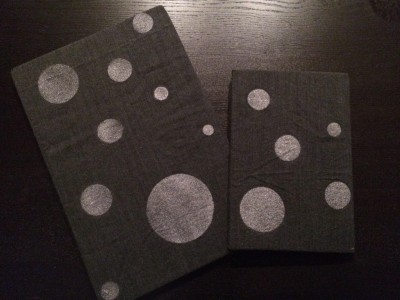
2. [this step is optional!] make stencil and spray. i cut out a random circle pattern. / [柄を加えるステップです。必要なければ次へ!] 染めQなどスプレーカラー用のステンシルを作り、スプレーする。こちらはサークル柄にしてみました。
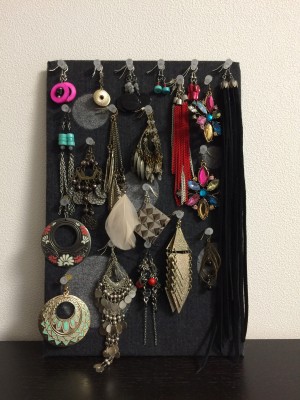
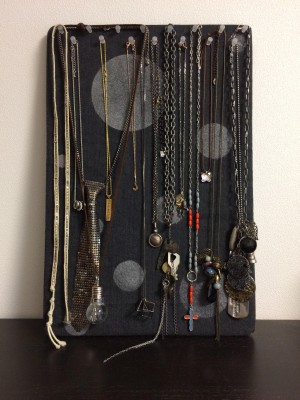
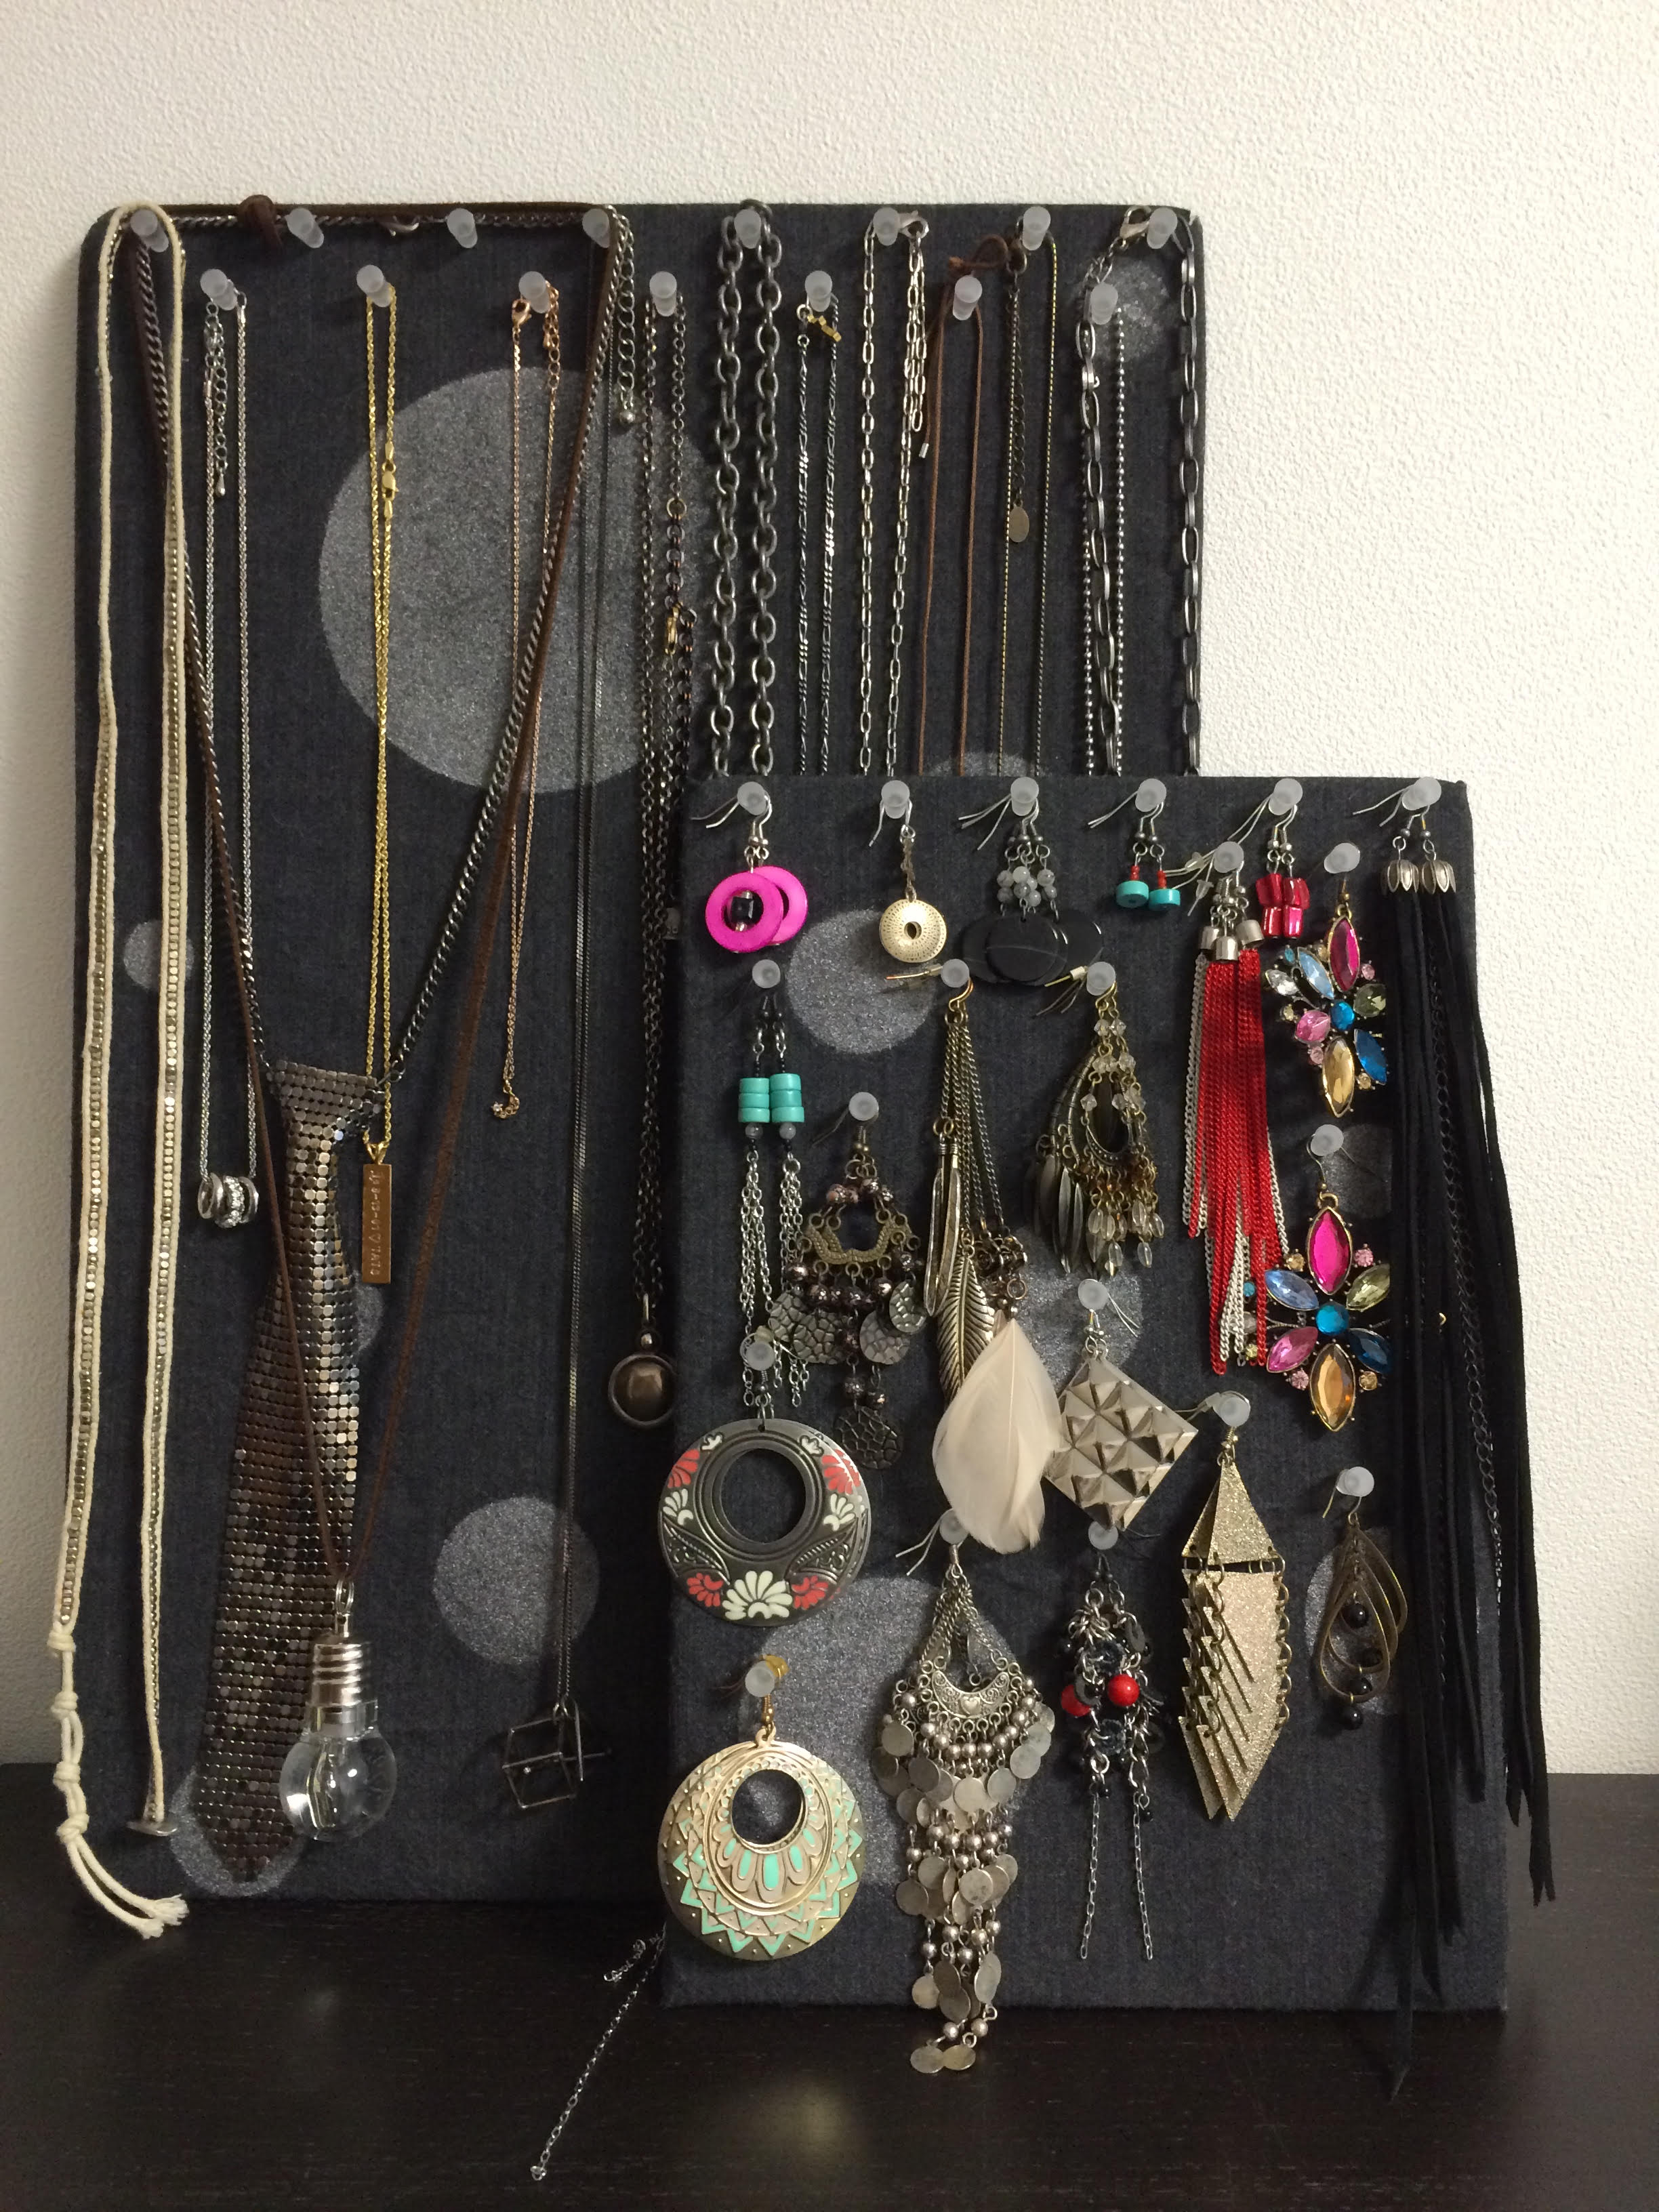
3. after drying the spray for at least 24 hours, use tacks (i used MUJI’s) to hang hook/hoop earrings and necklaces. / 24時間ほど乾燥させてから画鋲(こちらも無印良品)を指し、ネックレスやピアスをかける。

FINISHED! / 出来上がり!