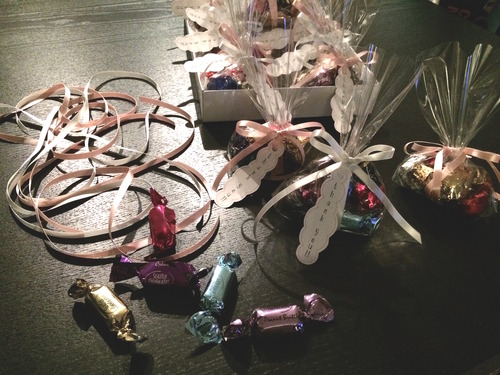
[d.i.y.] flag garland
those cute little flag garlands have been around for a while, and have also been popular for quite a while. so why d.i.y. now? because i’m sure the world can use one more.
ガーランドはしばらく流行っていたりするけど、なんで今更 d.i.y. を??と聞かれても、、、あっても良いんじゃないかな??
LET’S START! / 始めよう!
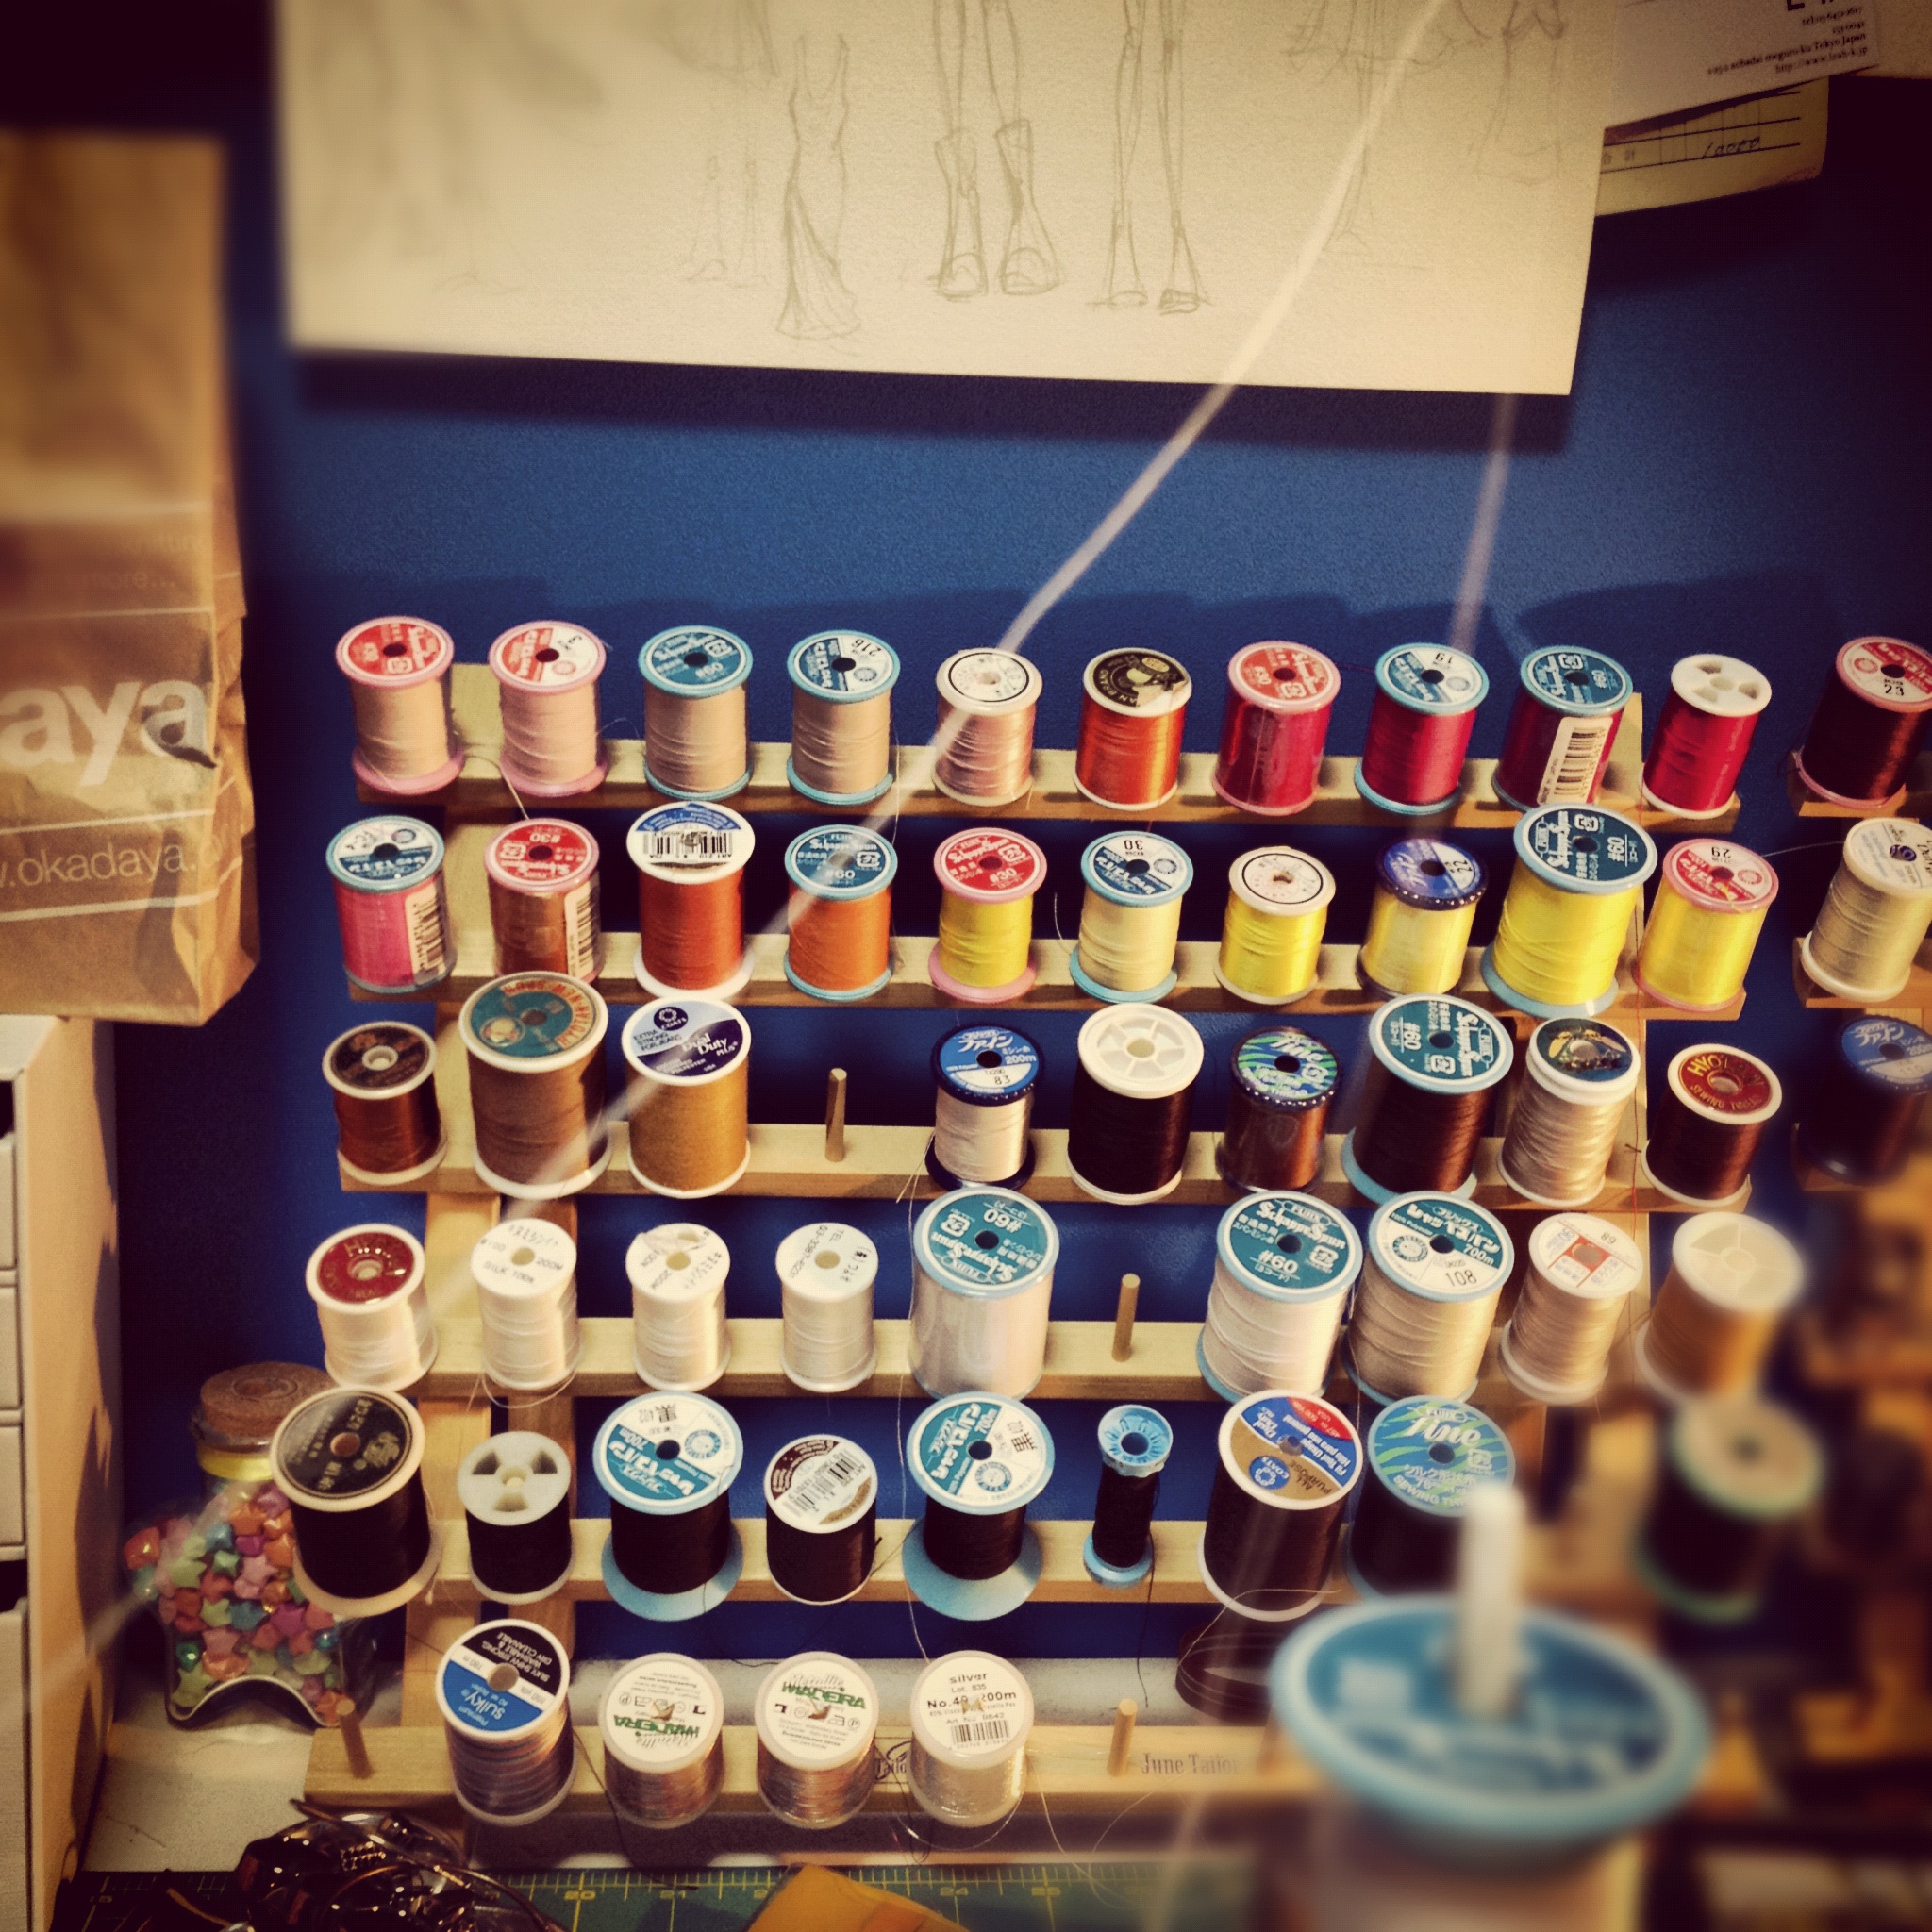
what you need / 材料:
water color paper / 水彩画用紙
newspaper / 新聞紙
water colors (i used acrylic) / 水彩絵具(アクリル)
adhesive stickers to make patterns / 柄をつくるための貼ってはがせるシール
scissors / ハサミ
ruler / 定規
washi tape (the length of your garland) / 和紙テープ適量(ガーランドの長さ分)
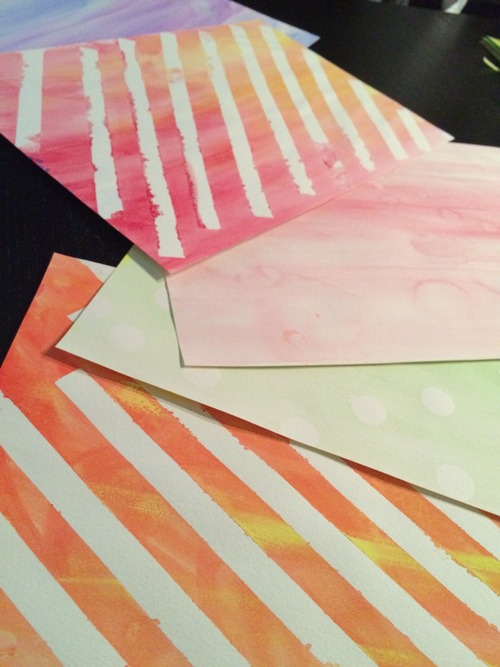
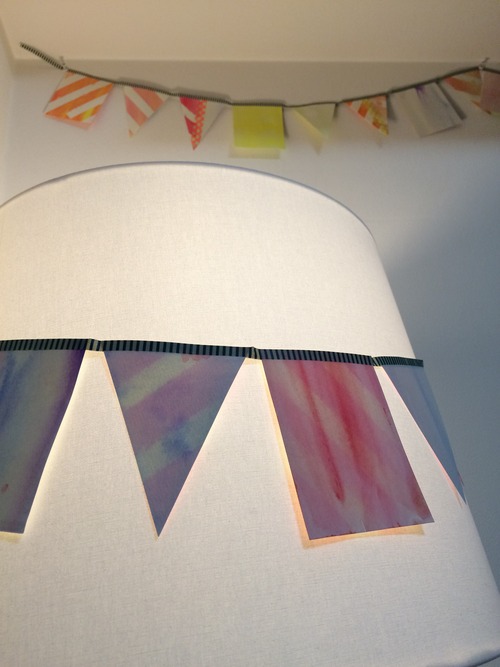
1. i decided to make a watercolor garland for the colorful yet soft feel. / 水彩ガーランドをすることによって、優しくてカラフルな色合いに仕上げてみました。

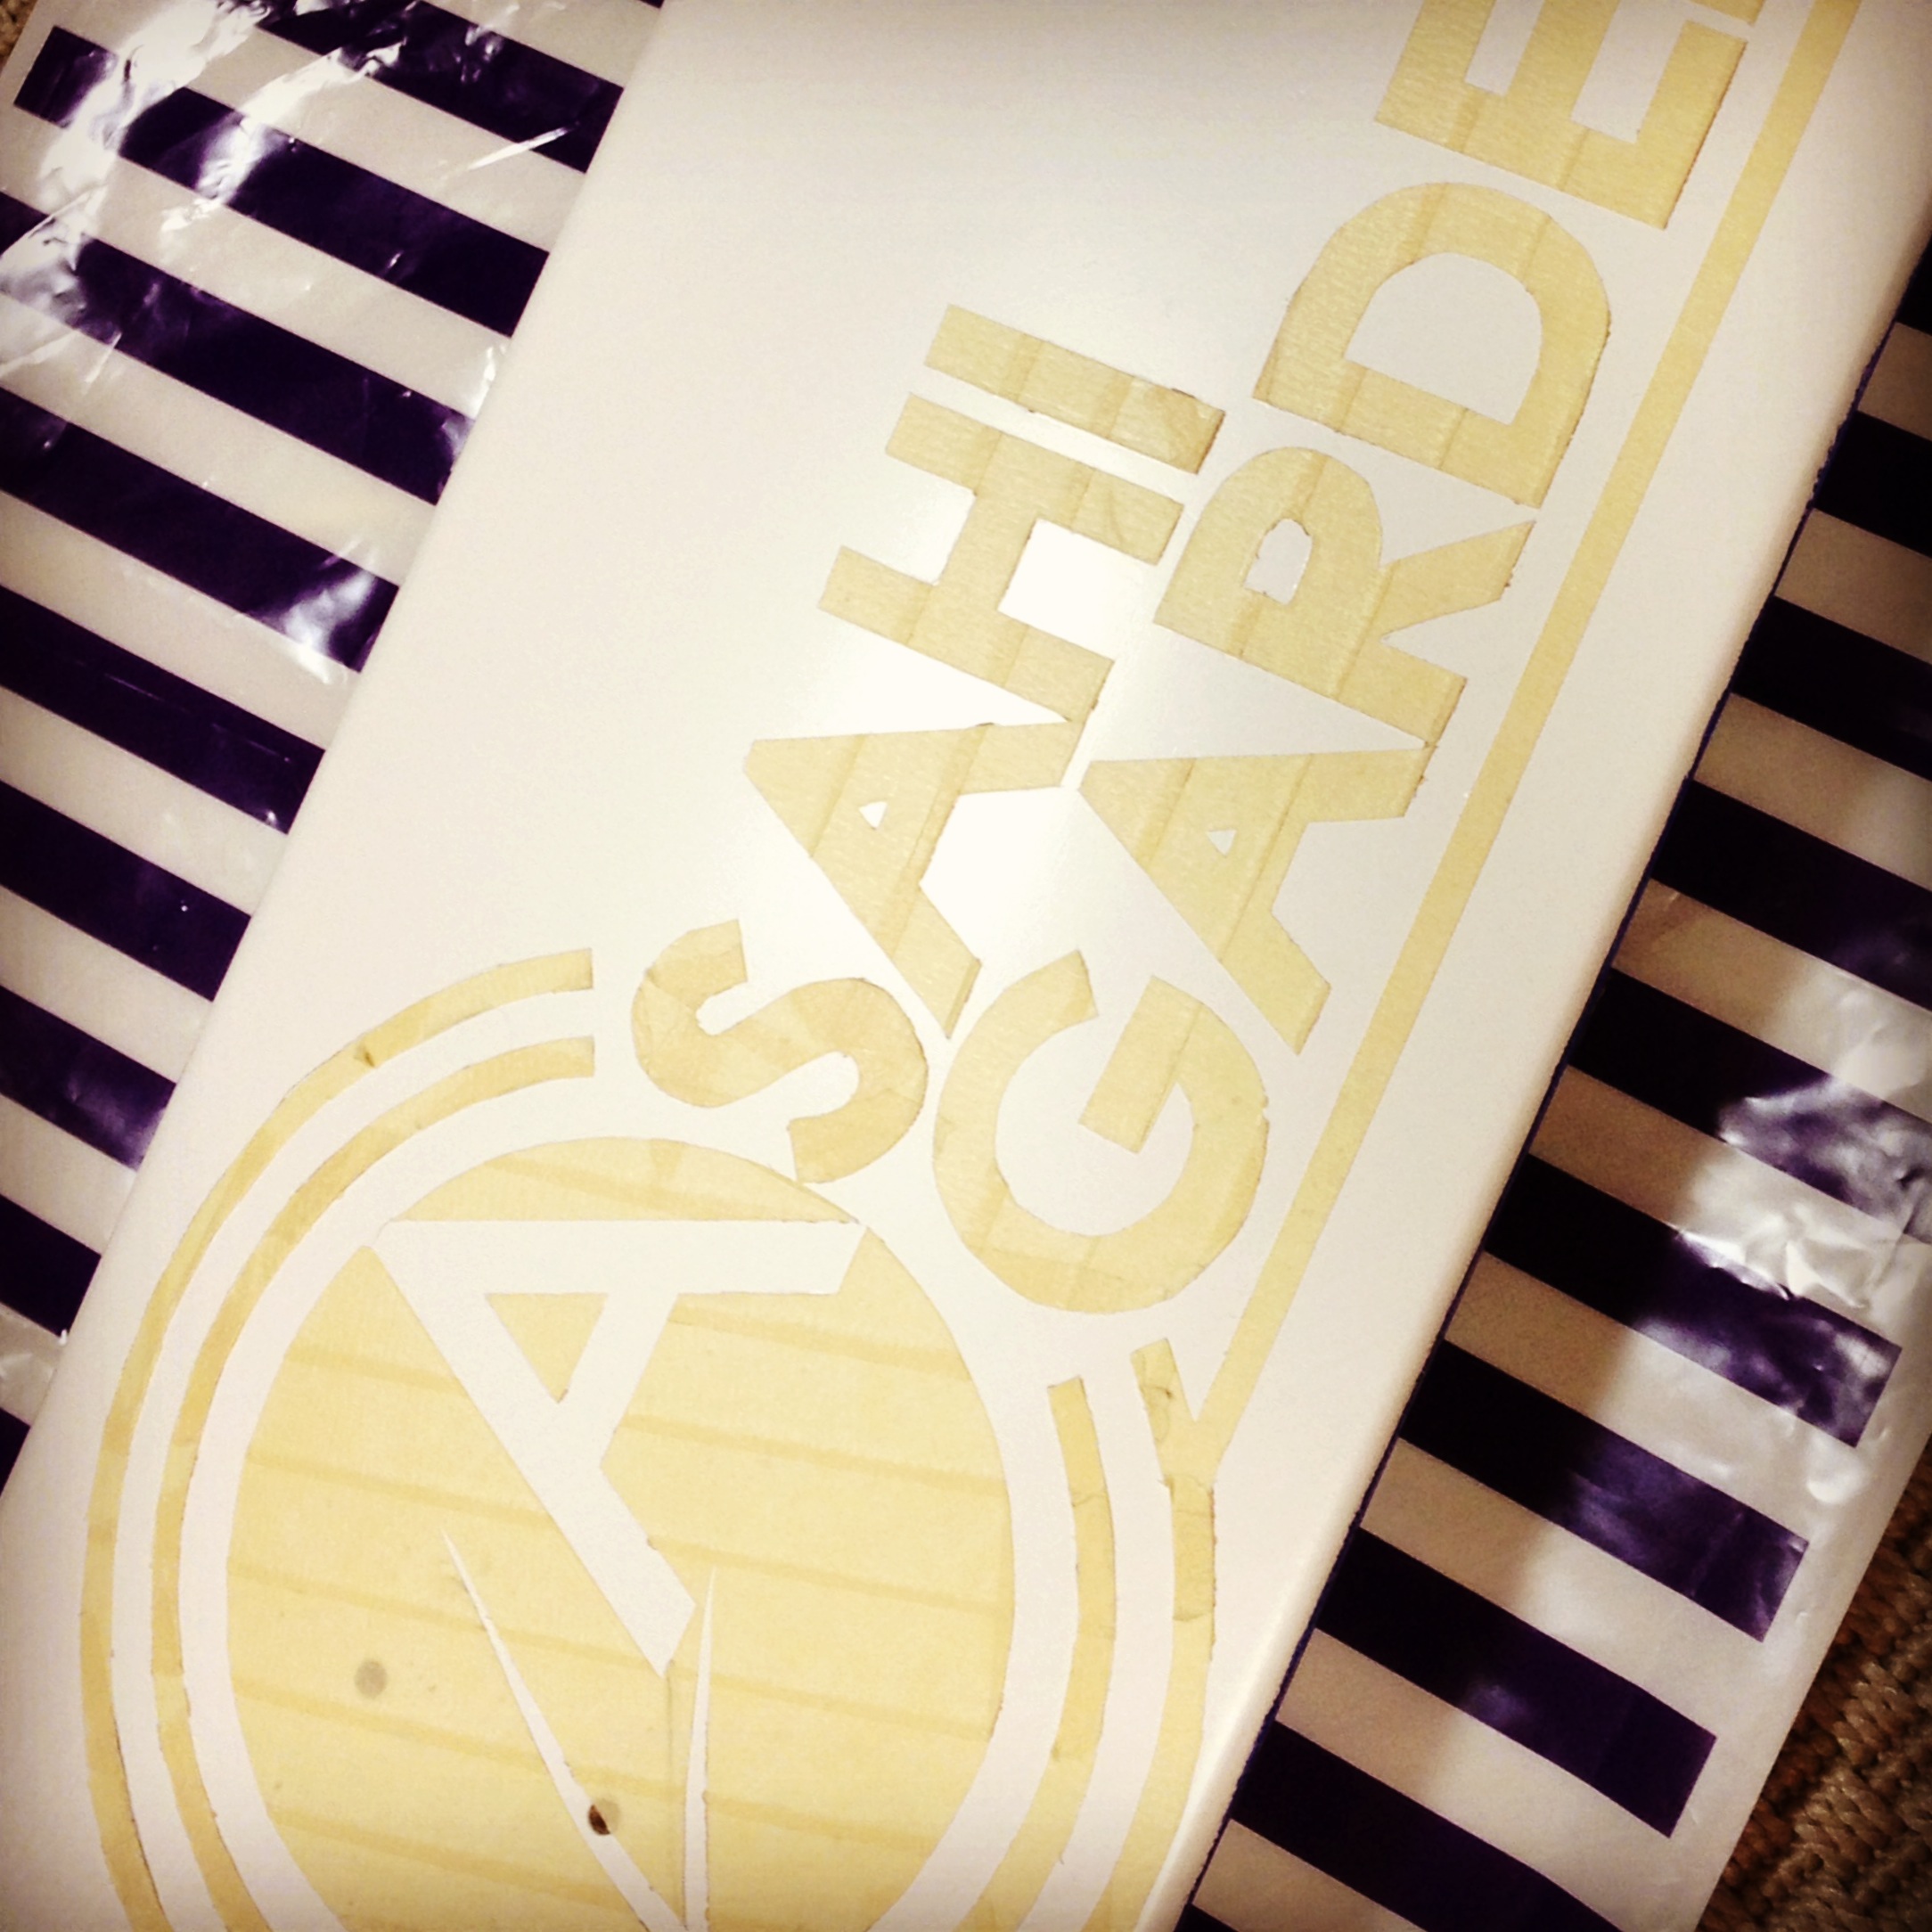
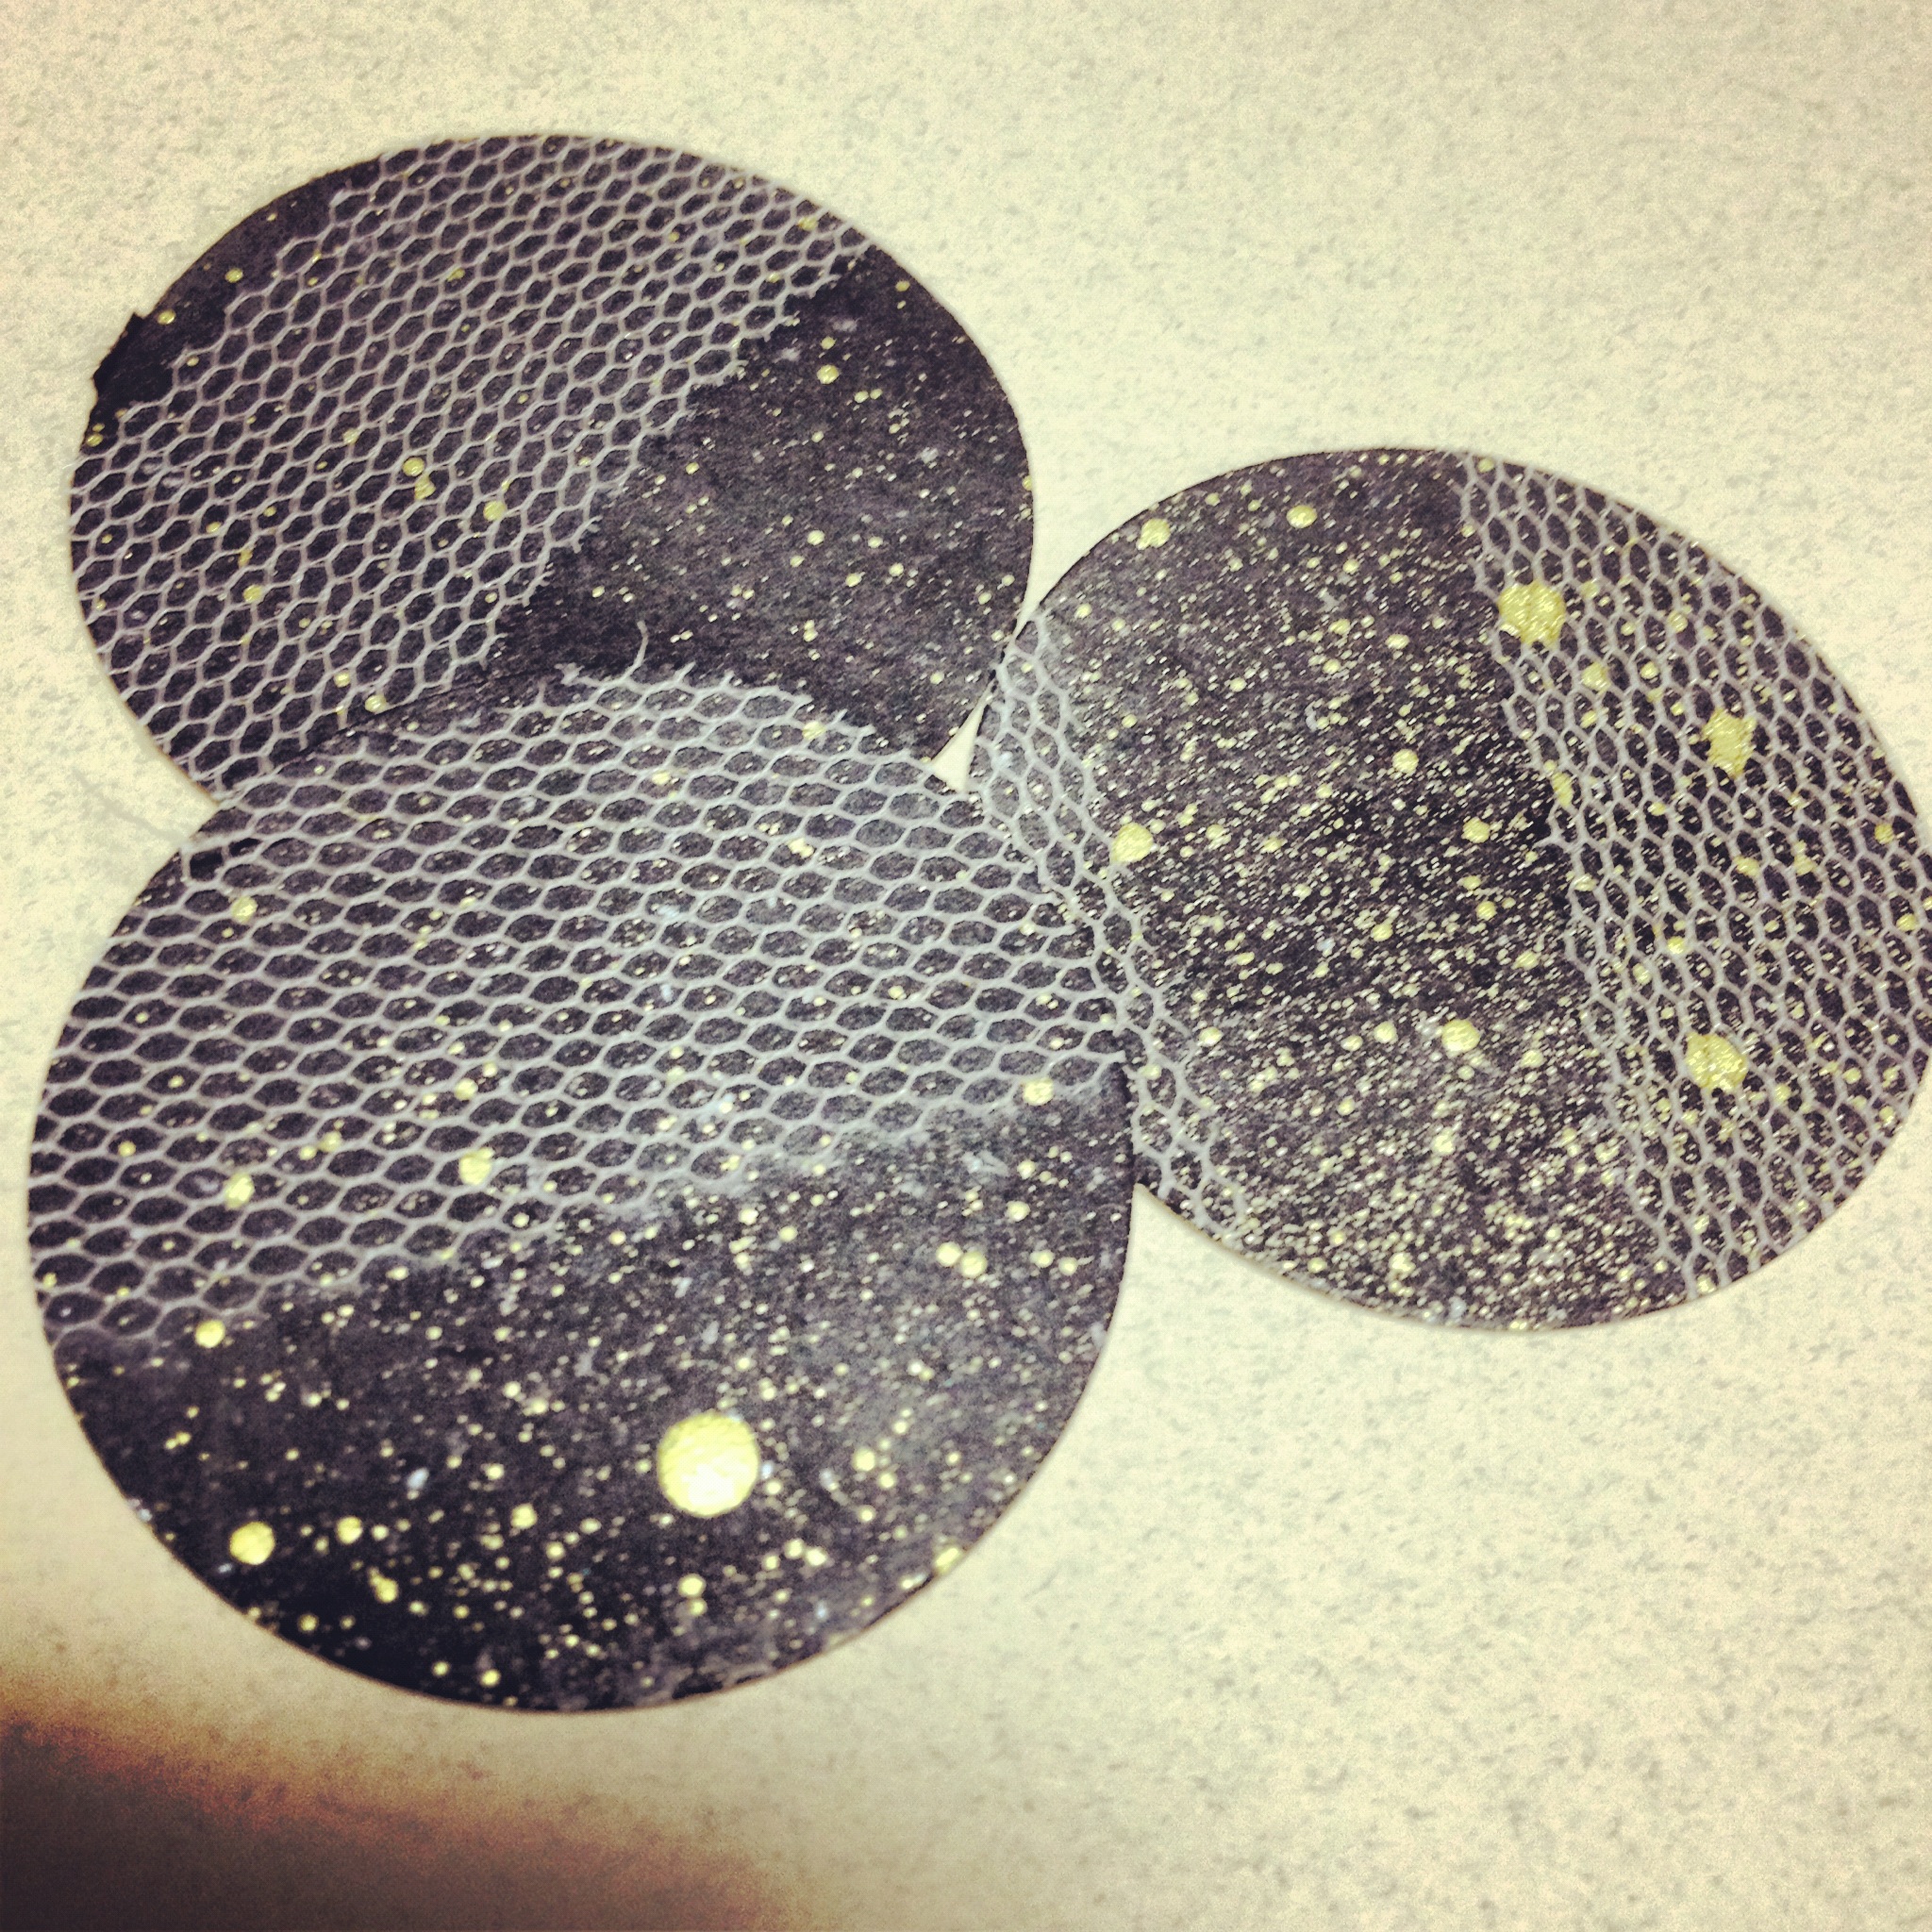
to make fun patterns, i made good use of old old old post-it tape and circle labels that are barely adhesive anymore…. / しばらく使っていない付箋テープとサークルラベルを利用して面白い柄を作ってみました!
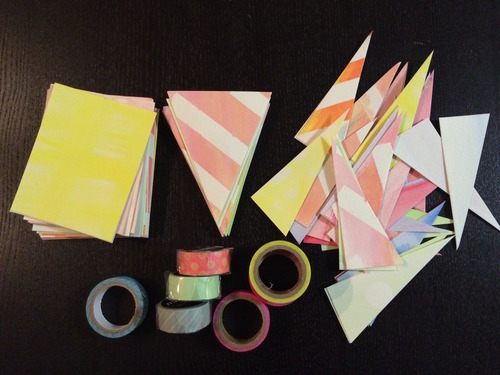
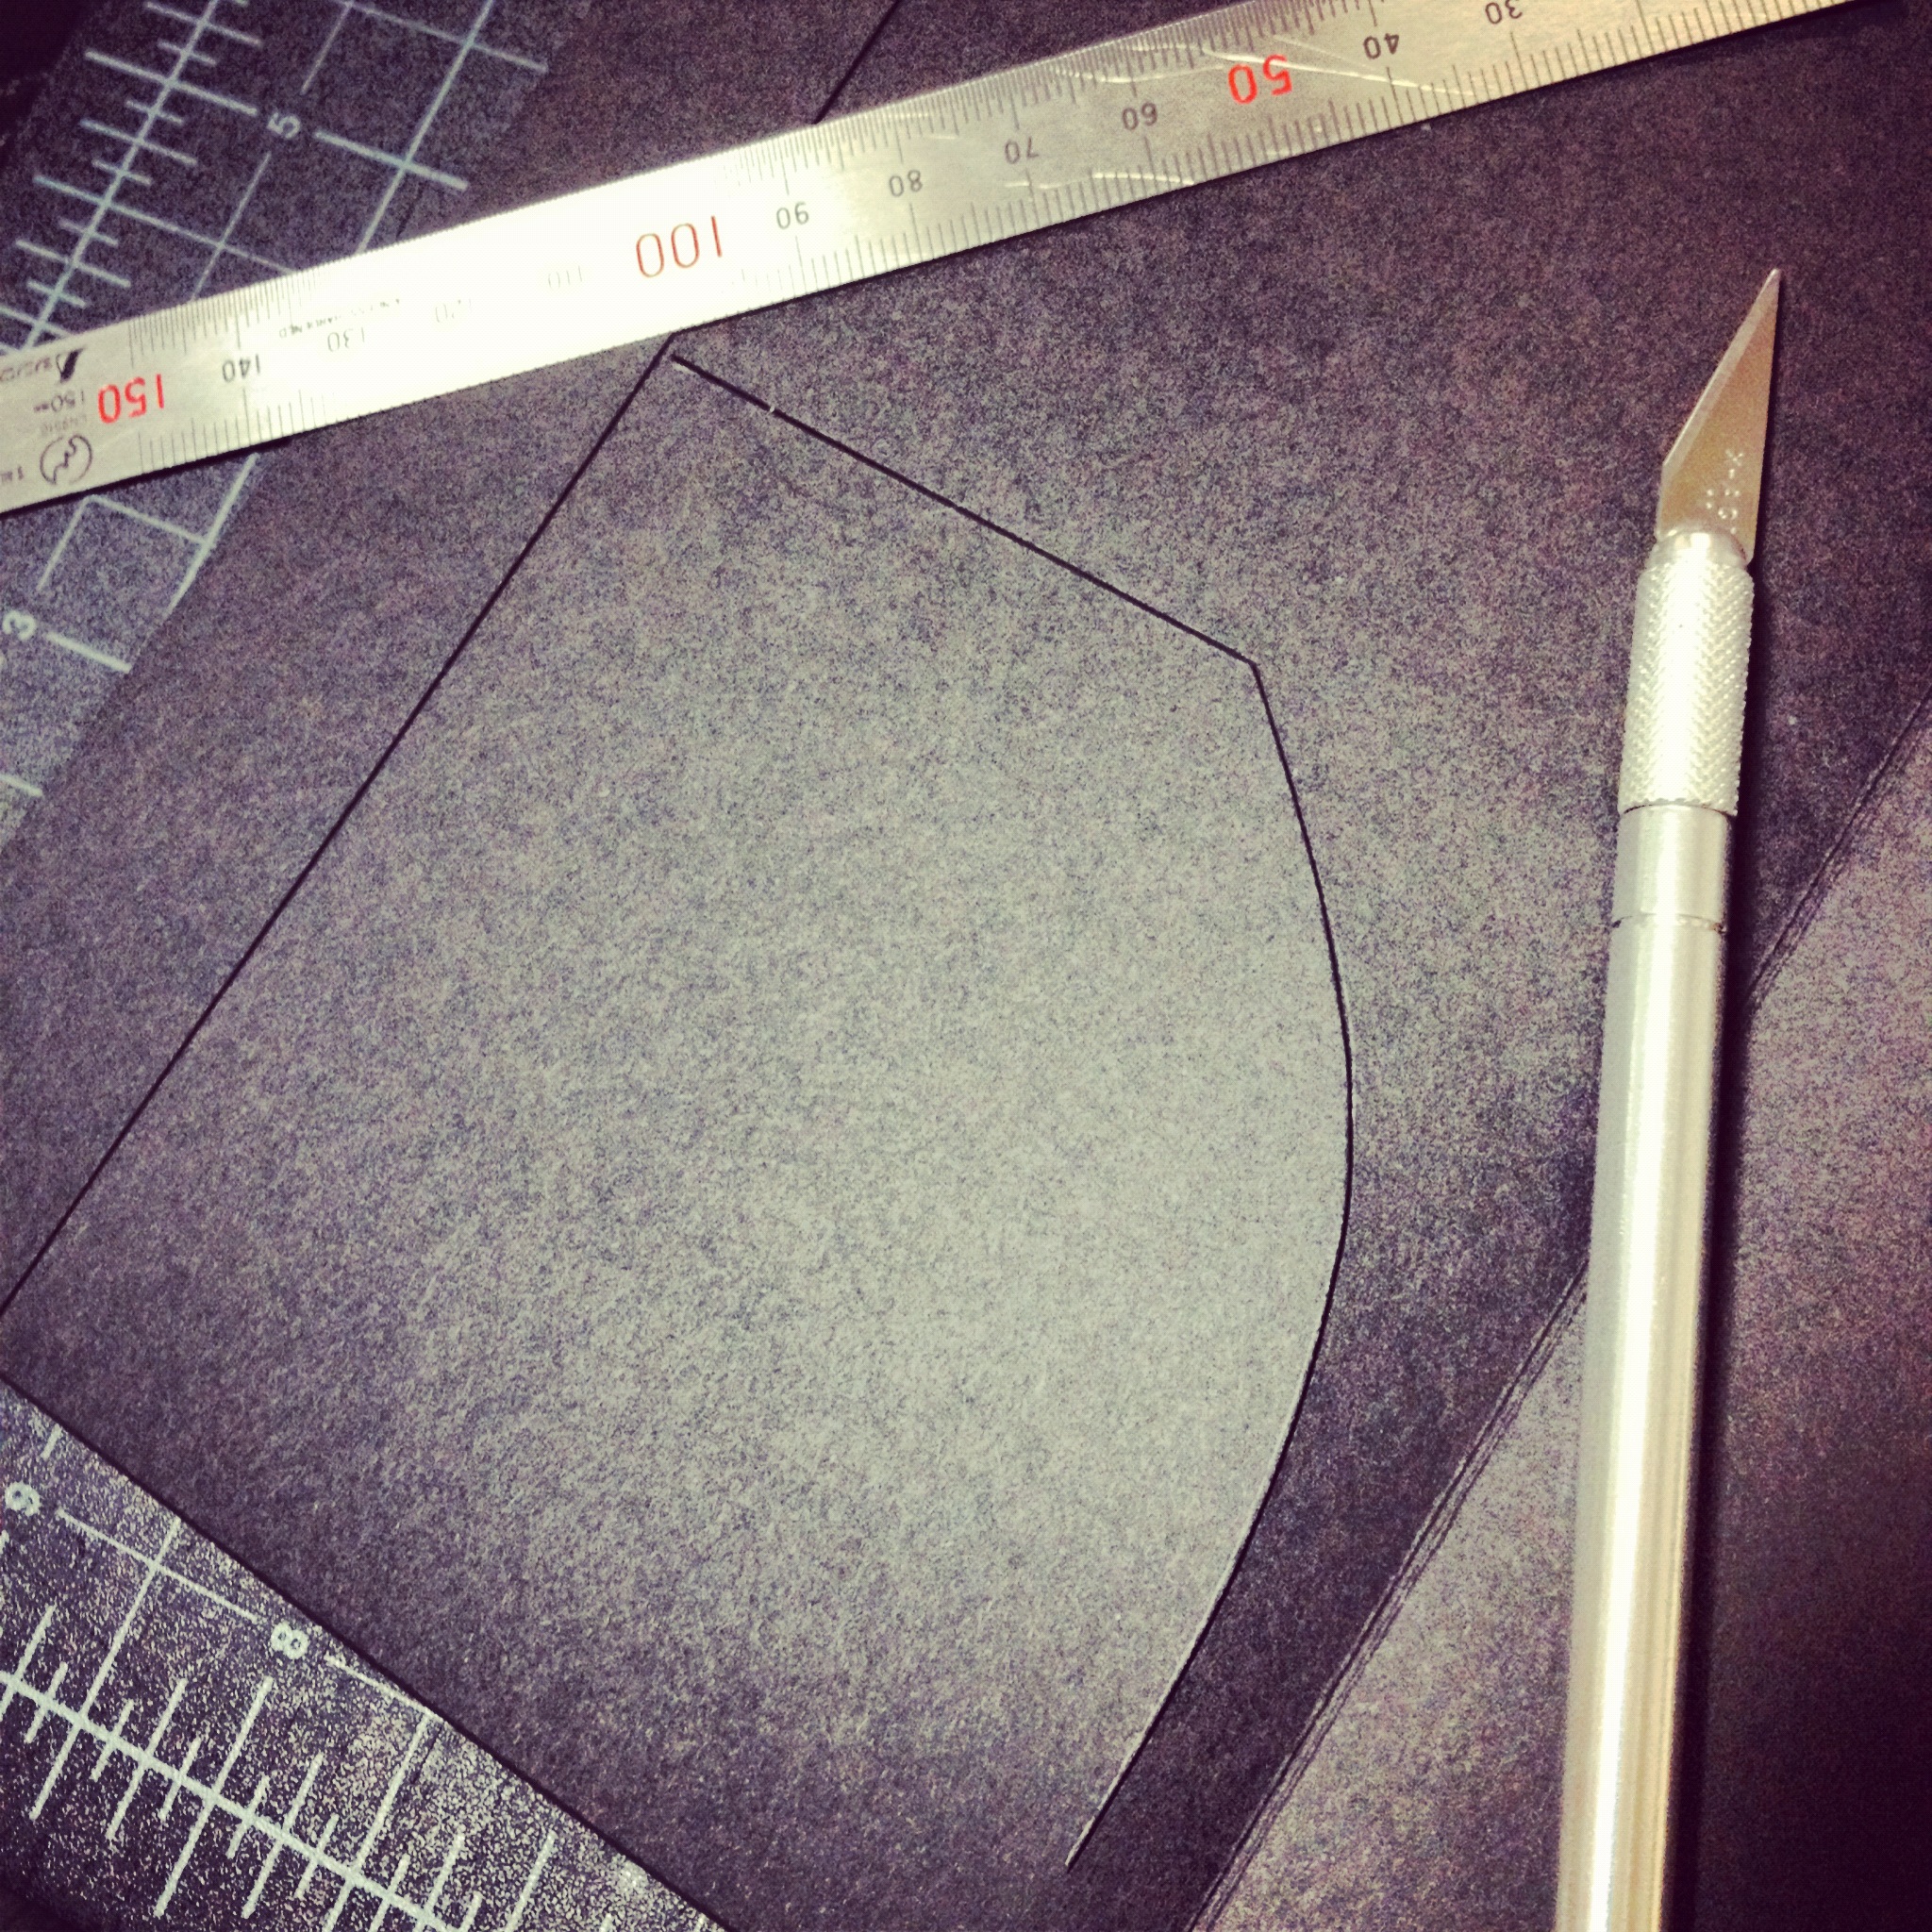
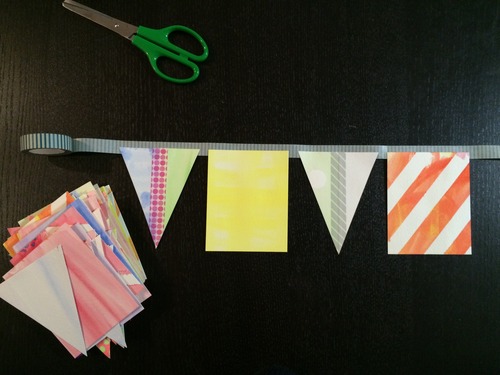
2. after painting both sides and letting it dry, cut 8cm × 10cm rectangles. a third of them i cut isosceles triangles out of, leaving me with a bunch of half triangles. / 両面とも塗ってから乾かし、8cm × 10cm の四角に切る。1/3は、二等辺三角形を切り出し、残った欠片をとっておく。
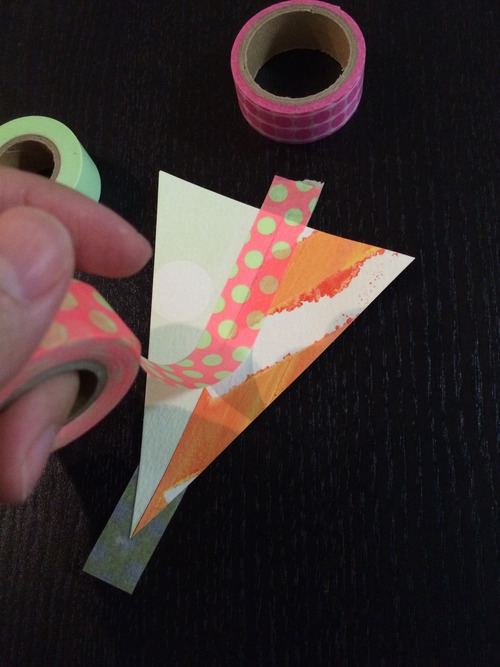
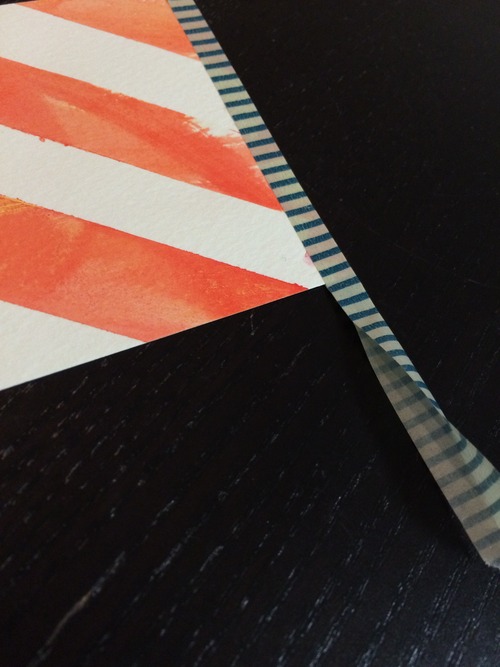
3. using the half triangles from the last step, tape two pieces together with washi tape to make more isosceles triangles. pairing different patterns and colored washi tape makes fun accents flags! / 和紙テープで余った欠片を2枚ずつ使って二等辺三角形を作る。違う柄と和紙テープを組み合わせることでアクセントフラグができます。
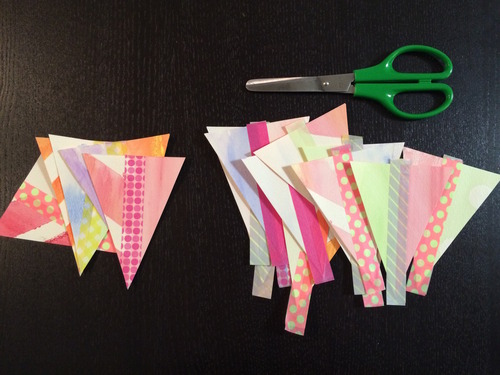
cut off the washi tape ends. / 最後に和紙テープの余った部分を切り取り、形を整える。
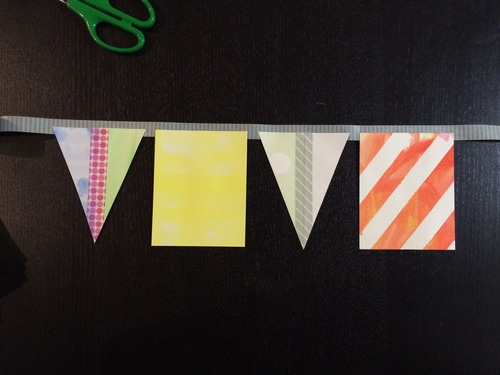
4. arrange flags so they are within the lower half of the washi tape. it’s better to have the flags within rather than on the halfway line for a clean finish later. there’s about 1~2 cm between the flags. / 1〜2cm間隔で和紙テープにフラグを置いていく。和紙テープの幅の半分以内に配置すると、和紙テープを折り返す時に綺麗に仕上がります。
5. fold the washi tape over after laying about 4~5 flags at a time. / フラグを4〜5枚置いたら和紙テープを折り返す。
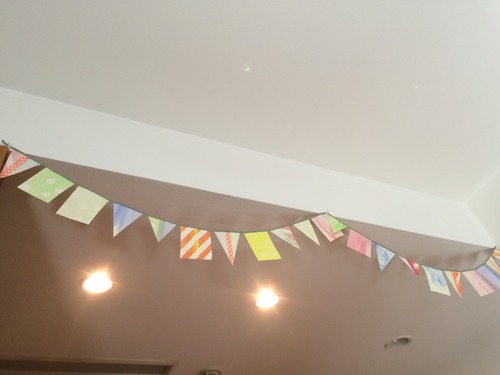
FINISHED! / 出来上がり!
there you have it! a quick and easy project, great for birthday parties, weddings, baby / bridal showers, or just to make for fun. / 簡単ガーランドでした!お誕生日会、結婚式、ベビーやウェディング・シャワーにいかがでしょうか??